How to Get Leads with the Insightly API in Javascript

Introduction to Insightly CRM
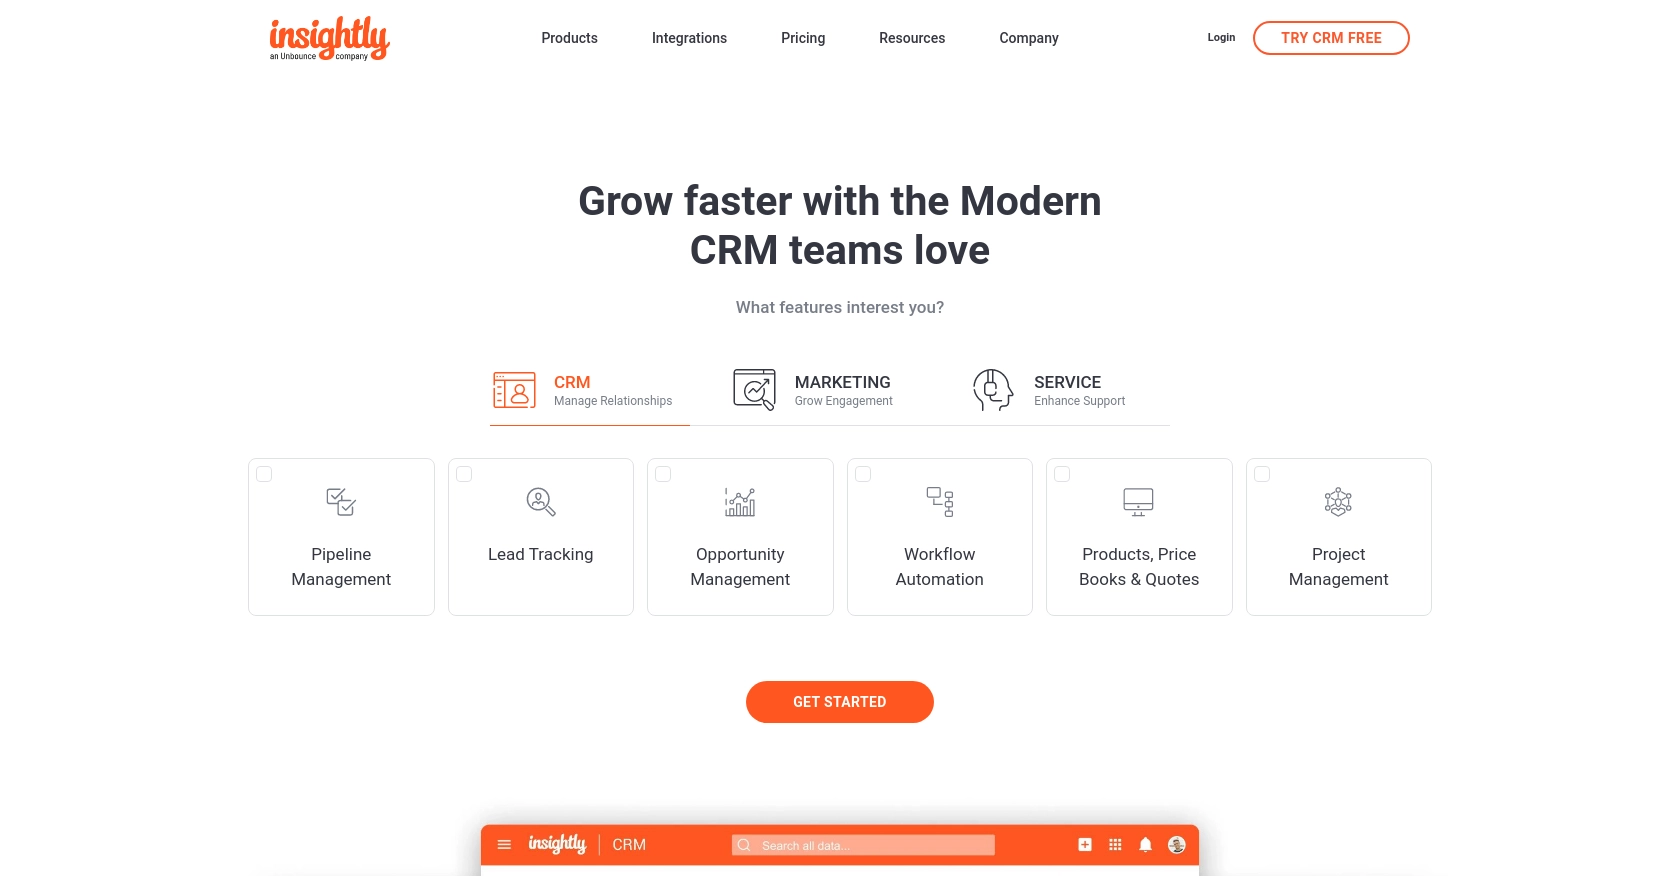
Insightly is a powerful CRM platform designed to help businesses manage their customer relationships, projects, and sales processes efficiently. With its robust set of features, Insightly enables organizations to streamline operations, improve customer interactions, and drive growth.
Developers may want to integrate with Insightly's API to automate and enhance their CRM workflows. For example, by using the Insightly API, a developer can retrieve lead information to analyze sales trends or integrate with other marketing tools to optimize lead generation strategies.
Setting Up Your Insightly Test Account for API Access
Before you can start using the Insightly API to retrieve leads, you need to set up your Insightly account and obtain the necessary API key. This section will guide you through the process of creating a test account and generating your API key for authentication.
Creating an Insightly Account
If you do not already have an Insightly account, you can sign up for a free trial on the Insightly website. This will give you access to the platform's features and allow you to test API interactions.
- Visit the Insightly website and click on the "Free Trial" button.
- Fill out the registration form with your details and submit it to create your account.
- Once your account is created, log in to access the Insightly dashboard.
Generating Your Insightly API Key
Insightly uses HTTP Basic authentication with an API key to authenticate requests. Follow these steps to find and use your API key:
- Log in to your Insightly account and navigate to the "User Settings" by clicking on your profile icon in the upper right corner.
- Select "User Settings" from the dropdown menu.
- In the "API Key and URL" section, you will find your API key. Copy this key as you will need it to authenticate your API requests.
For more details on finding your API key, you can refer to the Insightly support article.
Understanding Insightly API Authentication
Insightly's API requires the API key to be included in the HTTP request header as a Base64-encoded username, with the password field left blank. This ensures that your API requests are authenticated and authorized based on your user permissions.
For testing purposes, you can use the API key directly without Base64 encoding when using the Insightly sandbox environment.
Testing Your API Key
To ensure that your API key is working correctly, you can make a simple API call to retrieve a list of leads:
// Example using fetch API in JavaScript
fetch('https://api.na1.insightly.com/v3.1/Leads', {
    method: 'GET',
    headers: {
        'Authorization': 'Basic ' + btoa('Your_API_Key:')
    }
})
.then(response => response.json())
.then(data => console.log(data))
.catch(error => console.error('Error:', error));
Replace Your_API_Key with the API key you obtained earlier. This code snippet uses the fetch API in JavaScript to make a GET request to the Insightly Leads endpoint. If successful, it will log the retrieved leads to the console.

sbb-itb-96038d7
How to Make API Calls to Retrieve Leads from Insightly Using JavaScript
In this section, we'll guide you through the process of making API calls to retrieve leads from Insightly using JavaScript. We'll cover the necessary JavaScript version, dependencies, and provide example code to help you get started.
JavaScript Version and Dependencies for Insightly API Integration
To interact with the Insightly API, you'll need to use JavaScript. Ensure you are using a modern version of JavaScript (ES6 or later) to take advantage of features like the fetch API for making HTTP requests. No additional dependencies are required for this tutorial.
Example Code to Retrieve Leads from Insightly API
Below is an example of how to use JavaScript to make a GET request to the Insightly API to retrieve leads. This example uses the fetch API, which is built into modern browsers.
// Define the API endpoint for retrieving leads
const endpoint = 'https://api.na1.insightly.com/v3.1/Leads';

// Set up the headers with the API key for authentication
const headers = {
    'Authorization': 'Basic ' + btoa('Your_API_Key:')
};

// Make the GET request to the Insightly API
fetch(endpoint, {
    method: 'GET',
    headers: headers
})
.then(response => {
    if (!response.ok) {
        throw new Error('Network response was not ok: ' + response.statusText);
    }
    return response.json();
})
.then(data => {
    console.log('Retrieved Leads:', data);
})
.catch(error => {
    console.error('Error fetching leads:', error);
});
Replace Your_API_Key with your actual Insightly API key. This code will log the retrieved leads to the console if the request is successful.
Verifying Successful API Requests in Insightly
After running the code, you should see the list of leads in your console. To verify that the request succeeded, you can cross-check the retrieved data with the leads available in your Insightly account. If the data matches, your API call was successful.
Handling Errors and Insightly API Error Codes
When making API calls, it's crucial to handle potential errors. The example code above includes basic error handling by checking the response status. If the response is not successful, an error message is logged to the console.
According to Insightly's documentation, if you exceed the rate limit, you will receive an HTTP status code 429. Ensure your application handles such errors gracefully by implementing retry logic or notifying the user.
For more details on error codes, refer to the Insightly API documentation.
Conclusion and Best Practices for Using Insightly API in JavaScript
Integrating with the Insightly API using JavaScript can significantly enhance your CRM capabilities by automating lead retrieval and management. By following the steps outlined in this article, you can efficiently connect to Insightly and access valuable lead data to drive your business strategies.
Best Practices for Secure and Efficient Insightly API Integration
- Secure Storage of API Keys: Always store your API keys securely and avoid hardcoding them in your source code. Consider using environment variables or secure vaults to manage sensitive information.
- Handling Rate Limits: Be mindful of Insightly's rate limits, which allow a maximum of 10 requests per second and vary daily based on your plan. Implement logic to handle HTTP status code 429 by retrying requests after a delay.
- Data Transformation: Standardize and transform data fields as needed to ensure consistency across your applications and integrations.
Streamlining Integrations with Endgrate
While integrating with Insightly directly offers powerful capabilities, managing multiple integrations can be complex and time-consuming. Endgrate simplifies this process by providing a unified API endpoint that connects to various platforms, including Insightly.
With Endgrate, you can save time and resources by outsourcing integrations, allowing you to focus on your core product. Build once for each use case and enjoy an intuitive integration experience for your customers.
Explore how Endgrate can enhance your integration strategy by visiting Endgrate today.
Read More
Ready to get started?
