Using the Outreach API to Get Accounts (with Javascript examples)
Introduction to Outreach API
Outreach is a powerful sales engagement platform that helps businesses streamline their sales processes and improve productivity. With features like email tracking, sales automation, and analytics, Outreach is a popular choice for sales teams looking to enhance their outreach efforts.
Integrating with the Outreach API allows developers to access and manage sales data, such as accounts, to optimize sales strategies and workflows. For example, a developer might use the Outreach API to retrieve account information and analyze customer interactions to tailor sales pitches more effectively.
Setting Up Your Outreach API Test Account
Before you can start interacting with the Outreach API, you'll need to set up a test account. This involves creating an Outreach app and configuring OAuth 2.0 authentication, which is essential for securely accessing the API.
Create an Outreach App for API Access
To begin, you'll need to create an Outreach app. This app will provide you with the necessary credentials to authenticate API requests.
- Log in to your Outreach account. If you don't have one, you can sign up for a free trial on the Outreach website.
- Navigate to the API Access section in the Outreach Developer Portal.
- Click on Create New App and fill in the required details, such as the app name and description.
- Specify the redirect URIs that your application will use. Ensure these URIs are properly URL-encoded.
- Select the necessary OAuth scopes that your application will require. For accessing accounts, you might need scopes like
accounts.read. - Save your app configuration. Your client ID and client secret will be generated. Make sure to store these securely as they will be used for authentication.
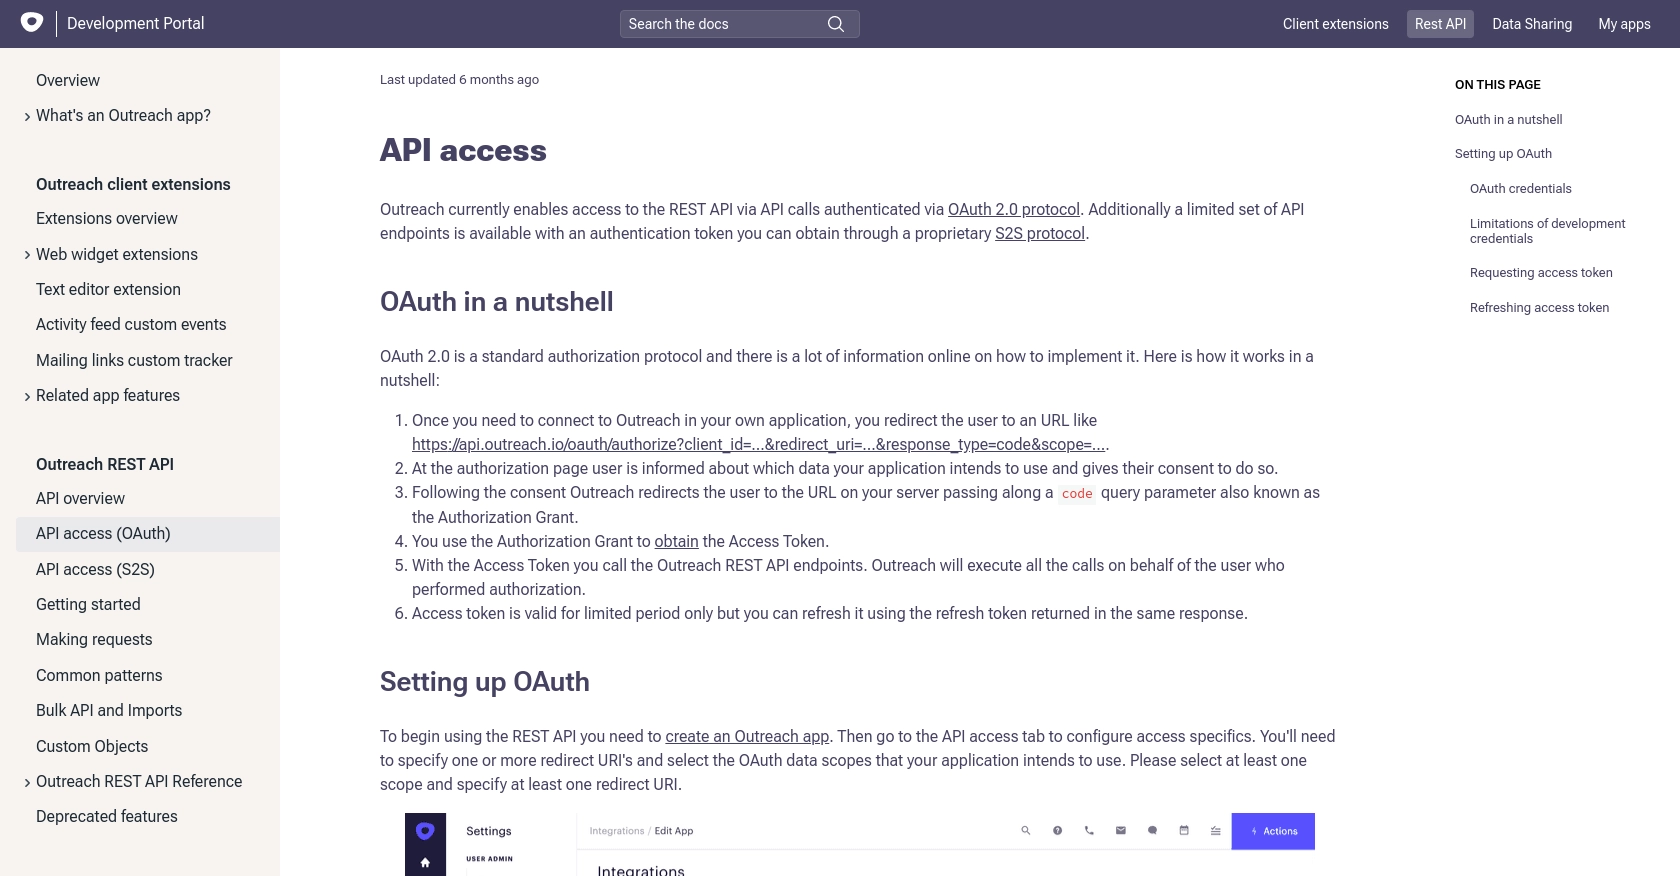
Configure OAuth 2.0 Authentication
Outreach uses OAuth 2.0 for authentication, which involves obtaining an access token to make API requests on behalf of a user.
- Redirect users to the following URL to obtain an authorization code:
https://api.outreach.io/oauth/authorize?client_id=YOUR_CLIENT_ID&redirect_uri=YOUR_REDIRECT_URI&response_type=code&scope=accounts.read - After the user authorizes your app, they will be redirected to your specified redirect URI with an authorization code.
- Exchange the authorization code for an access token by making a POST request to:
curl https://api.outreach.io/oauth/token \ -X POST \ -d client_id=YOUR_CLIENT_ID \ -d client_secret=YOUR_CLIENT_SECRET \ -d redirect_uri=YOUR_REDIRECT_URI \ -d grant_type=authorization_code \ -d code=AUTHORIZATION_CODE - Store the access token securely. It will be used in the Authorization header for subsequent API requests.
For more detailed information on setting up OAuth, refer to the Outreach OAuth Documentation.
sbb-itb-96038d7
Making API Calls to Retrieve Accounts Using Outreach API with JavaScript
Once you have set up your Outreach app and configured OAuth 2.0 authentication, you can start making API calls to retrieve account information. In this section, we'll guide you through the process of using JavaScript to interact with the Outreach API and fetch account data.
Prerequisites for Using JavaScript with Outreach API
To follow along with this tutorial, ensure you have the following installed on your machine:
- Node.js (version 14 or later)
- NPM (Node Package Manager)
Additionally, you'll need to install the axios library to make HTTP requests. You can do this by running the following command in your terminal:
npm install axiosFetching Accounts from Outreach API
Create a new JavaScript file named getOutreachAccounts.js and add the following code to it:
const axios = require('axios');
// Set the API endpoint and headers
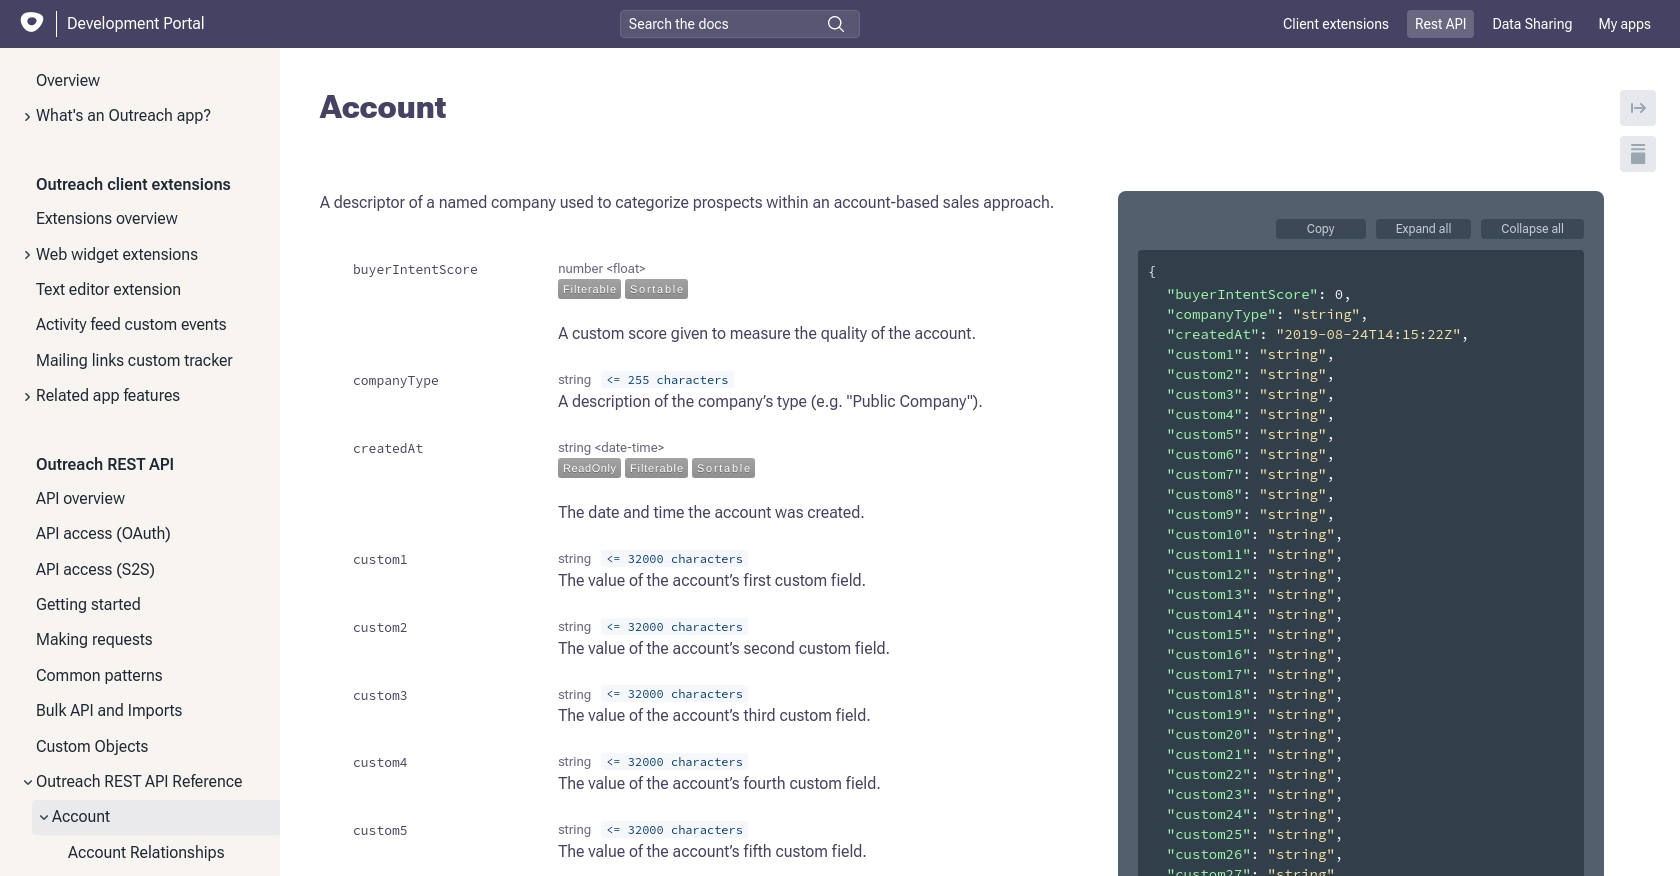
const endpoint = 'https://api.outreach.io/api/v2/accounts';
const headers = {
'Authorization': 'Bearer YOUR_ACCESS_TOKEN',
'Content-Type': 'application/vnd.api+json'
};
// Function to fetch accounts
async function fetchAccounts() {
try {
const response = await axios.get(endpoint, { headers });
const accounts = response.data.data;
accounts.forEach(account => {
console.log(`Account Name: ${account.attributes.name}`);
});
} catch (error) {
console.error('Error fetching accounts:', error.response ? error.response.data : error.message);
}
}
fetchAccounts();Replace YOUR_ACCESS_TOKEN with the access token you obtained during the OAuth authentication process.
Running the JavaScript Code
To execute the code, open your terminal and run the following command:
node getOutreachAccounts.jsYou should see a list of account names printed in the terminal, representing the accounts retrieved from your Outreach test account.
Handling API Response and Errors
In the code above, we use the axios library to make a GET request to the Outreach API. The response is parsed to extract account data, which is then logged to the console. If an error occurs, it is caught and logged, providing details about the issue.
Refer to the Outreach API Documentation for more information on available endpoints and error codes.
Conclusion and Best Practices for Using Outreach API with JavaScript
Integrating with the Outreach API using JavaScript provides a powerful way to access and manage sales data, enabling developers to enhance sales strategies and workflows. By following the steps outlined in this guide, you can efficiently retrieve account information and leverage it to optimize your sales processes.
Best Practices for Secure and Efficient API Integration
- Secure Storage of Credentials: Always store your OAuth client ID, client secret, and access tokens securely. Consider using environment variables or secure vaults to protect sensitive information.
- Handling Rate Limits: Be mindful of the Outreach API rate limit of 10,000 requests per hour. Implement logic to handle rate limit errors (HTTP 429) by checking the
X-RateLimit-RemainingandX-RateLimit-Resetheaders. - Refreshing Access Tokens: Access tokens are short-lived. Use the refresh token to obtain a new access token before the current one expires. Always use the latest refresh token provided in the response.
- Data Transformation: Standardize and transform data fields as needed to ensure consistency across different systems and applications.
Streamlining Integrations with Endgrate
While integrating with the Outreach API can be straightforward, managing multiple integrations can become complex and time-consuming. Endgrate simplifies this process by offering a unified API endpoint that connects to various platforms, including Outreach. By using Endgrate, you can:
- Save time and resources by outsourcing integrations and focusing on your core product.
- Build once for each use case instead of multiple times for different integrations.
- Provide an easy, intuitive integration experience for your customers.
Explore how Endgrate can enhance your integration strategy by visiting Endgrate.
Read More

Ready to get started?
