How to Get Leads with the Pipedrive API in Javascript

Introduction to Pipedrive CRM
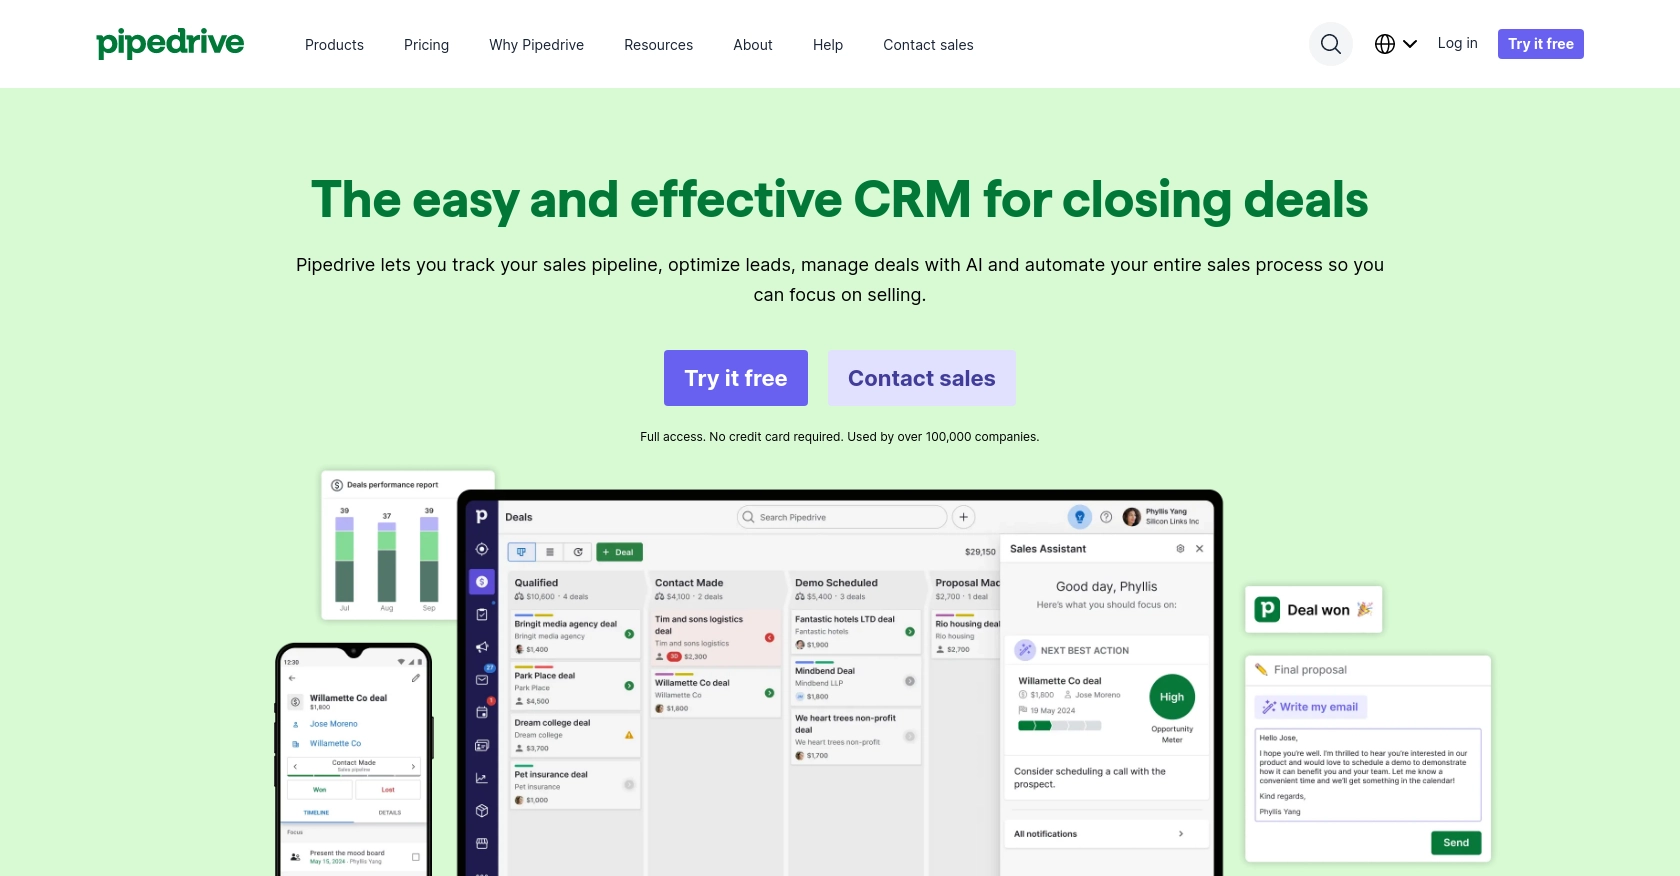
Pipedrive is a powerful sales CRM platform designed to help businesses manage their sales processes more effectively. Known for its intuitive interface and robust features, Pipedrive enables sales teams to track leads, manage deals, and streamline communication with clients.
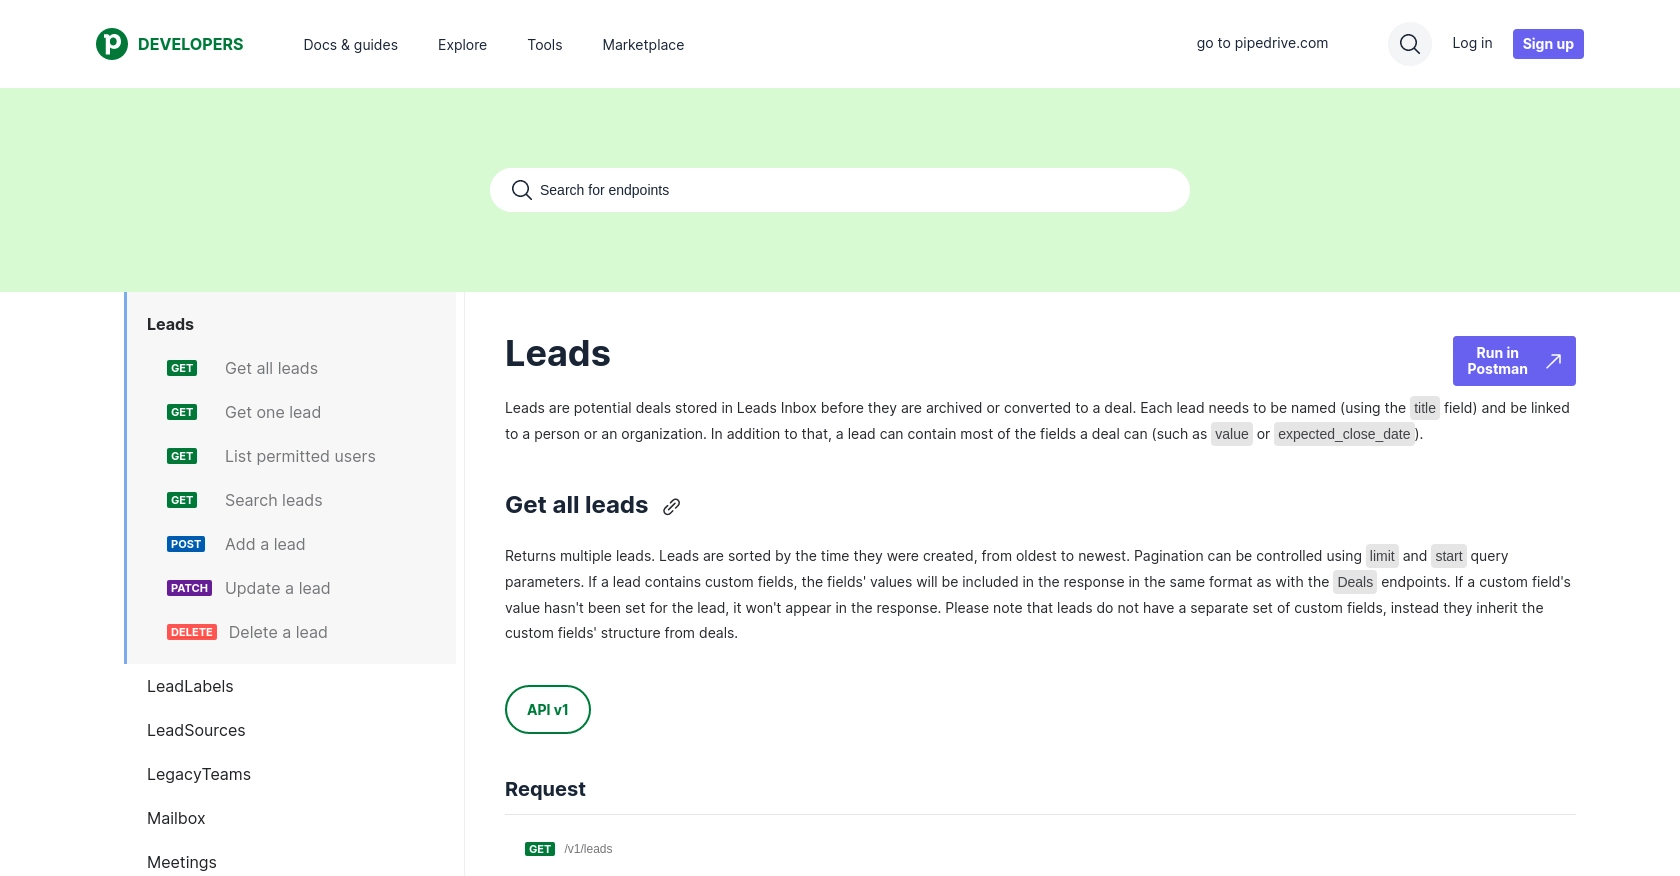
Integrating with Pipedrive's API allows developers to automate and enhance sales operations by accessing and manipulating data programmatically. For example, using the Pipedrive API, developers can retrieve leads and integrate them into custom dashboards or analytics tools, providing sales teams with real-time insights and improving decision-making processes.
Setting Up Your Pipedrive Developer Sandbox Account
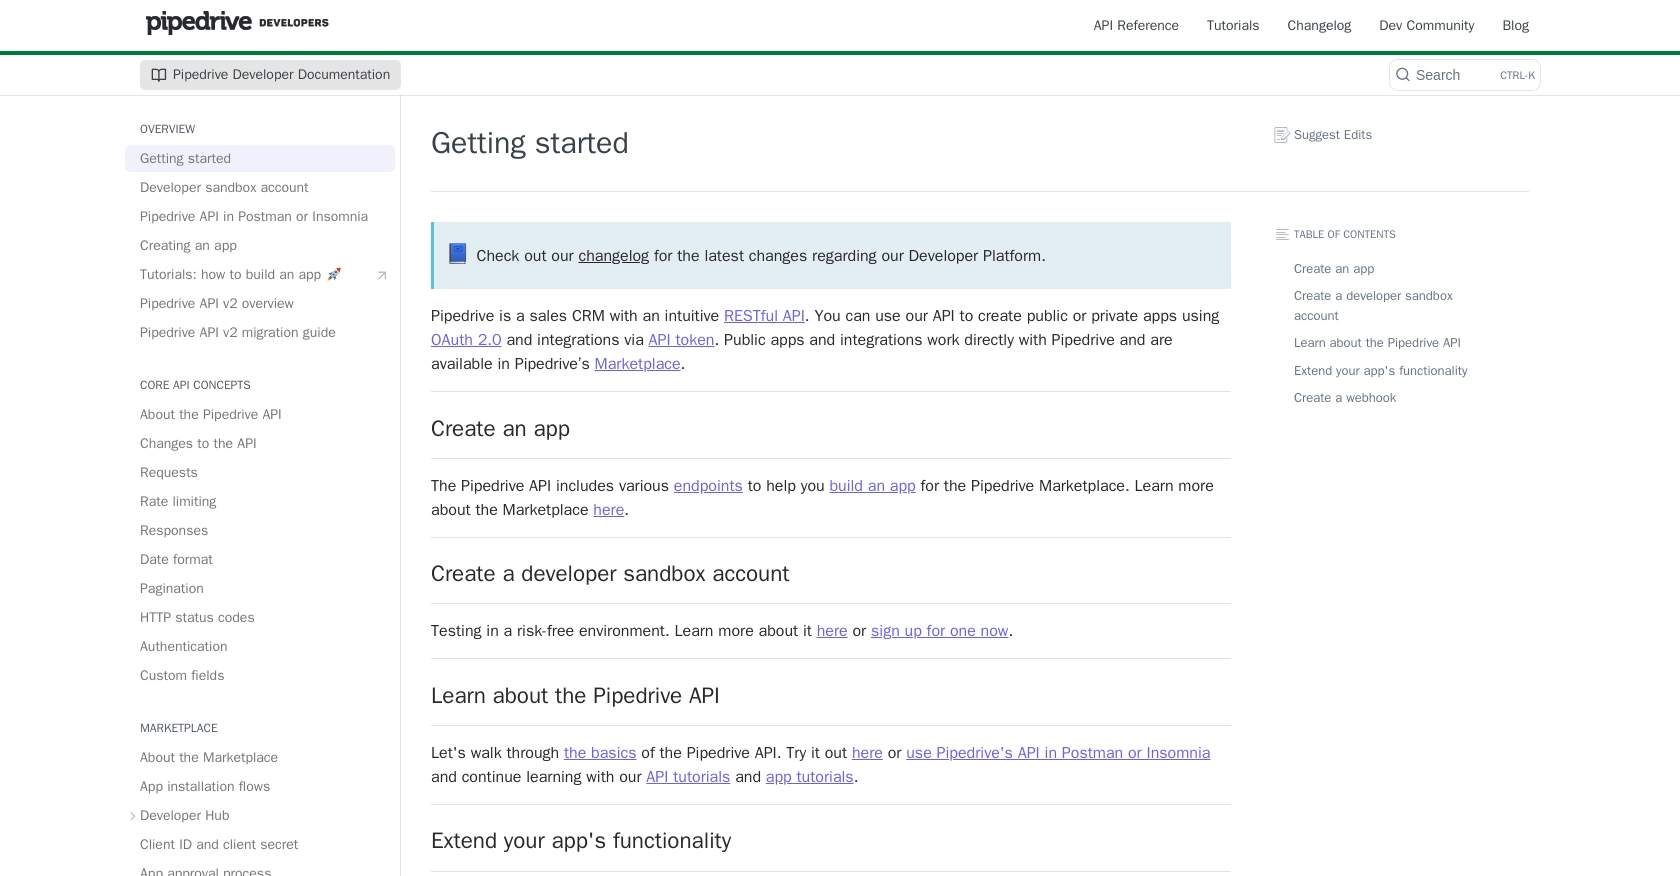
Before you can start integrating with the Pipedrive API, you'll need to set up a developer sandbox account. This account provides a risk-free environment for testing and development, ensuring that your main data remains unaffected.
Creating a Pipedrive Developer Sandbox Account
To create a sandbox account, follow these steps:
- Visit the Pipedrive Developer Sandbox Account page.
- Fill out the form to request access to a sandbox account. This account is similar to a regular Pipedrive company account but is limited to 5 seats by default.
- Once your request is approved, you'll receive access to the Developer Hub, where you can manage your apps and perform testing.
Generating OAuth Credentials for Pipedrive API
Pipedrive uses OAuth 2.0 for authentication, which requires you to create an app to obtain the necessary credentials. Follow these steps to generate your client ID and client secret:
- Log in to your Pipedrive Developer Hub.
- Navigate to the "Apps" section and click on "Create an app."
- Provide the required information about your app, such as the name and description.
- Once your app is created, navigate to the app's settings to find your client ID and client secret.
- Ensure that your app's scopes are set correctly to access leads data.
Importing Sample Data into Your Pipedrive Sandbox
To effectively test your integration, you may want to import sample data into your sandbox account:
- Download the template spreadsheets with sample data from the Pipedrive documentation.
- In your Pipedrive web app, go to “...” (More) > Import data > From a spreadsheet.
- Follow the prompts to upload and import the sample data into your sandbox account.
With your sandbox account set up and OAuth credentials in hand, you're ready to start integrating with the Pipedrive API using JavaScript.

sbb-itb-96038d7
Making API Calls to Retrieve Leads from Pipedrive Using JavaScript
To interact with the Pipedrive API and retrieve leads, you'll need to use JavaScript to make HTTP requests. This section will guide you through the process of setting up your environment, writing the code, and handling responses effectively.
Setting Up Your JavaScript Environment for Pipedrive API Integration
Before you start coding, ensure you have the following prerequisites:
- Node.js installed on your machine.
- A code editor like Visual Studio Code.
- Access to your Pipedrive OAuth credentials (client ID and client secret).
You'll also need to install the axios library to handle HTTP requests. Run the following command in your terminal:
npm install axiosWriting JavaScript Code to Fetch Leads from Pipedrive
Create a new JavaScript file named getPipedriveLeads.js and add the following code:
const axios = require('axios');

// Your Pipedrive OAuth token
const accessToken = 'Your_Access_Token';

// Set the API endpoint
const endpoint = 'https://api.pipedrive.com/v1/leads';

// Function to get leads
async function getLeads() {
    try {
        const response = await axios.get(endpoint, {
            headers: {
                'Authorization': `Bearer ${accessToken}`
            }
        });
        console.log('Leads:', response.data.data);
    } catch (error) {
        console.error('Error fetching leads:', error.response ? error.response.data : error.message);
    }
}

// Execute the function
getLeads();
Replace Your_Access_Token with the OAuth token you obtained from your Pipedrive app settings.
Understanding the JavaScript Code for Pipedrive API Calls
In the code above, we use the axios library to make a GET request to the Pipedrive API endpoint for leads. The access token is included in the request headers for authentication. If the request is successful, the leads data is logged to the console. In case of an error, the error message is displayed.
Verifying the API Call and Handling Errors
Run the script using the following command:
node getPipedriveLeads.jsIf successful, you should see the list of leads printed in your console. Verify the leads in your Pipedrive sandbox account to ensure they match the output.
Handle errors by checking the response status codes. Common errors include:
- 401 Unauthorized: Check your access token.
- 429 Too Many Requests: You have exceeded the rate limit. Refer to the Pipedrive rate limiting documentation for more details.
For more information on error codes, visit the Pipedrive HTTP Status Codes documentation.

Conclusion and Best Practices for Integrating with Pipedrive API Using JavaScript
Integrating with the Pipedrive API using JavaScript can significantly enhance your sales operations by automating lead management and providing real-time insights. By following the steps outlined in this guide, you can efficiently retrieve leads and incorporate them into your custom applications or dashboards.
Best Practices for Secure and Efficient API Integration with Pipedrive
- Securely Store Credentials: Always store your OAuth credentials securely. Avoid hardcoding them in your source code. Consider using environment variables or a secure vault.
- Handle Rate Limiting: Be mindful of Pipedrive's rate limits. Implement logic to handle HTTP 429 errors gracefully and consider using webhooks to reduce the number of API calls. For detailed rate limit information, refer to the Pipedrive Rate Limiting documentation.
- Data Transformation: Standardize and transform data fields as needed to ensure consistency across your applications.
- Error Handling: Implement comprehensive error handling to manage different HTTP status codes effectively. This will help in diagnosing issues quickly and maintaining a robust integration.
Leverage Endgrate for Streamlined Integration Solutions
If managing multiple integrations becomes overwhelming, consider using Endgrate to simplify the process. Endgrate offers a unified API endpoint that connects to various platforms, including Pipedrive, allowing you to focus on your core product while outsourcing integration complexities. This approach saves time and resources, providing an intuitive integration experience for your customers.
Visit Endgrate to learn more about how you can streamline your integration processes and enhance your product offerings.
Read More
- https://endgrate.com/provider/pipedrive
- https://pipedrive.readme.io/docs/getting-started
- https://pipedrive.readme.io/docs/developer-sandbox-account
- https://pipedrive.readme.io/docs/marketplace-creating-a-proper-app
- https://pipedrive.readme.io/docs/core-api-concepts-rate-limiting
- https://pipedrive.readme.io/docs/core-api-concepts-pagination
- https://pipedrive.readme.io/docs/core-api-concepts-http-status-codes
- https://pipedrive.readme.io/docs/core-api-concepts-custom-fields
- https://developers.pipedrive.com/docs/api/v1/Leads
Ready to get started?
