How to Get Messages with the Re:amaze API in Javascript
Introduction to Re:amaze API Integration
Re:amaze is a versatile customer support platform that offers a unified inbox for managing customer interactions across various channels, including email, chat, and social media. It is designed to enhance customer engagement and streamline support operations for businesses of all sizes.
Developers may want to integrate with the Re:amaze API to access and manage customer messages programmatically. For example, retrieving messages from Re:amaze using JavaScript can help automate the process of analyzing customer interactions, enabling businesses to improve response times and customer satisfaction.
This article will guide you through the process of using JavaScript to interact with the Re:amaze API, specifically focusing on retrieving messages. By following this tutorial, you will learn how to efficiently access and handle message data within the Re:amaze platform.
Setting Up Your Re:amaze Account for API Access
Before you can start retrieving messages using the Re:amaze API, you'll need to set up your account and obtain the necessary credentials. This involves creating a Re:amaze account and generating an API token for authentication purposes.
Creating a Re:amaze Account
If you don't already have a Re:amaze account, you can sign up for a free account on the Re:amaze website. Follow these steps to create your account:
- Visit the Re:amaze website.
- Click on "Sign Up" and choose your preferred sign-up method (email, Google, or Microsoft).
- Fill in the required information and complete the registration process.
Once your account is created, you can log in to access the Re:amaze dashboard.
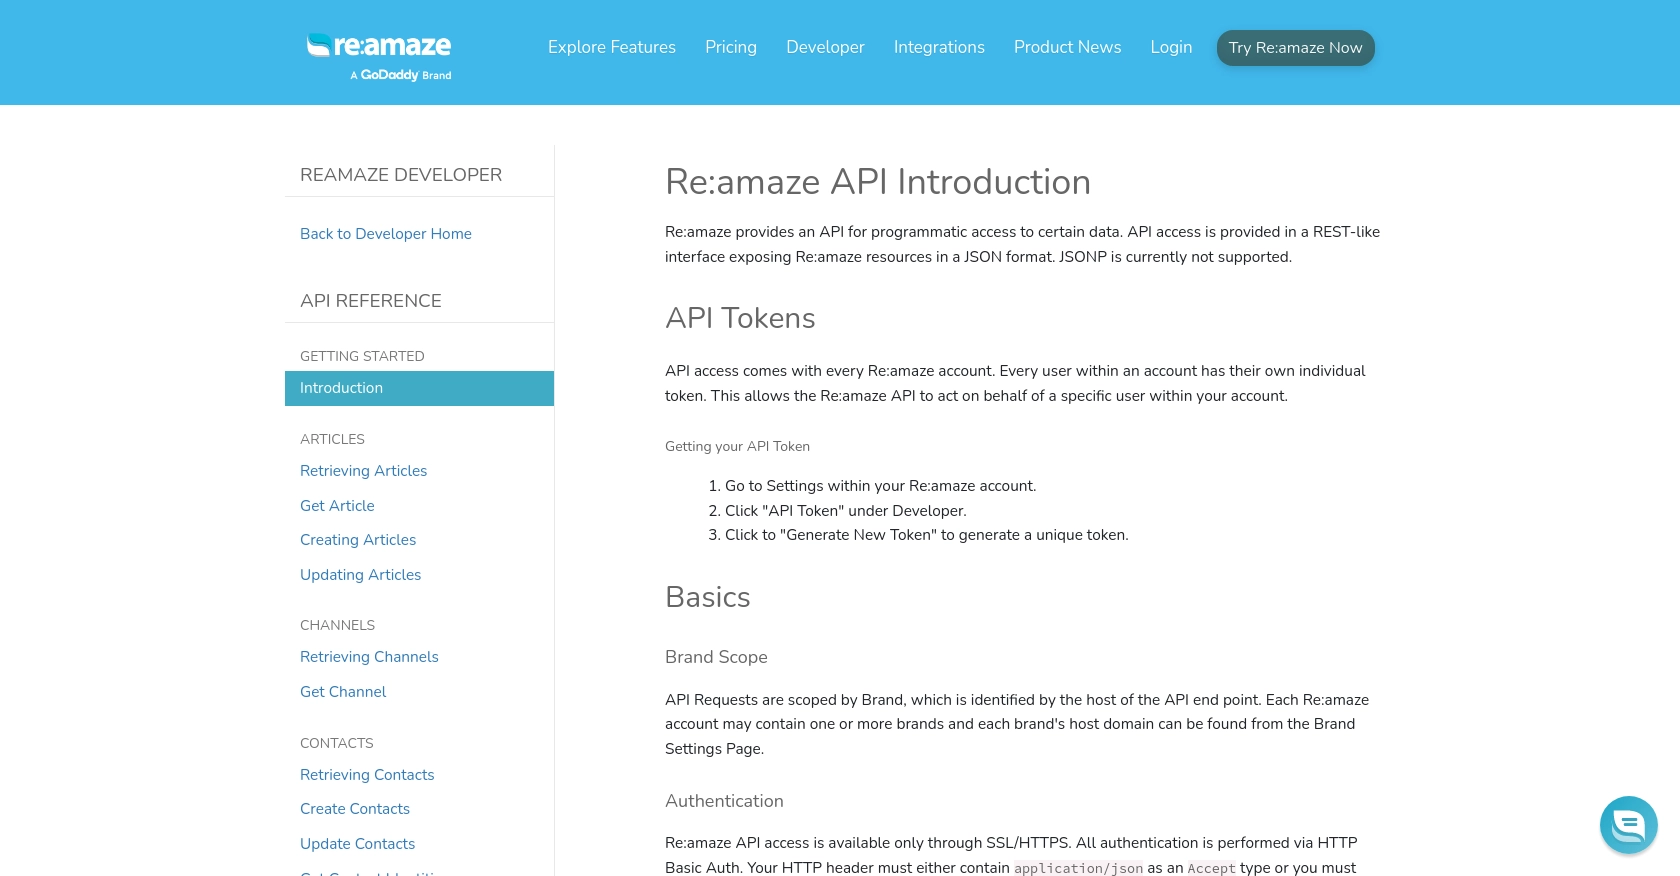
Generating an API Token for Re:amaze
To interact with the Re:amaze API, you'll need an API token. This token allows the API to act on behalf of your account. Follow these steps to generate your API token:
- Log in to your Re:amaze account.
- Navigate to the "Settings" section from the dashboard.
- Under the "Developer" menu, click on "API Token."
- Click on "Generate New Token" to create a unique API token for your account.
Make sure to copy and securely store your API token, as you'll need it to authenticate your API requests.
Understanding Re:amaze API Authentication
The Re:amaze API uses HTTP Basic Auth for authentication. This requires you to include your login email and API token in the request header. Ensure that all API requests are made over SSL/HTTPS for security purposes.
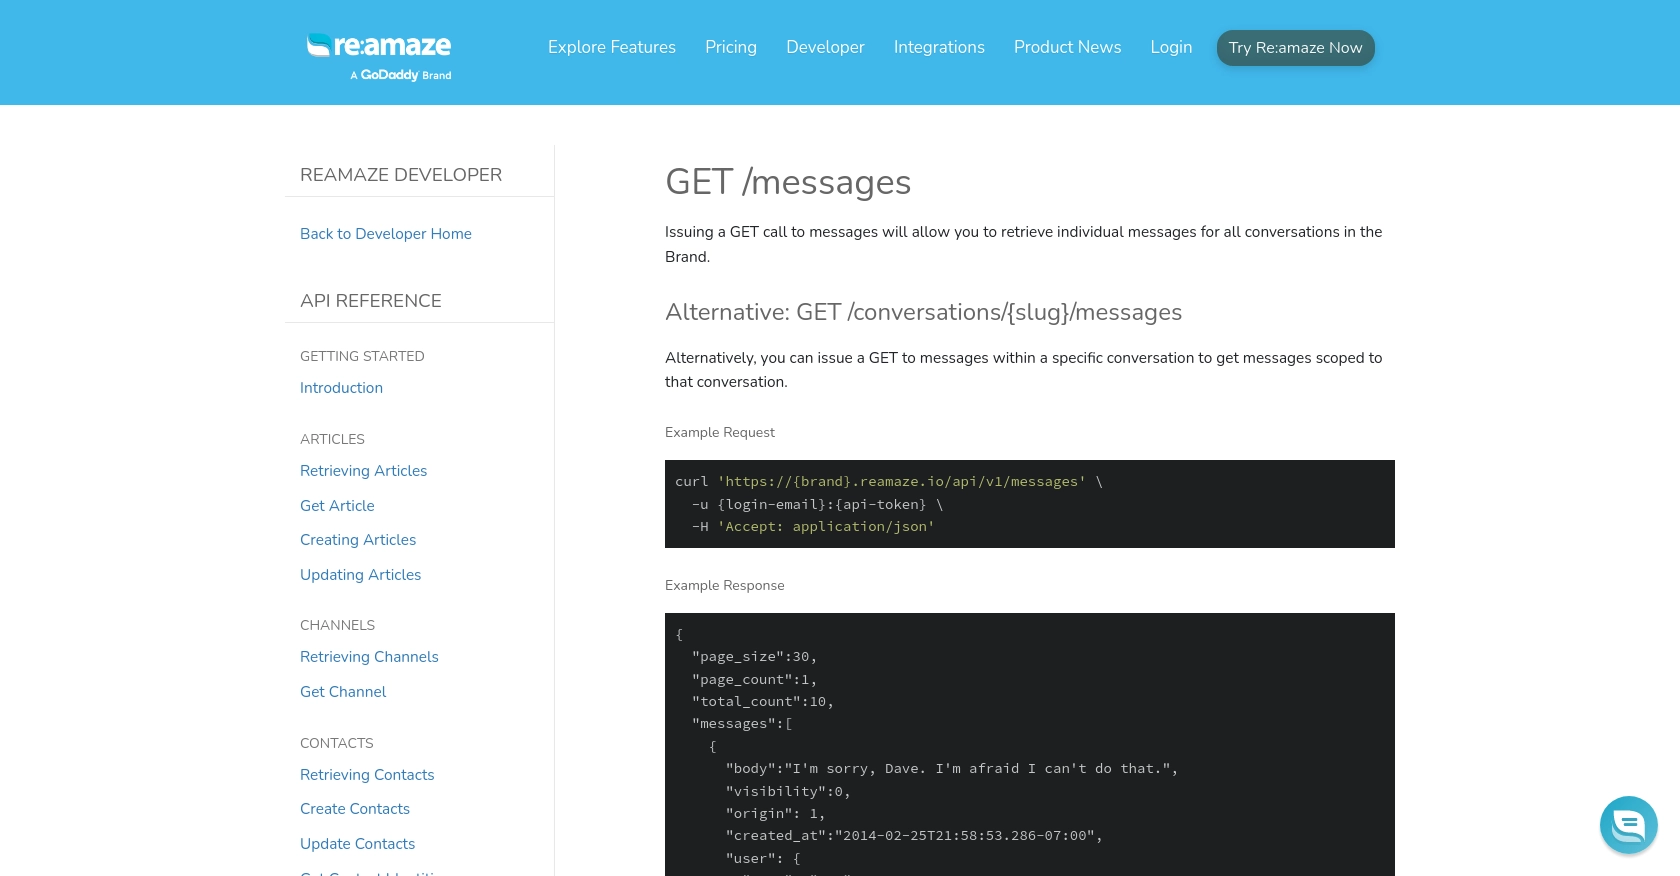
Here's an example of how to set up a basic request using curl:
curl 'https://{brand}.reamaze.io/api/v1/messages' \
-u {login-email}:{api-token} \
-H 'Accept: application/json'
Replace {brand}, {login-email}, and {api-token} with your specific details.
With your Re:amaze account set up and your API token ready, you're now prepared to start making API calls to retrieve messages.
sbb-itb-96038d7
Making API Calls to Retrieve Messages from Re:amaze Using JavaScript
Now that you have your Re:amaze account set up and your API token ready, it's time to dive into making API calls to retrieve messages. In this section, we'll guide you through the process of using JavaScript to interact with the Re:amaze API and fetch messages.
Prerequisites for JavaScript Integration with Re:amaze API
Before you start coding, ensure you have the following prerequisites:
- A working knowledge of JavaScript and asynchronous programming.
- Node.js installed on your machine for running JavaScript outside the browser.
- A code editor like Visual Studio Code.
Setting Up Your JavaScript Environment
To make HTTP requests in JavaScript, you can use the axios library, which simplifies the process of making API calls. Install it using npm:
npm install axios
Writing JavaScript Code to Fetch Messages from Re:amaze
Create a new JavaScript file named getReamazeMessages.js and add the following code:
const axios = require('axios');

// Set the API endpoint and authentication details
const brand = 'your_brand';
const loginEmail = 'your_login_email';
const apiToken = 'your_api_token';
const endpoint = `https://${brand}.reamaze.io/api/v1/messages`;

// Function to retrieve messages
async function getMessages() {
    try {
        const response = await axios.get(endpoint, {
            headers: {
                'Accept': 'application/json'
            },
            auth: {
                username: loginEmail,
                password: apiToken
            }
        });

        // Log the retrieved messages
        console.log(response.data.messages);
    } catch (error) {
        console.error('Error fetching messages:', error.response ? error.response.data : error.message);
    }
}

// Execute the function
getMessages();
Replace your_brand, your_login_email, and your_api_token with your specific Re:amaze details.
Running Your JavaScript Code
To execute your script and retrieve messages, run the following command in your terminal:
node getReamazeMessages.js
If successful, you should see the list of messages printed in the console. This confirms that your API call to Re:amaze was successful.
Handling Errors and Verifying API Requests
When making API calls, it's crucial to handle potential errors gracefully. The code above includes a try-catch block to catch and log any errors that occur during the request. Common errors might include network issues or incorrect authentication details.
To verify that your request succeeded, you can cross-check the retrieved messages with the data available in your Re:amaze dashboard.
Understanding Re:amaze API Rate Limiting
Keep in mind that the Re:amaze API is rate-limited. If you exceed the allowed number of requests per minute, you'll receive a HTTP 429 Too Many Requests response. Plan your API usage accordingly to avoid hitting these limits.
For more details on rate limiting, refer to the Re:amaze API documentation.
Conclusion and Best Practices for Re:amaze API Integration in JavaScript
Integrating with the Re:amaze API using JavaScript allows developers to efficiently manage customer interactions by retrieving messages programmatically. This capability can significantly enhance customer support operations by automating message analysis and improving response times.
Best Practices for Secure and Efficient Re:amaze API Usage
- Secure Storage of Credentials: Always store your API tokens and login credentials securely. Consider using environment variables or a secure vault to prevent unauthorized access.
- Handling Rate Limits: Be mindful of the Re:amaze API rate limits. Implement logic to handle HTTP 429 responses gracefully, such as retrying requests after a delay.
- Data Transformation: Standardize and transform message data as needed to integrate seamlessly with other systems or databases.
By following these best practices, you can ensure a robust and secure integration with the Re:amaze API, enhancing your application's functionality and user experience.
Streamline Your Integrations with Endgrate
While building custom integrations can be rewarding, it can also be time-consuming and complex. Endgrate offers a solution by providing a unified API endpoint that connects to multiple platforms, including Re:amaze. This allows you to focus on your core product while outsourcing the integration complexities.
With Endgrate, you can build once for each use case and enjoy an intuitive integration experience for your customers. Visit Endgrate to learn more about how you can simplify your integration processes and save valuable time and resources.
Read More

Ready to get started?
