How to Get Organizations with the Zendesk Support API in Python
Introduction to Zendesk Support API
Zendesk Support is a robust customer service platform that enables businesses to manage customer interactions across various channels. It offers a comprehensive suite of tools designed to enhance customer support operations, including ticketing, reporting, and customer engagement features.
Developers often integrate with the Zendesk Support API to streamline customer service processes and access valuable data. For example, retrieving organization data using the Zendesk Support API in Python can help developers automate workflows, such as categorizing tickets by organization or generating reports on organizational interactions.
This article will guide you through the process of using Python to interact with the Zendesk Support API, specifically focusing on retrieving organization information. By following this tutorial, you'll learn how to efficiently access and manage organization data within the Zendesk platform.
Setting Up Your Zendesk Support Test Account
Before you can start interacting with the Zendesk Support API, you'll need to set up a test or sandbox account. This will allow you to safely experiment with API calls without affecting live data.
Creating a Zendesk Support Sandbox Account
If you don't already have a Zendesk account, you can sign up for a free trial or a sandbox account. Follow these steps to create your account:
- Visit the Zendesk registration page.
- Fill in the required information, including your email address and company details.
- Choose the option for a free trial or sandbox account, depending on your needs.
- Complete the registration process and verify your email address.
Once your account is set up, you can log in to the Zendesk Support dashboard.
Registering Your Application for OAuth Authentication
Since the Zendesk Support API uses OAuth for authentication, you'll need to register your application to obtain the necessary credentials. Follow these steps:
- Navigate to the Admin Center in your Zendesk dashboard.
- Go to Apps and integrations and select APIs > Zendesk API.
- Click on the OAuth Clients tab and then Add OAuth client.
- Fill out the form with the following details:
- Client Name: A name for your application.
- Description: A brief description of your app (optional).
- Company: Your company name (optional).
- Redirect URLs: The URL where Zendesk will send the authorization code.
- Click Save to generate your client ID and client secret. Make sure to copy these credentials and store them securely.
For more details on setting up OAuth, refer to the Zendesk OAuth documentation.
Generating an OAuth Access Token
With your application registered, you can now generate an OAuth access token to authenticate API requests:
- Direct users to the Zendesk authorization page using the following URL format:
https://{subdomain}.zendesk.com/oauth/authorizations/new?response_type=code&client_id={your_client_id}&redirect_uri={your_redirect_url}&scope=read - After the user authorizes the application, Zendesk will redirect them to your specified redirect URL with an authorization code.
- Exchange the authorization code for an access token by making a POST request to:
import requests

url = "https://{subdomain}.zendesk.com/oauth/tokens"
payload = {
    "grant_type": "authorization_code",
    "code": "{authorization_code}",
    "client_id": "{your_client_id}",
    "client_secret": "{your_client_secret}",
    "redirect_uri": "{your_redirect_url}"
}
headers = {"Content-Type": "application/json"}

response = requests.post(url, json=payload, headers=headers)
print(response.json())
Store the access token securely, as it will be used to authenticate your API requests. For more information, see the Zendesk authentication documentation.
sbb-itb-96038d7
Making API Calls to Retrieve Organizations with Zendesk Support API in Python
To interact with the Zendesk Support API and retrieve organization data, you'll need to use Python. This section will guide you through the necessary steps, including setting up your environment, writing the code, and handling potential errors.
Setting Up Your Python Environment for Zendesk Support API
Before making API calls, ensure you have Python installed on your machine. This tutorial uses Python 3.11.1. Additionally, you'll need the requests library to handle HTTP requests. Install it using pip:
pip install requestsWriting Python Code to Retrieve Organizations from Zendesk Support
Once your environment is ready, you can write a Python script to interact with the Zendesk Support API and retrieve organization data. Create a file named get_zendesk_organizations.py and add the following code:
import requests
from requests.auth import HTTPBasicAuth

# Define the API endpoint
url = "https://{subdomain}.zendesk.com/api/v2/organizations.json"

# Set your email and API token
email_address = 'your_email_address'
api_token = 'your_api_token'

# Use basic authentication
auth = HTTPBasicAuth(f'{email_address}/token', api_token)

# Set headers
headers = {
    "Content-Type": "application/json"
}

# Make a GET request to the API
response = requests.get(url, auth=auth, headers=headers)

# Check if the request was successful
if response.status_code == 200:
    organizations = response.json()
    for organization in organizations['organizations']:
        print(f"Organization ID: {organization['id']}, Name: {organization['name']}")
else:
    print(f"Failed to retrieve organizations: {response.status_code} - {response.text}")
Replace your_email_address and your_api_token with your actual Zendesk email and API token.
Running the Python Script and Verifying Output
Run the script from your terminal or command line:
python get_zendesk_organizations.pyIf successful, the script will print the IDs and names of organizations in your Zendesk account. If there are errors, the script will output the error code and message.
Handling Errors and Understanding Zendesk Support API Rate Limits
It's essential to handle errors gracefully. The Zendesk Support API may return various error codes, such as 401 for unauthorized access or 429 for too many requests. Implement error handling to manage these scenarios effectively.
Be aware of Zendesk's rate limits. According to the Zendesk documentation, the API allows a certain number of requests per minute, depending on your plan. If you exceed this limit, you'll receive a 429 status code. Use the Retry-After header in the response to determine when to retry your request.
Conclusion and Best Practices for Using Zendesk Support API with Python
Integrating with the Zendesk Support API using Python provides developers with powerful capabilities to manage and automate customer service operations. By retrieving organization data, you can enhance workflows, improve reporting, and streamline customer interactions.
Best Practices for Secure and Efficient API Integration
- Securely Store Credentials: Always store your OAuth tokens and API credentials securely. Avoid hardcoding them in your scripts and consider using environment variables or secure vaults.
- Handle Rate Limits: Be mindful of Zendesk's rate limits. Implement logic to handle 429 errors by checking the
Retry-Afterheader and waiting before retrying requests. For more details, refer to the Zendesk rate limits documentation. - Implement Error Handling: Ensure your application gracefully handles errors by checking response codes and implementing retry logic where appropriate.
- Optimize Data Processing: Use pagination to efficiently handle large datasets and reduce the load on your application and the Zendesk API.
Enhancing Your Integration with Endgrate
While integrating with Zendesk Support API directly is powerful, using a tool like Endgrate can further simplify the process. Endgrate offers a unified API endpoint that connects to multiple platforms, allowing you to build once and deploy across various integrations. This not only saves time and resources but also provides an intuitive experience for your customers.
Explore how Endgrate can streamline your integration efforts by visiting Endgrate and discover how you can focus on your core product while outsourcing complex integrations.
Read More
- https://endgrate.com/provider/zendesksupport
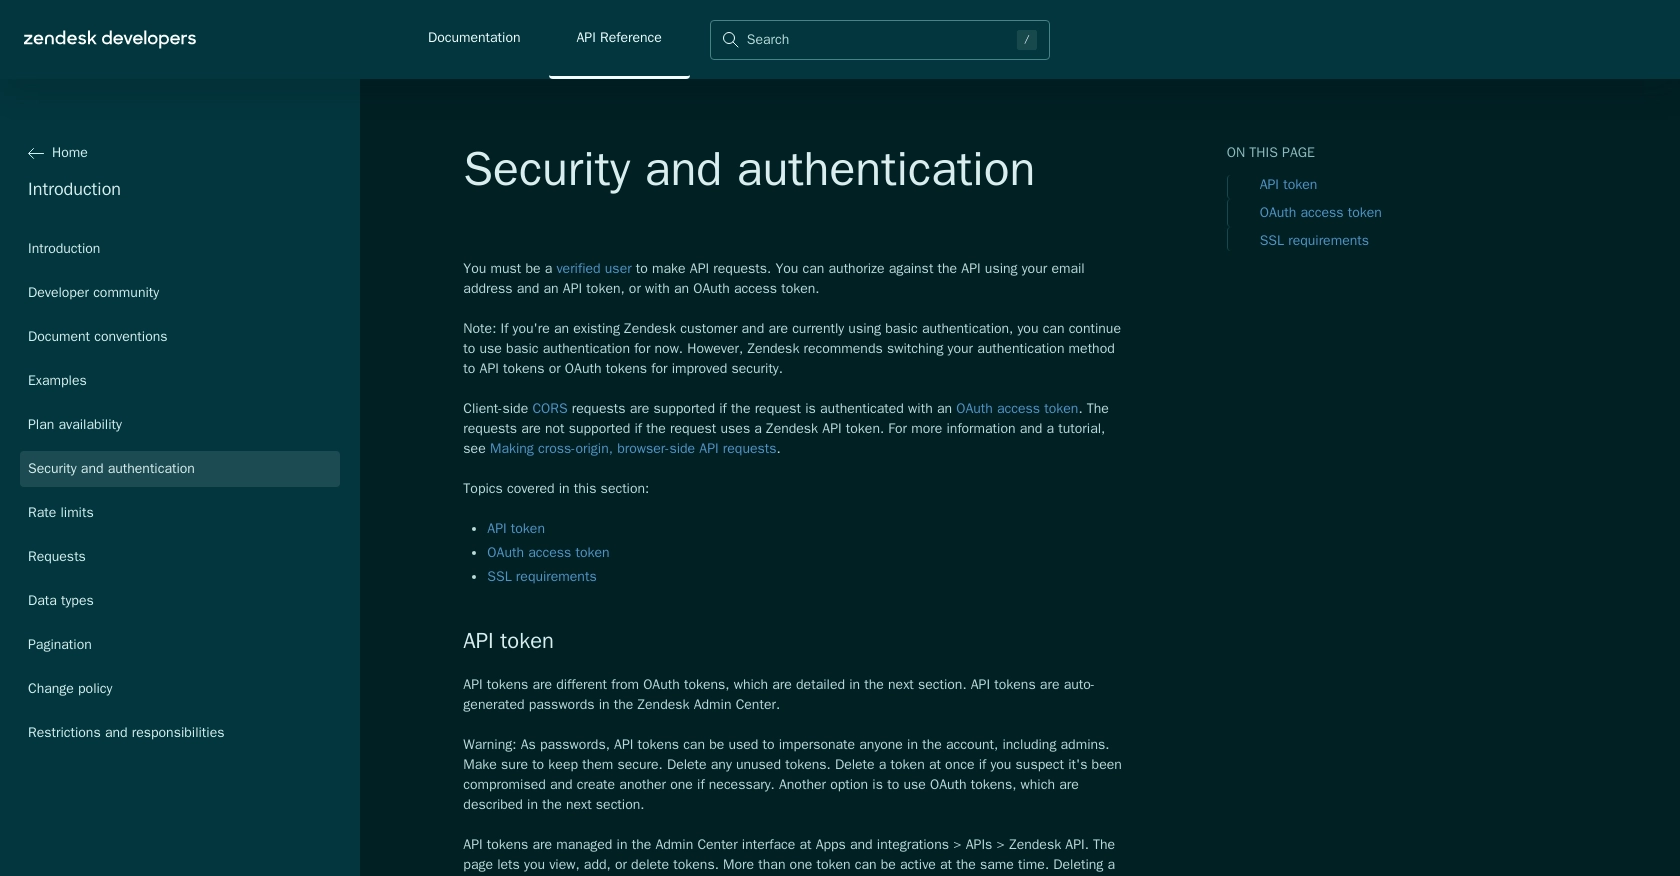
- https://developer.zendesk.com/api-reference/introduction/security-and-auth/
- https://support.zendesk.com/hc/en-us/articles/4408845965210-Using-OAuth-authentication-with-your-application
- https://developer.zendesk.com/api-reference/introduction/rate-limits/
- https://developer.zendesk.com/api-reference/introduction/pagination/
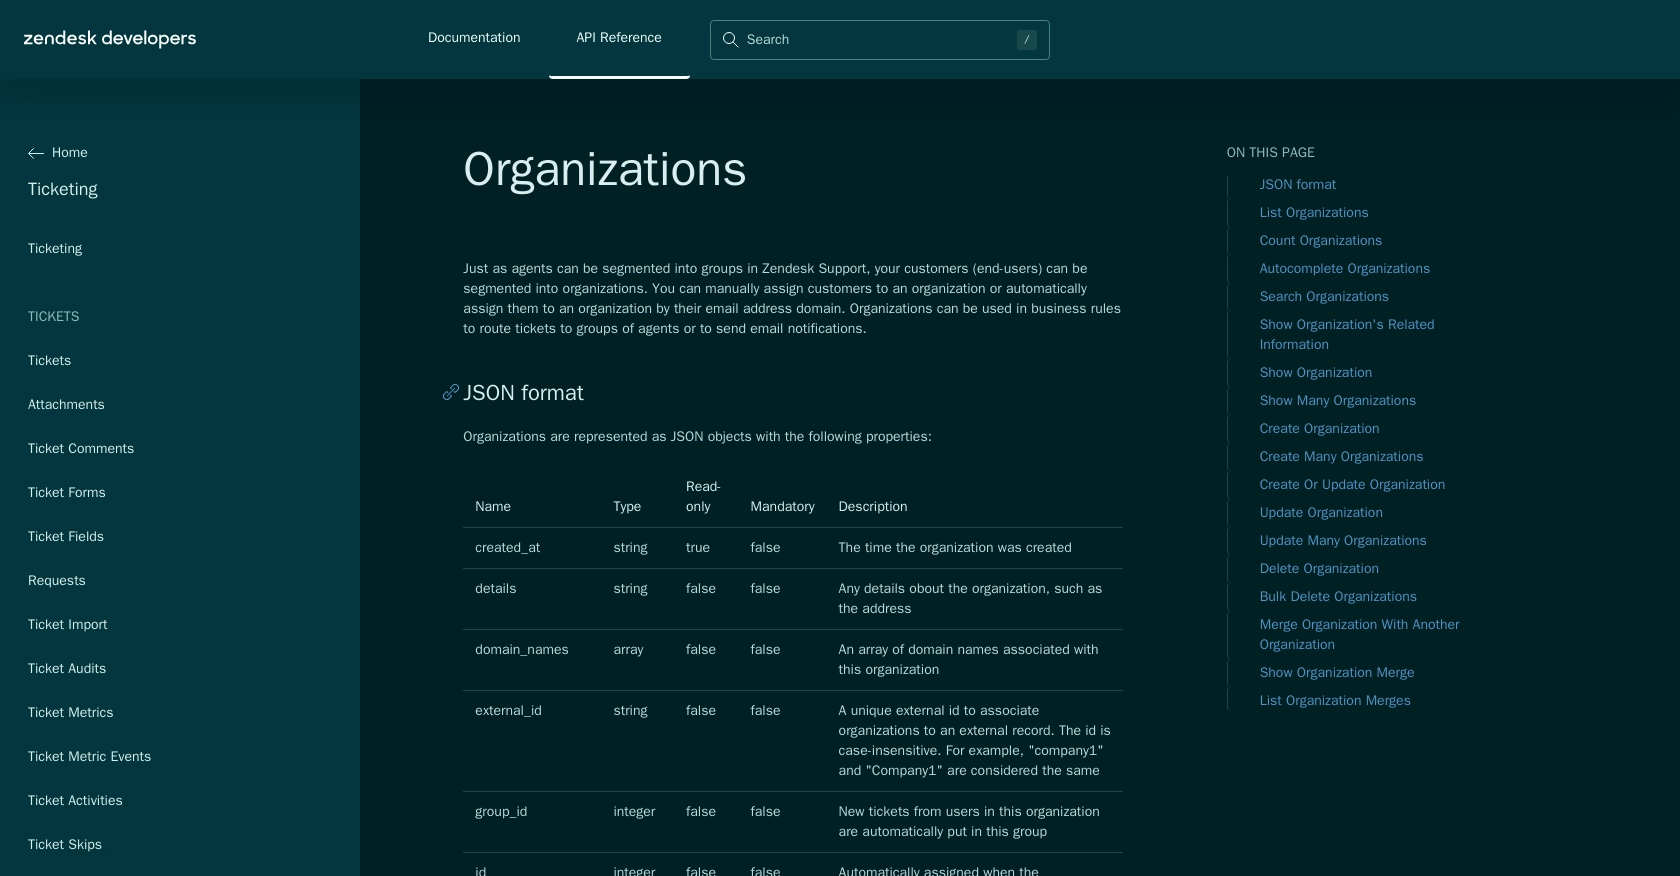
- https://developer.zendesk.com/api-reference/ticketing/organizations/organizations/

Ready to get started?
