How to Get Records with the Snowflake API in Javascript

Introduction to Snowflake API Integration
Snowflake is a cloud-based data warehousing platform renowned for its scalability, performance, and ease of use. It enables businesses to store, manage, and analyze vast amounts of data efficiently. Snowflake's unique architecture separates storage and compute, allowing for flexible scaling and cost management.
For developers, integrating with the Snowflake API can unlock powerful data management capabilities. By connecting to Snowflake, developers can automate data retrieval and manipulation, enabling seamless data-driven applications. For example, a developer might use the Snowflake API to fetch records for real-time analytics dashboards, enhancing decision-making processes with up-to-date information.
Setting Up Your Snowflake Test Account for API Integration
Before you can start interacting with the Snowflake API using JavaScript, you need to set up a test or sandbox account. This will allow you to safely experiment with the API without affecting your production data.
Creating a Snowflake Account
If you don't already have a Snowflake account, you can sign up for a free trial on the Snowflake website. This trial provides access to a sandbox environment where you can test API interactions.
- Visit the Snowflake website and click on "Start for Free."
- Follow the instructions to create your account. You'll need to provide some basic information and verify your email address.
- Once your account is set up, log in to access the Snowflake dashboard.
Setting Up OAuth for Snowflake API Authentication
Snowflake uses OAuth for secure API authentication. Follow these steps to set up OAuth:
- Navigate to the "Admin" section in your Snowflake dashboard.
- Under "Security," select "OAuth" to create a new OAuth integration.
- Provide the necessary details, such as the integration name and redirect URL.
- Save the integration to generate your client ID and client secret.
For more detailed instructions, refer to the Snowflake OAuth documentation.
Generating an OAuth Token
Once your OAuth integration is set up, you need to generate an OAuth token to authenticate your API requests:
// Example command to generate OAuth token using SnowSQL
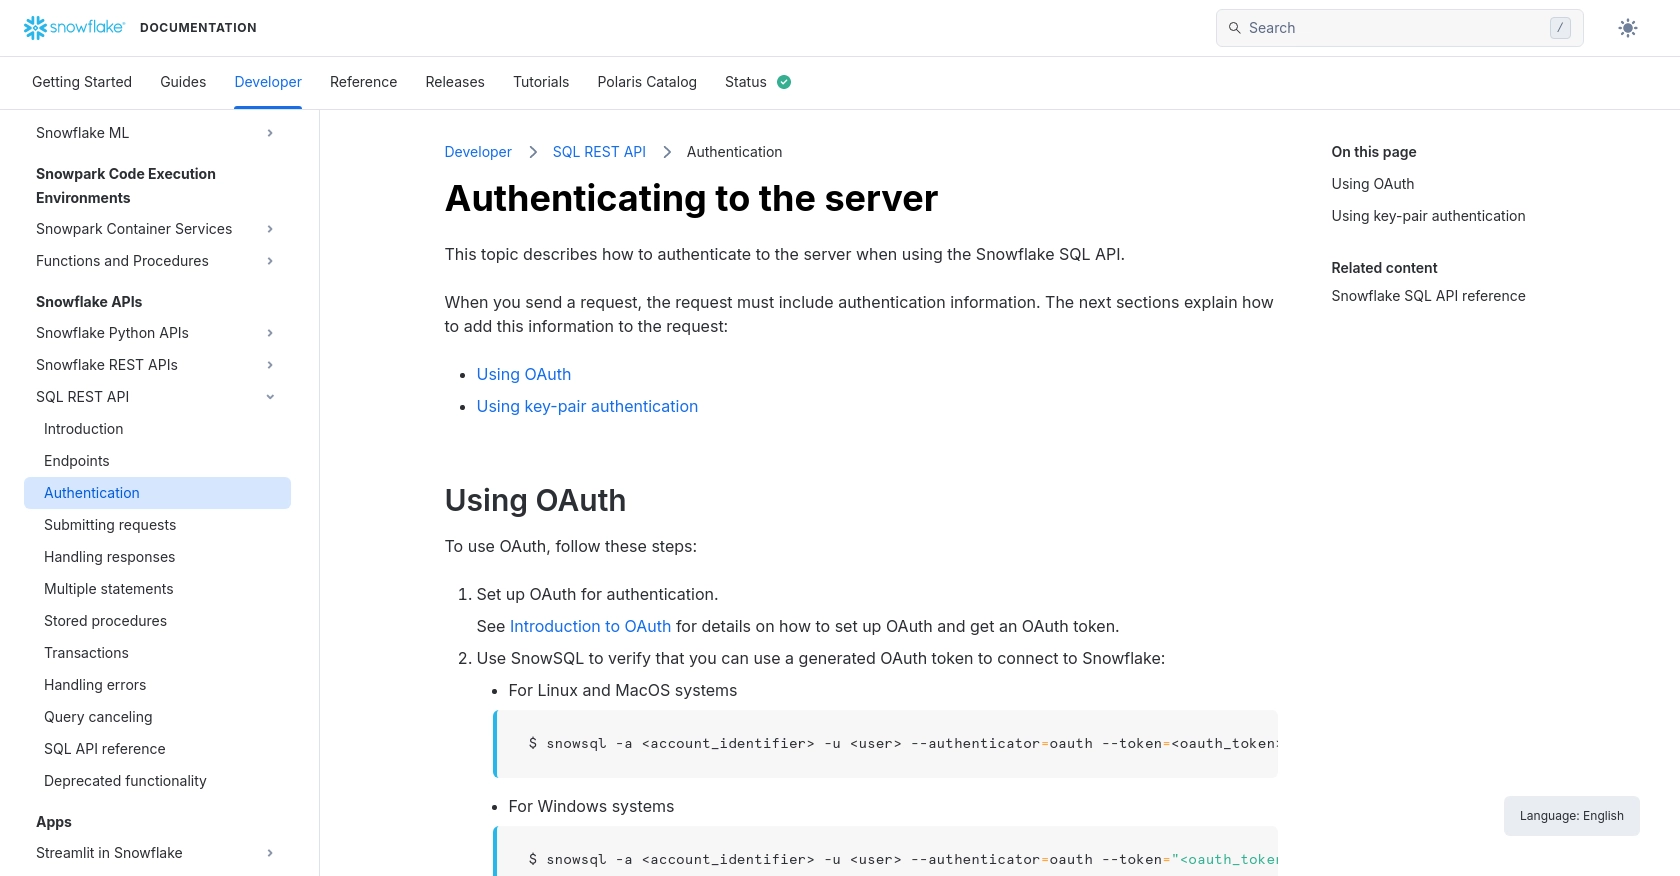
$ snowsql -a <account_identifier> -u <user> --authenticator=oauth --token=<oauth_token>
Replace <account_identifier>, <user>, and <oauth_token> with your specific details.
Configuring API Request Headers
In each API request, include the following headers to authenticate using your OAuth token:
{
  "Authorization": "Bearer <oauth_token>",
  "X-Snowflake-Authorization-Token-Type": "OAUTH"
}
Replace <oauth_token> with your generated token. You can omit the X-Snowflake-Authorization-Token-Type header if desired, as Snowflake assumes the token type is OAuth by default.

sbb-itb-96038d7
Making API Calls to Retrieve Records from Snowflake Using JavaScript
To interact with the Snowflake API using JavaScript, you'll need to ensure you have the right environment and dependencies set up. This section will guide you through the process of making API calls to retrieve records from Snowflake.
Setting Up Your JavaScript Environment
Before you begin, make sure you have Node.js installed on your machine. Node.js provides the runtime environment necessary to execute JavaScript code outside of a browser.
- Download and install Node.js from the official website.
- Verify the installation by running the following command in your terminal:
node -vThis command should return the version of Node.js installed.
Installing Required Dependencies
For making HTTP requests in JavaScript, you can use the popular axios library. Install it using npm (Node Package Manager) with the following command:
npm install axiosWriting JavaScript Code to Fetch Records from Snowflake
Create a new JavaScript file named fetchSnowflakeRecords.js and add the following code to it:
const axios = require('axios');

// Set the API endpoint and headers
const endpoint = 'https://.snowflakecomputing.com/api/v2/statements/';
const headers = {
  'Authorization': 'Bearer ',
  'X-Snowflake-Authorization-Token-Type': 'OAUTH',
  'Content-Type': 'application/json'
};

// Define the SQL query to execute
const sqlQuery = {
  statement: 'SELECT * FROM your_table_name LIMIT 10'
};

// Function to fetch records from Snowflake
async function fetchRecords() {
  try {
    const response = await axios.post(endpoint, sqlQuery, { headers });
    console.log('Records fetched successfully:', response.data);
  } catch (error) {
    console.error('Error fetching records:', error.response ? error.response.data : error.message);
  }
}

// Execute the function
fetchRecords();
Replace <account_identifier> and <oauth_token> with your specific Snowflake account identifier and OAuth token. Also, update your_table_name with the name of the table you wish to query.
Running the JavaScript Code
Execute the JavaScript file using Node.js by running the following command in your terminal:
node fetchSnowflakeRecords.jsIf successful, you should see the records from your Snowflake table printed in the console.
Handling Errors and Validating API Responses
When making API calls, it's crucial to handle potential errors. The Snowflake API may return various HTTP response codes to indicate the status of your request:
- 200 OK: The request was successful, and the records are returned.
- 408 Request Timeout: The request took too long to process. Consider optimizing your query or increasing the timeout.
- 422 Unprocessable Entity: There was an error processing the request. Check the error message for details.
For more information on handling errors, refer to the Snowflake error handling documentation.
Conclusion and Best Practices for Snowflake API Integration with JavaScript
Integrating with the Snowflake API using JavaScript offers developers a robust way to manage and analyze data efficiently. By following the steps outlined in this guide, you can set up a secure connection to Snowflake, execute SQL queries, and handle responses effectively.
Best Practices for Secure and Efficient Snowflake API Usage
- Securely Store Credentials: Always store your OAuth tokens and other sensitive information securely. Consider using environment variables or a secure vault to manage credentials.
- Handle Rate Limiting: Be aware of any rate limits imposed by Snowflake to avoid throttling. Implement retry logic with exponential backoff to handle rate limit errors gracefully.
- Optimize Queries: Ensure your SQL queries are optimized for performance to reduce execution time and resource consumption. This can help prevent timeout errors and improve overall efficiency.
- Standardize Data Fields: When retrieving data, consider transforming and standardizing fields to ensure consistency across your application.
Enhancing Integration Capabilities with Endgrate
While integrating with Snowflake directly can be powerful, managing multiple integrations can become complex. Endgrate offers a unified API solution that simplifies integration processes across various platforms, including Snowflake. By using Endgrate, you can streamline your development efforts, reduce maintenance overhead, and focus on building core features of your product.
Explore how Endgrate can enhance your integration strategy by visiting Endgrate's website and discover how it can save you time and resources.
Read More
Ready to get started?
