How to Get Service Accounts with the Mixpanel API in Javascript

Introduction to Mixpanel API Integration
Mixpanel is a powerful analytics platform that helps businesses track user interactions with web and mobile applications. It provides deep insights into user behavior, enabling companies to make data-driven decisions to enhance user engagement and optimize product offerings.
Developers often integrate with Mixpanel's API to access and manage service accounts, which are essential for automating data collection and analysis processes. For example, a developer might use the Mixpanel API to retrieve a list of service accounts in order to manage permissions and access levels across different projects within an organization.
This article will guide you through the process of using JavaScript to interact with the Mixpanel API, specifically focusing on retrieving service accounts. By following this tutorial, you'll learn how to efficiently manage service accounts, ensuring seamless integration and data flow within your analytics setup.
Setting Up Your Mixpanel Test Account for API Integration
Before diving into the Mixpanel API, it's essential to set up a test account to safely experiment with API calls without affecting live data. Mixpanel offers a straightforward process to create a sandbox environment where you can manage service accounts and test integrations.
Creating a Mixpanel Account
If you don't already have a Mixpanel account, start by signing up for a free account on the Mixpanel website. Follow the on-screen instructions to complete the registration process. Once your account is set up, log in to access the Mixpanel dashboard.
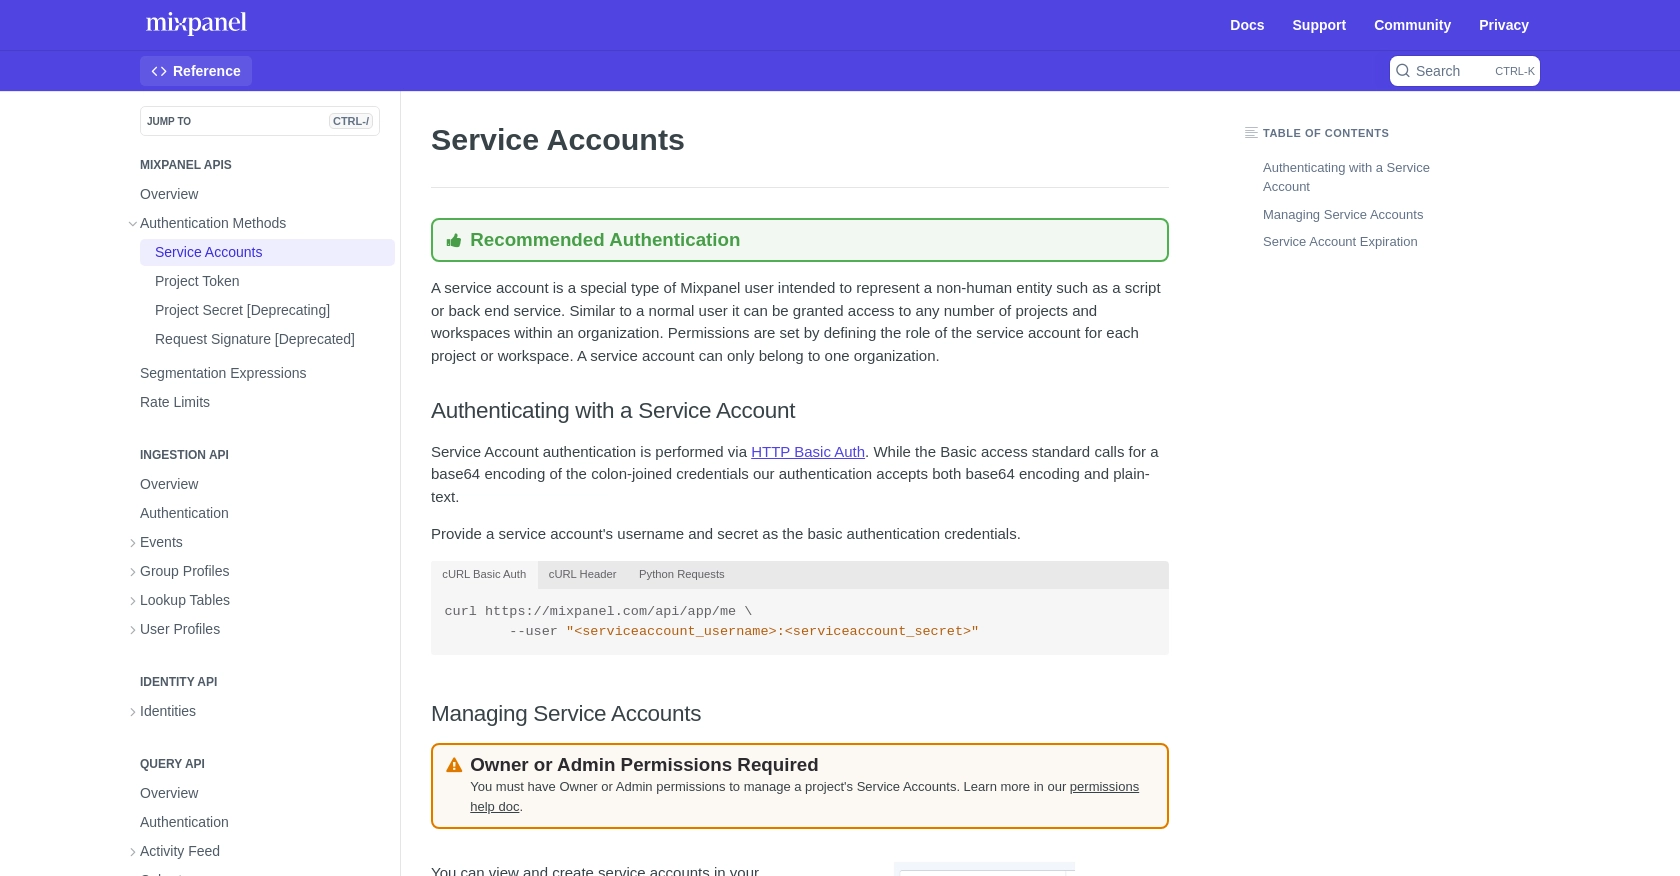
Accessing the Service Accounts Section
To manage service accounts, navigate to the organization settings within your Mixpanel dashboard. Here, you'll find the Service Accounts tab, which allows you to view and create service accounts for your organization. This section is crucial for setting up the necessary credentials for API access.
Creating a Service Account
Follow these steps to create a service account:
- Go to the Service Accounts tab in your organization settings.
- Click on "Create Service Account" and provide the required details, including the role and project access permissions.
- Once created, ensure you save the service account's secret securely, as it will not be accessible again.
For more detailed instructions, refer to the Mixpanel Service Accounts documentation.
Authenticating with Service Account Credentials
Mixpanel uses HTTP Basic Auth for service account authentication. You will need the service account's username and secret to authenticate API requests. Here's an example of how to structure your authentication:
// Example of Basic Auth in JavaScript
const username = 'your_service_account_username';
const secret = 'your_service_account_secret';
const authHeader = 'Basic ' + btoa(username + ':' + secret);
Testing Your Setup
With your service account created and credentials stored securely, you can now proceed to test API calls in your sandbox environment. This setup ensures that you can safely develop and test your integrations without impacting your production data.
For further details on API rate limits and best practices, consult the Mixpanel Rate Limits documentation.
sbb-itb-96038d7
Making API Calls to Retrieve Mixpanel Service Accounts Using JavaScript
To interact with the Mixpanel API and retrieve service accounts, you'll need to set up your JavaScript environment and make HTTP requests. This section will guide you through the necessary steps to achieve this, ensuring you can efficiently manage your Mixpanel service accounts.
Setting Up Your JavaScript Environment for Mixpanel API Integration
Before making API calls, ensure you have Node.js installed on your machine. Node.js provides the runtime environment needed to execute JavaScript code outside of a browser. You can download and install Node.js from the official website.
Once Node.js is installed, you can use npm (Node Package Manager) to install any required dependencies. For this tutorial, we'll use the axios library to handle HTTP requests. Install it by running the following command in your terminal:
npm install axiosWriting JavaScript Code to Retrieve Mixpanel Service Accounts
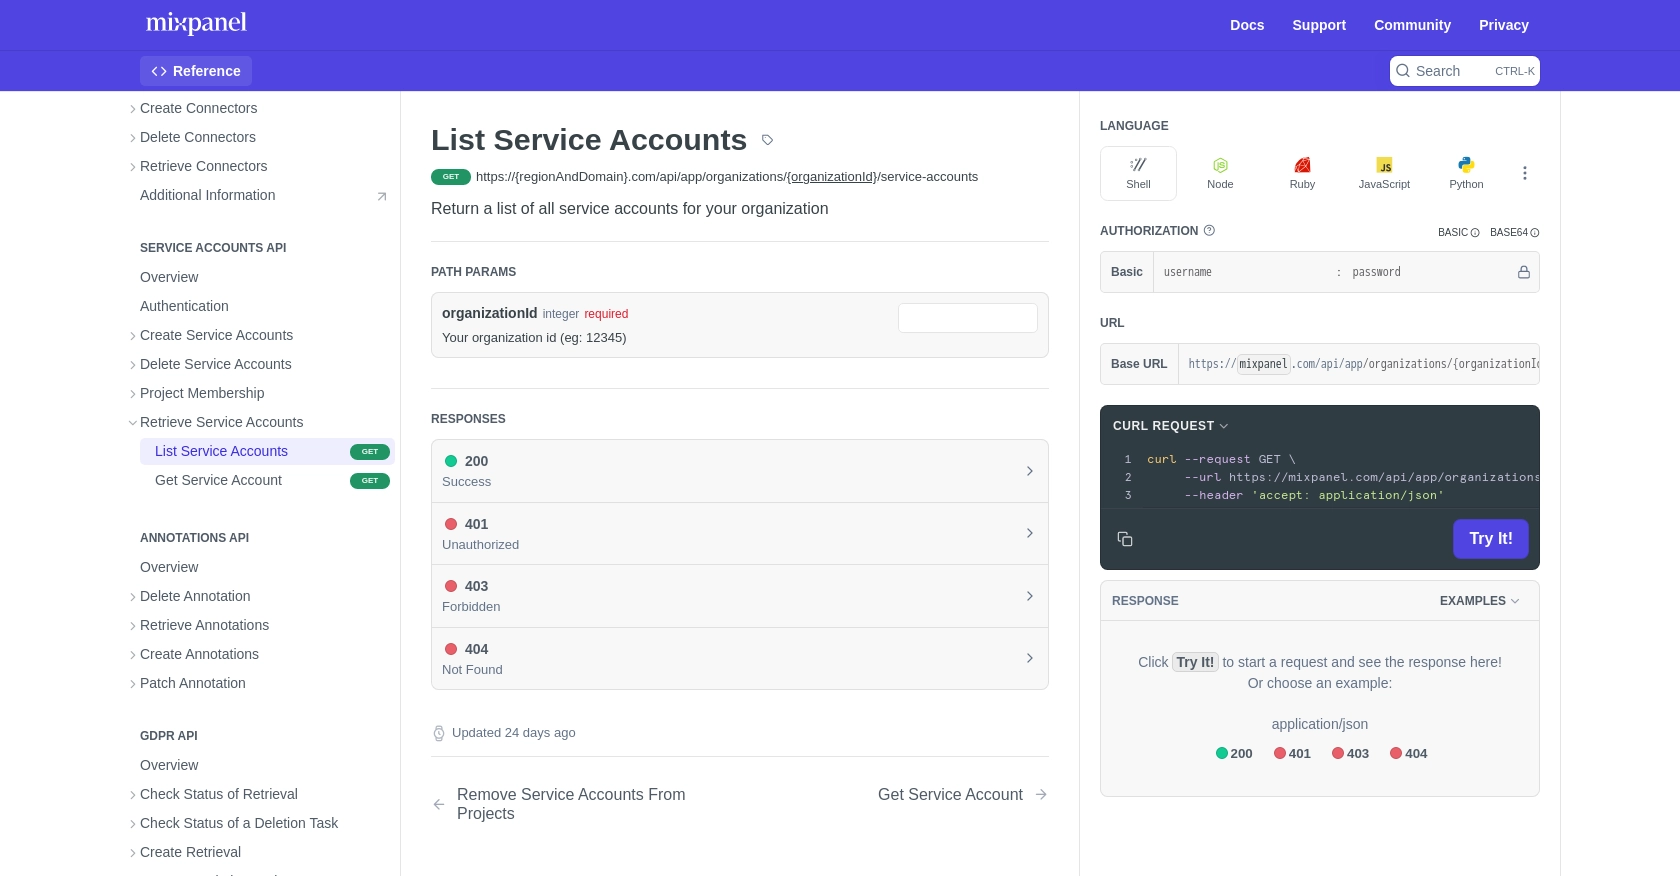
With your environment set up, you can now write the JavaScript code to interact with the Mixpanel API. The following example demonstrates how to retrieve a list of service accounts using the axios library:
const axios = require('axios');

// Define your Mixpanel organization ID and API endpoint
const organizationId = 'your_organization_id';
const endpoint = `https://mixpanel.com/api/app/organizations/${organizationId}/service-accounts`;

// Set up your service account credentials
const username = 'your_service_account_username';
const secret = 'your_service_account_secret';
const authHeader = 'Basic ' + Buffer.from(username + ':' + secret).toString('base64');

// Make the API call to retrieve service accounts
axios.get(endpoint, {
    headers: {
        'Authorization': authHeader
    }
})
.then(response => {
    console.log('Service Accounts:', response.data);
})
.catch(error => {
    console.error('Error fetching service accounts:', error.response ? error.response.data : error.message);
});
In this code, replace your_organization_id, your_service_account_username, and your_service_account_secret with your actual Mixpanel organization ID and service account credentials. The axios.get method is used to send a GET request to the Mixpanel API endpoint, and the response is logged to the console.
Verifying Successful API Requests and Handling Errors
After executing the code, you should see a list of service accounts printed in the console if the request is successful. To verify, cross-check the output with the service accounts listed in your Mixpanel dashboard.
In case of errors, the code includes a catch block to handle exceptions and log error messages. Common issues might include incorrect credentials or network problems. Ensure your credentials are correct and stored securely, as they are crucial for authentication.
For more information on handling errors and understanding response codes, refer to the Mixpanel API documentation.
Conclusion and Best Practices for Mixpanel API Integration
Integrating with the Mixpanel API using JavaScript allows developers to efficiently manage service accounts and automate data processes. By following the steps outlined in this guide, you can ensure a seamless connection to Mixpanel's powerful analytics platform, enhancing your ability to make data-driven decisions.
Best Practices for Secure and Efficient Mixpanel API Usage
- Secure Credential Storage: Always store your service account credentials securely. Consider using environment variables or a secure vault to manage sensitive information.
- Handle Rate Limits: Be mindful of Mixpanel's rate limits to avoid disruptions. According to the Mixpanel Rate Limits documentation, the Query API allows a maximum of 60 queries per hour. Plan your API calls accordingly to prevent hitting these limits.
- Error Handling: Implement robust error handling in your code to manage exceptions gracefully. This ensures that your application can recover from issues like network failures or incorrect credentials.
- Data Standardization: When retrieving data, consider standardizing fields to maintain consistency across different systems and integrations.
Streamlining Integrations with Endgrate
While integrating with Mixpanel is a powerful way to enhance your analytics capabilities, managing multiple integrations can be complex. Endgrate simplifies this process by providing a unified API endpoint for various platforms, including Mixpanel. By using Endgrate, you can save time and resources, allowing you to focus on your core product development.
Explore how Endgrate can transform your integration experience by visiting Endgrate's website and discover the benefits of a streamlined, intuitive integration process.
Read More

Ready to get started?
