How to Send Emails with the SendGrid API in Javascript

Introduction to SendGrid Email API
SendGrid, a cloud-based email delivery service, is a powerful tool for businesses looking to manage their email communications efficiently. It offers a robust API that allows developers to send, receive, and track emails seamlessly. With features like email analytics, templates, and personalization, SendGrid is a preferred choice for businesses aiming to enhance their email marketing strategies.
Integrating with SendGrid's API can significantly streamline the process of sending transactional and marketing emails. For example, a developer might use the SendGrid API to automate the sending of order confirmations, newsletters, or password reset emails, ensuring timely and reliable delivery.
Setting Up Your SendGrid Test Account
Before you can start sending emails using the SendGrid API, you'll need to set up a test account. This will allow you to experiment with the API in a controlled environment without affecting your live data.
Create a SendGrid Account
If you don't already have a SendGrid account, you can sign up for a free trial on the SendGrid website. Follow the instructions to create your account. Once your account is set up, you'll have access to the SendGrid dashboard.
Generate a SendGrid API Key
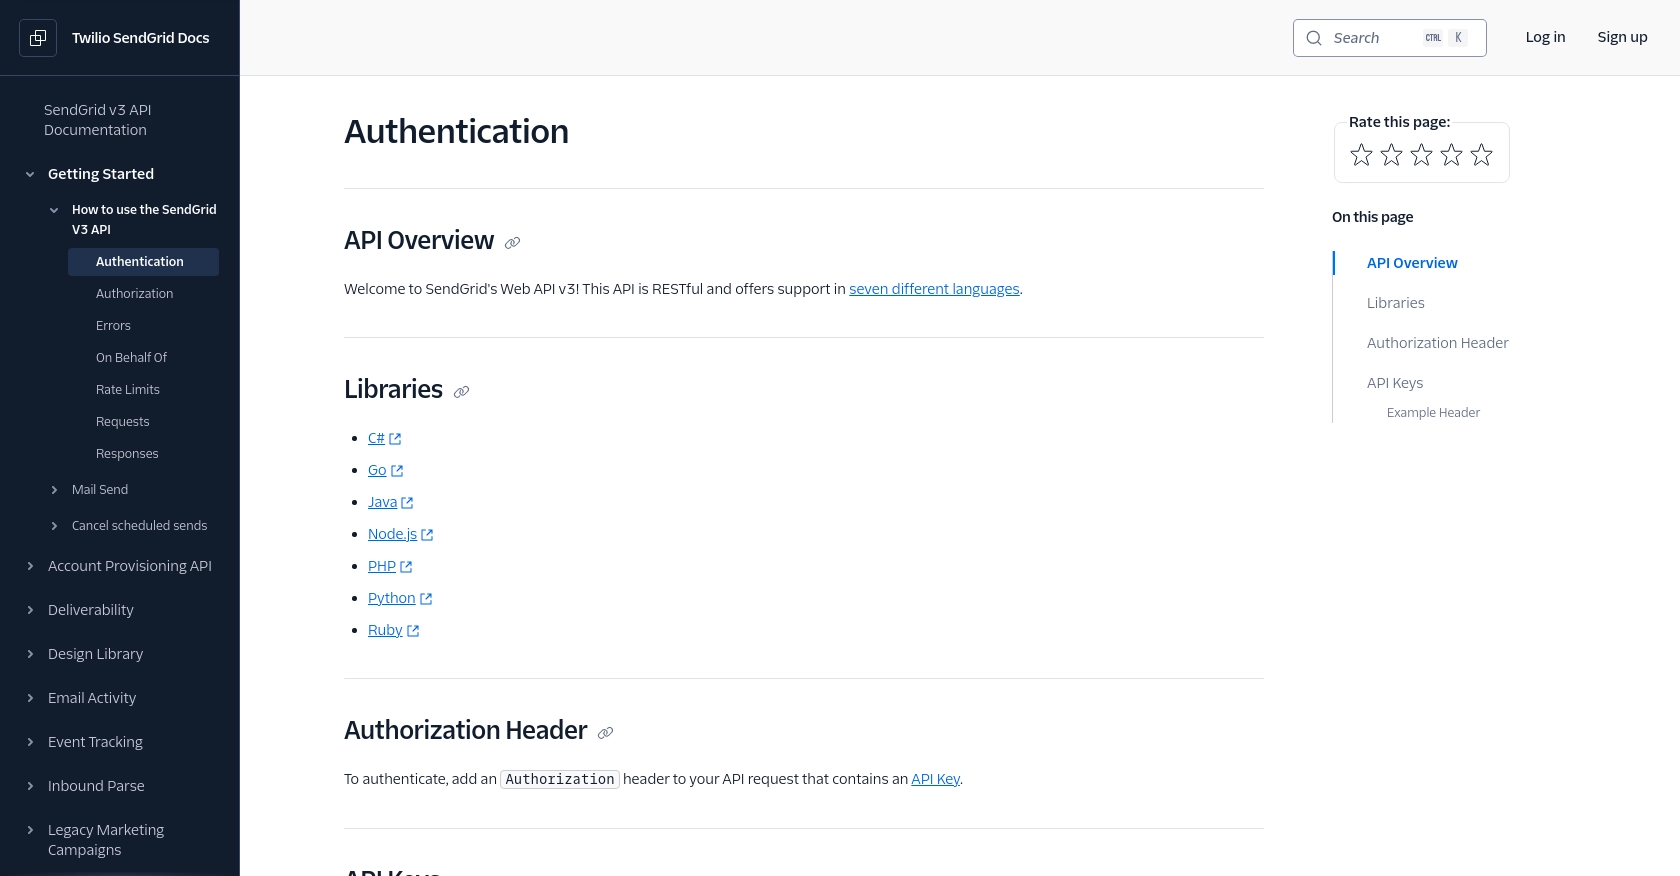
To authenticate your API requests, you'll need to generate an API key. Follow these steps to create one:
- Log in to your SendGrid account and navigate to the dashboard.
- Click on "Settings" in the left-hand menu, then select "API Keys."
- Click on "Create API Key" and provide a name for your key.
- Select the permissions you want to assign to the key. For sending emails, ensure you have the "Mail Send" permission enabled.
- Click "Create & View" to generate the key. Make sure to copy and store it securely, as you won't be able to view it again.
Configure Your SendGrid Sandbox Environment
SendGrid provides a sandbox mode that allows you to test email sending without actually delivering emails to recipients. To enable sandbox mode:
- In your SendGrid dashboard, go to "Settings" and select "Mail Settings."
- Find the "Sandbox Mode" option and toggle it on.
- This setting ensures that emails are processed but not sent, allowing you to verify your integration without affecting real users.
With your test account and API key ready, you're all set to start integrating SendGrid's email capabilities into your JavaScript applications.
sbb-itb-96038d7
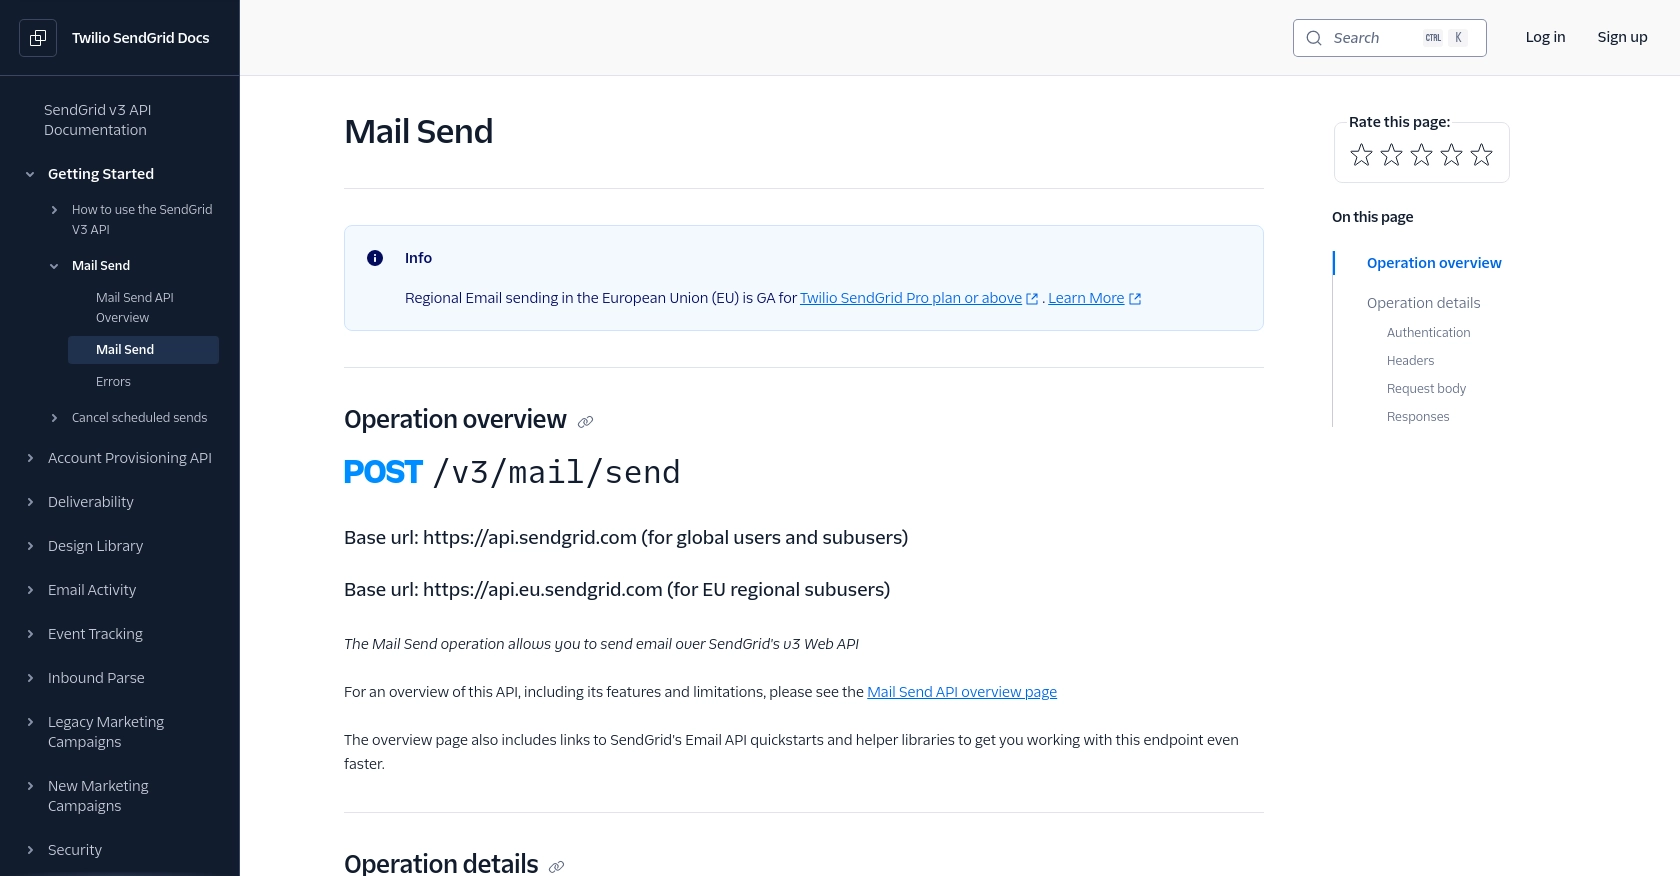
How to Make an API Call to Send Emails Using SendGrid in JavaScript
To send emails using the SendGrid API in JavaScript, you'll need to set up your environment and write the necessary code to interact with the API. This section will guide you through the process, including setting up your JavaScript environment and making the API call to send an email.
Setting Up Your JavaScript Environment for SendGrid API
Before you start coding, ensure you have Node.js installed on your machine. You can download it from the official Node.js website. Once Node.js is installed, you can use npm (Node Package Manager) to install the SendGrid client library.
npm install @sendgrid/mailThis command will install the SendGrid library, which provides a convenient way to interact with the SendGrid API.
Writing JavaScript Code to Send an Email with SendGrid
Now that your environment is set up, you can write the JavaScript code to send an email using the SendGrid API. Create a new file named sendEmail.js and add the following code:
const sgMail = require('@sendgrid/mail');

// Set your SendGrid API key
sgMail.setApiKey('YOUR_SENDGRID_API_KEY');

// Define the email message
const msg = {
  to: 'recipient@example.com', // Change to your recipient
  from: 'sender@example.com', // Change to your verified sender
  subject: 'Hello from SendGrid',
  text: 'This is a test email sent using SendGrid API!',
  html: 'This is a test email sent using SendGrid API!',
};

// Send the email
sgMail
  .send(msg)
  .then(() => {
    console.log('Email sent successfully');
  })
  .catch((error) => {
    console.error('Error sending email:', error);
  });
Replace 'YOUR_SENDGRID_API_KEY' with the API key you generated earlier. Also, update the to and from fields with the appropriate email addresses.
Running Your JavaScript Code to Send an Email
To execute your code and send an email, run the following command in your terminal:
node sendEmail.jsIf everything is set up correctly, you should see a message indicating that the email was sent successfully. If there's an error, the error message will be logged to the console.
Handling Errors and Verifying Email Delivery in SendGrid
When sending emails, it's crucial to handle potential errors gracefully. The SendGrid API provides detailed error messages that can help you troubleshoot issues. Common errors include invalid API keys, incorrect email addresses, or exceeding rate limits.
To verify that your email was sent, you can check the SendGrid dashboard under the "Email Activity" section. This will show you the status of your sent emails and any errors that may have occurred.
For more information on error handling and rate limits, refer to the SendGrid Authentication Documentation and Rate Limits Documentation.
Conclusion: Best Practices for Using SendGrid API in JavaScript
Integrating SendGrid's API into your JavaScript applications can greatly enhance your email communication capabilities. By following the steps outlined in this guide, you can efficiently send emails, handle errors, and ensure reliable delivery.
Best Practices for Secure and Efficient SendGrid API Integration
- Secure API Key Management: Always store your SendGrid API key securely. Avoid hardcoding it in your source files. Use environment variables or secure vaults to manage sensitive credentials.
- Handle Rate Limits: Be mindful of SendGrid's rate limits to avoid disruptions in email delivery. Implement logic to handle status code 429 responses gracefully. For more details, refer to the Rate Limits Documentation.
- Monitor Email Activity: Regularly check the SendGrid dashboard to monitor email activity and troubleshoot any issues. This helps ensure that your emails are being delivered as expected.
- Data Standardization: Ensure that your email data, such as recipient addresses and content, is standardized to prevent errors and improve deliverability.
Enhance Your Integration Strategy with Endgrate
While integrating with SendGrid is a powerful way to manage email communications, managing multiple integrations can be complex and time-consuming. Endgrate offers a unified API solution that simplifies integration management across various platforms, including SendGrid.
By using Endgrate, you can save time and resources, allowing your team to focus on core product development. Take advantage of Endgrate's intuitive integration experience to streamline your processes and enhance your application's capabilities.
Explore how Endgrate can transform your integration strategy by visiting Endgrate today.
Read More
- https://endgrate.com/provider/sendgrid
- https://www.twilio.com/docs/sendgrid/api-reference/how-to-use-the-sendgrid-v3-api/authentication
- https://www.twilio.com/docs/sendgrid/api-reference/how-to-use-the-sendgrid-v3-api/authorization
- https://www.twilio.com/docs/sendgrid/api-reference/how-to-use-the-sendgrid-v3-api/rate-limits
- https://www.twilio.com/docs/sendgrid/api-reference/mail-send/mail-send

Ready to get started?
