How to Send Messages with the Gmail API in Python
Introduction to Gmail API for Sending Messages
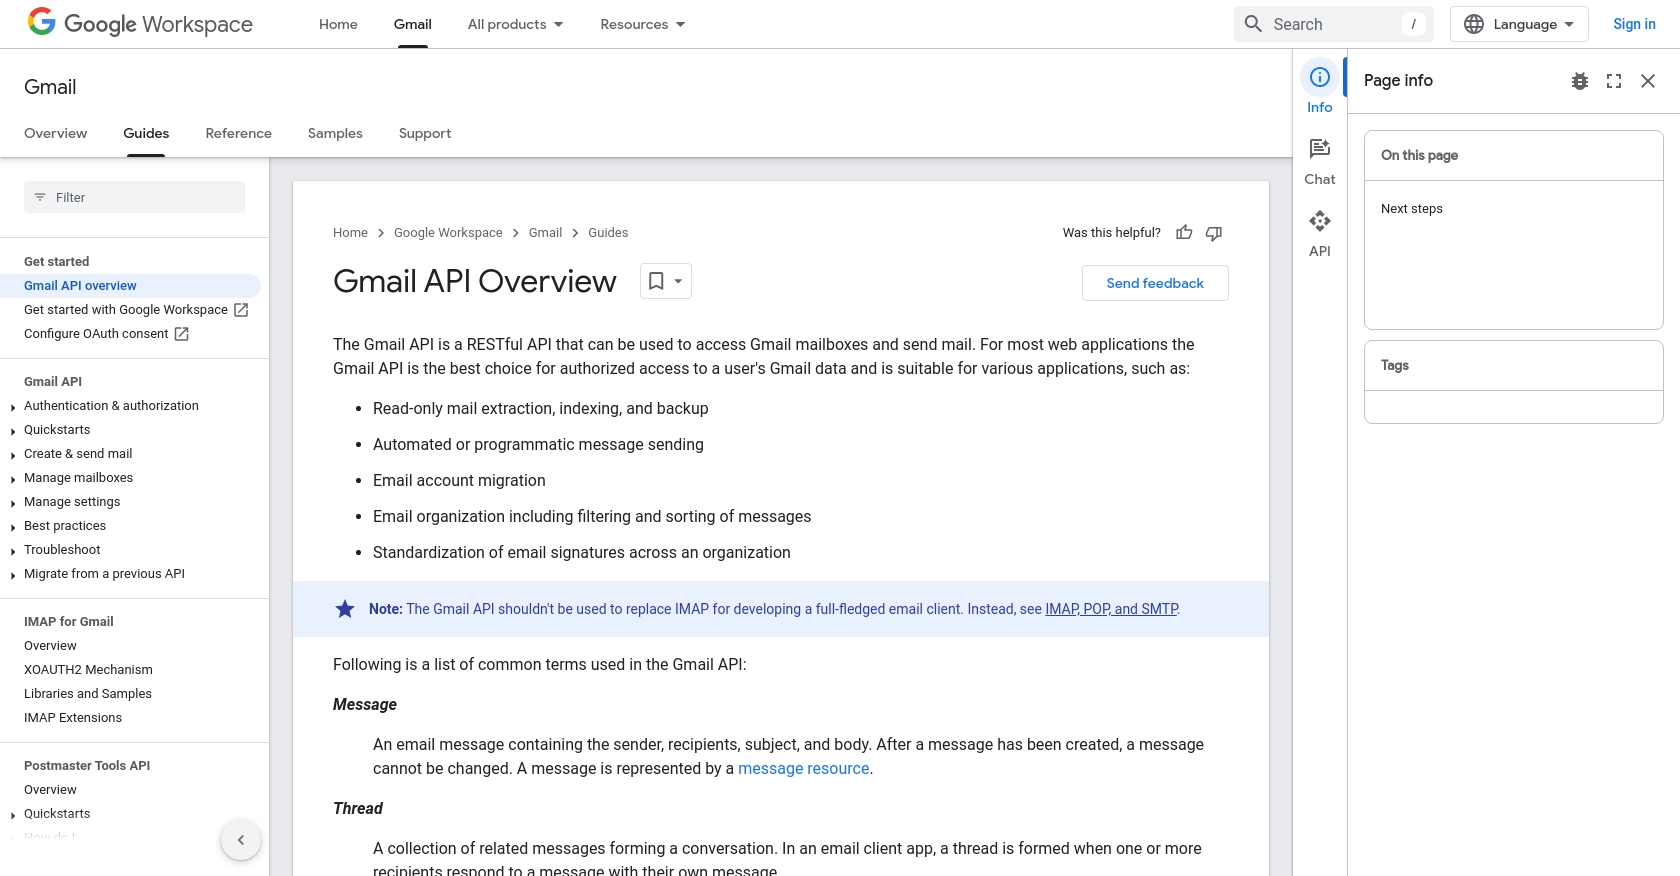
The Gmail API is a powerful tool that allows developers to access and manage Gmail mailboxes programmatically. It provides a RESTful interface for various operations, including reading, sending, and organizing emails. By leveraging the Gmail API, developers can automate email-related tasks, integrate Gmail functionalities into their applications, and enhance user experiences.
Integrating with the Gmail API is particularly beneficial for developers looking to automate email sending processes. For example, a developer might want to send automated notifications or newsletters to users without manual intervention. This can be achieved by using the Gmail API to programmatically send emails directly from a user's Gmail account.
This article will guide you through the process of sending messages using the Gmail API in Python, providing step-by-step instructions and code examples to help you implement this functionality efficiently.
Setting Up Your Gmail API Test Account
Before you can start sending messages using the Gmail API, you'll need to set up a Google Cloud project and configure the necessary credentials. This setup allows you to authenticate and authorize your application to access Gmail services on behalf of users.
Step 1: Create a Google Cloud Project
To begin, you need to create a Google Cloud project. This project will serve as the foundation for enabling the Gmail API and managing your application's credentials.
- Go to the Google Cloud Console.
- Click on the Menu icon, navigate to IAM & Admin, and select Create a Project.
- Enter a descriptive name for your project and click Create.
Step 2: Enable the Gmail API
Once your project is created, you need to enable the Gmail API to allow your application to interact with Gmail services.
- In the Google Cloud Console, navigate to APIs & Services and select Library.
- Search for Gmail API and click on it.
- Click the Enable button to activate the API for your project.
Step 3: Configure OAuth Consent Screen
Configuring the OAuth consent screen is essential for defining how your application requests access to user data.
- In the Google Cloud Console, go to APIs & Services and select OAuth consent screen.
- Select the user type for your application and click Create.
- Fill out the necessary information and click Save and Continue.
Step 4: Create OAuth 2.0 Credentials
Next, you'll need to create OAuth 2.0 credentials to authenticate users and access their Gmail data.
- In the Google Cloud Console, navigate to APIs & Services and select Credentials.
- Click Create Credentials and choose OAuth client ID.
- Select the application type that suits your needs (e.g., Web application) and configure the authorized redirect URIs.
- Click Create to generate your client ID and client secret.
Make sure to securely store your client ID and client secret, as they will be used to authenticate your application when accessing the Gmail API.
For more detailed instructions, refer to the official Google documentation on creating a Google Cloud project and configuring OAuth consent.
sbb-itb-96038d7
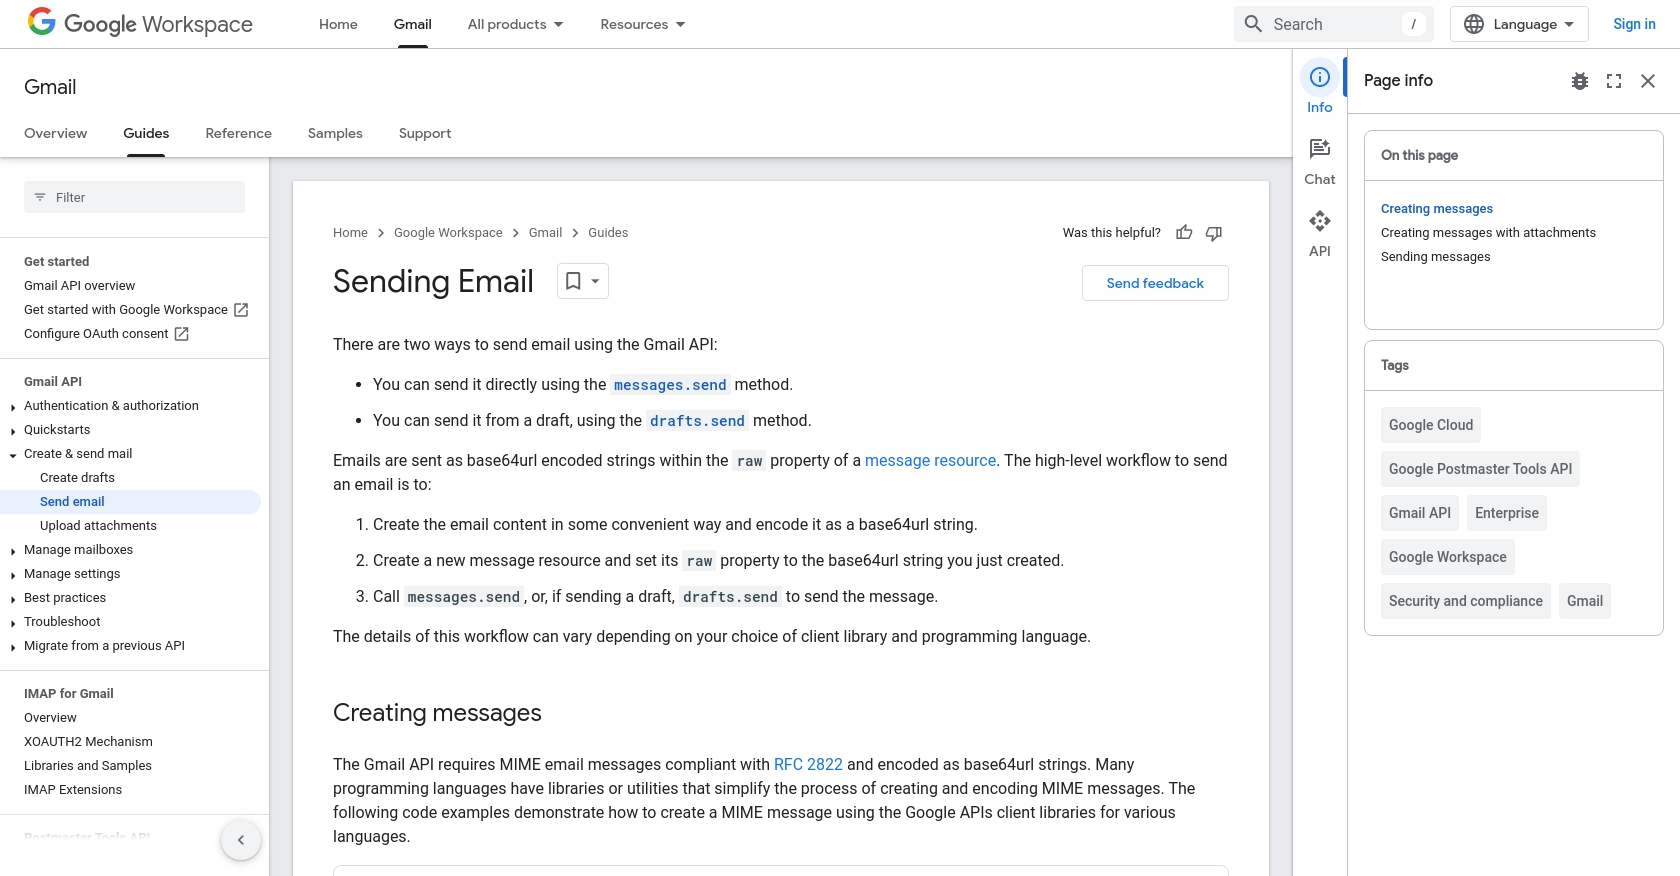
How to Make the Actual API Call to Send Messages with Gmail API in Python
To send messages using the Gmail API in Python, you'll need to set up your environment and write a script that interacts with the API. This section will guide you through the necessary steps, including setting up Python, installing dependencies, and writing the code to send an email.
Setting Up Your Python Environment for Gmail API
Before you start coding, ensure you have Python installed on your machine. This tutorial uses Python 3.11.1. You will also need the google-auth and google-api-python-client libraries to interact with the Gmail API.
- Install Python 3.11.1 from the official Python website if you haven't already.
- Open your terminal or command prompt.
- Install the required libraries using pip:
pip install google-auth google-auth-oauthlib google-auth-httplib2 google-api-python-clientWriting the Python Script to Send an Email via Gmail API
Now that your environment is set up, you can write a Python script to send an email using the Gmail API. The script will authenticate using OAuth 2.0 and send an email from your Gmail account.
import base64
from email.message import EmailMessage
import google.auth
from googleapiclient.discovery import build
from googleapiclient.errors import HttpError

def gmail_send_message():
    """Create and send an email message using Gmail API."""
    # Load pre-authorized user credentials from the environment.
    creds, _ = google.auth.default()

    try:
        # Create Gmail API client
        service = build("gmail", "v1", credentials=creds)

        # Create the email message
        message = EmailMessage()
        message.set_content("This is an automated email sent via Gmail API.")
        message["To"] = "recipient@example.com"
        message["From"] = "your-email@gmail.com"
        message["Subject"] = "Automated Email"

        # Encode the message
        encoded_message = base64.urlsafe_b64encode(message.as_bytes()).decode()
        create_message = {"raw": encoded_message}

        # Send the message
        send_message = (
            service.users()
            .messages()
            .send(userId="me", body=create_message)
            .execute()
        )
        print(f'Message Id: {send_message["id"]}')
    except HttpError as error:
        print(f"An error occurred: {error}")
        send_message = None

    return send_message

if __name__ == "__main__":
    gmail_send_message()
Verifying the Email Sent via Gmail API
After running the script, you should verify that the email was successfully sent. Check the inbox of the recipient email address to confirm receipt of the message. Additionally, you can check the 'Sent' folder of the sender's Gmail account to ensure the email was dispatched.
Handling Errors and Common Issues with Gmail API
When working with the Gmail API, you may encounter errors such as authentication failures or quota limits. The HttpError exception in the script captures API-related errors. Ensure that your OAuth credentials are correct and that you have enabled the Gmail API in your Google Cloud project.
For more detailed error handling, refer to the Gmail API documentation on sending emails.
Conclusion and Best Practices for Using Gmail API to Send Emails in Python
Integrating the Gmail API into your Python applications allows you to automate email sending, enhancing productivity and user engagement. By following the steps outlined in this guide, you can efficiently set up your environment, authenticate users, and send emails programmatically.
Best Practices for Secure and Efficient Gmail API Integration
- Securely Store Credentials: Always store your OAuth client ID and client secret securely. Consider using environment variables or secure vaults to manage sensitive information.
- Handle Rate Limiting: Be mindful of Gmail API rate limits to avoid disruptions. Implement exponential backoff strategies to handle rate limit errors gracefully.
- Use Appropriate Scopes: Request only the necessary OAuth scopes to minimize security risks and improve user trust. For sending emails, the
https://www.googleapis.com/auth/gmail.sendscope is sufficient. - Monitor API Usage: Regularly monitor your API usage and error logs to identify and resolve issues promptly.
Enhance Your Integration Strategy with Endgrate
While building integrations with the Gmail API can be rewarding, it can also be time-consuming and complex. Endgrate offers a streamlined solution to manage multiple integrations efficiently. By using Endgrate, you can focus on your core product development while outsourcing integration tasks, saving time and resources.
Explore how Endgrate can simplify your integration processes by visiting Endgrate's website. Leverage their unified API to connect with various platforms, including Gmail, and provide a seamless experience for your users.
Read More
- https://endgrate.com/provider/gmail
- https://developers.google.com/gmail/api/guides
- https://developers.google.com/gmail/api/auth/scopes
- https://developers.google.com/workspace/guides/create-project
- https://developers.google.com/workspace/guides/enable-apis
- https://developers.google.com/workspace/guides/configure-oauth-consent
- https://developers.google.com/workspace/guides/create-credentials
- https://developers.google.com/gmail/api/guides/sending

Ready to get started?
