Using the Affinity API to Create or Update Organizations (with Javascript examples)

Introduction to Affinity API for Organization Management
Affinity is a powerful relationship intelligence platform designed to help businesses manage their networks and relationships more effectively. By leveraging data-driven insights, Affinity enables organizations to streamline their CRM processes, making it an essential tool for businesses looking to enhance their relationship management strategies.
Developers may want to integrate with the Affinity API to automate the management of organizations within their CRM systems. For example, using the Affinity API, developers can create or update organization records programmatically, ensuring that their CRM data remains accurate and up-to-date without manual intervention.
This article will guide you through the process of using JavaScript to interact with the Affinity API, focusing on creating and updating organizations. By following this tutorial, you will learn how to efficiently manage organization data within the Affinity platform, enhancing your CRM capabilities.
Setting Up Your Affinity API Test Account
Before you can start integrating with the Affinity API, you'll need to set up a test account. This will allow you to safely experiment with API calls without affecting your live data. Affinity provides a straightforward process to get started with their API using an API key for authentication.
Creating an Affinity Account
If you don't already have an Affinity account, you can sign up for a free trial on the Affinity website. This will give you access to the platform and allow you to explore its features.
- Visit the Affinity website and click on the "Sign Up" button.
- Follow the instructions to create your account.
- Once your account is set up, log in to access the dashboard.
Generating Your Affinity API Key
To interact with the Affinity API, you'll need to generate an API key. This key will be used to authenticate your requests.
- Log in to your Affinity account and navigate to the Settings Panel via the left sidebar.
- Locate the API section and click on "Generate API Key."
- Copy the generated API key and store it securely, as you'll need it for making API requests.
Understanding Affinity API Authentication
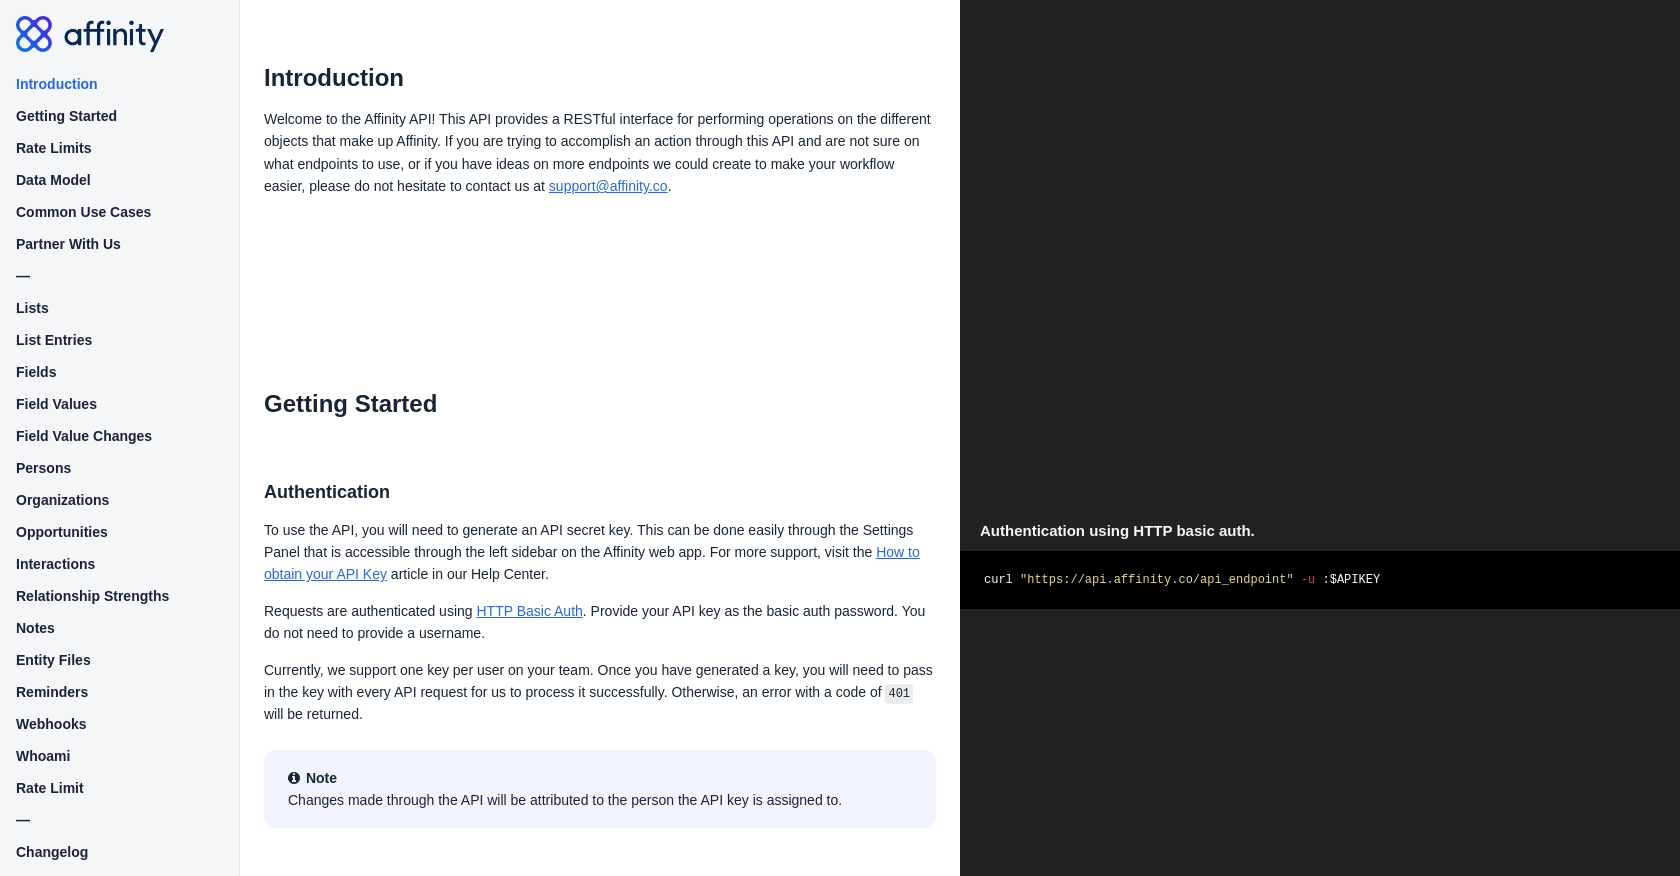
The Affinity API uses HTTP Basic Auth for authentication. You will provide your API key as the password in your requests. No username is required.
// Example of making an authenticated request using JavaScript
fetch('https://api.affinity.co/api_endpoint', {
    method: 'GET',
    headers: {
        'Authorization': 'Basic ' + btoa(':' + 'Your_API_Key')
    }
})
.then(response => response.json())
.then(data => console.log(data))
.catch(error => console.error('Error:', error));
Replace Your_API_Key with the API key you generated earlier. This code snippet demonstrates how to set up the headers for an authenticated request using JavaScript.
Testing Your Affinity API Setup
With your API key ready, you can now test your setup by making a simple API call. This will ensure that your authentication is working correctly.
- Use the JavaScript example provided above to make a test request to the Affinity API.
- Check the response to verify that your request was successful.
- If you encounter any errors, double-check your API key and ensure that your request headers are correctly configured.
By following these steps, you'll be ready to start integrating with the Affinity API and managing your organization data programmatically.

sbb-itb-96038d7
Making API Calls to Affinity for Organization Management Using JavaScript
To effectively manage organizations within the Affinity platform, you'll need to make API calls that allow you to create or update organization records. This section will guide you through the process of setting up your JavaScript environment, installing necessary dependencies, and executing API requests to interact with the Affinity API.
Setting Up Your JavaScript Environment for Affinity API Integration
Before making API calls, ensure you have a suitable JavaScript environment. You can use Node.js for server-side scripting or any modern browser for client-side scripting. Ensure you have Node.js installed if you plan to use it.
- Download and install Node.js if you haven't already.
- Initialize a new Node.js project by running
npm init -yin your project directory. - Install the
node-fetchpackage to make HTTP requests:npm install node-fetch.
Creating an Organization with Affinity API Using JavaScript
To create a new organization in Affinity, you'll need to make a POST request to the appropriate endpoint. Below is an example of how to achieve this using JavaScript and the node-fetch library.
const fetch = require('node-fetch');

const createOrganization = async () => {
    const url = 'https://api.affinity.co/organizations';
    const apiKey = 'Your_API_Key';
    const organizationData = {
        name: 'New Organization',
        domain: 'neworg.com'
    };

    try {
        const response = await fetch(url, {
            method: 'POST',
            headers: {
                'Authorization': 'Basic ' + Buffer.from(':' + apiKey).toString('base64'),
                'Content-Type': 'application/json'
            },
            body: JSON.stringify(organizationData)
        });

        const data = await response.json();
        console.log('Organization Created:', data);
    } catch (error) {
        console.error('Error creating organization:', error);
    }
};

createOrganization();
Replace Your_API_Key with your actual API key. This script sends a POST request to create a new organization with the specified name and domain.
Updating an Existing Organization with Affinity API Using JavaScript
To update an existing organization, you will need to make a PUT request. Below is an example demonstrating how to update an organization's details.
const updateOrganization = async (organizationId) => {
    const url = `https://api.affinity.co/organizations/${organizationId}`;
    const apiKey = 'Your_API_Key';
    const updatedData = {
        name: 'Updated Organization Name',
        domain: 'updatedorg.com'
    };

    try {
        const response = await fetch(url, {
            method: 'PUT',
            headers: {
                'Authorization': 'Basic ' + Buffer.from(':' + apiKey).toString('base64'),
                'Content-Type': 'application/json'
            },
            body: JSON.stringify(updatedData)
        });

        const data = await response.json();
        console.log('Organization Updated:', data);
    } catch (error) {
        console.error('Error updating organization:', error);
    }
};

updateOrganization('Organization_ID');
Replace Your_API_Key and Organization_ID with your API key and the ID of the organization you wish to update. This script updates the organization's name and domain.
Handling API Response and Errors
When making API calls, it's crucial to handle responses and potential errors effectively. The Affinity API returns JSON responses, which you can parse and use in your application. Additionally, be prepared to handle error codes such as 401 for unauthorized access or 429 for rate limits.
- Check the response status code to determine if the request was successful.
- Log error messages for debugging purposes.
- Implement retry logic or backoff strategies if you encounter rate limiting (error code 429).
By following these steps, you can efficiently manage organization data within Affinity using JavaScript, enhancing your CRM capabilities and ensuring data accuracy.
Conclusion and Best Practices for Using Affinity API with JavaScript
Integrating the Affinity API into your CRM system using JavaScript can significantly enhance your organization's ability to manage relationships and streamline processes. By automating the creation and updating of organization records, you ensure that your CRM data remains accurate and up-to-date, reducing the need for manual intervention.
Best Practices for Secure and Efficient API Integration
- Secure API Key Storage: Always store your API keys securely and avoid hardcoding them in your source code. Use environment variables or secure vaults to manage sensitive information.
- Handle Rate Limits: Be mindful of Affinity's rate limits, which are set at 900 requests per user per minute. Implement retry logic or exponential backoff strategies to handle 429 error codes effectively.
- Data Standardization: Ensure consistent data formats when creating or updating organization records. This helps maintain data integrity across your CRM system.
- Error Handling: Implement robust error handling to manage different response codes, such as 401 for unauthorized access. Log errors for debugging and improve your application's resilience.
Enhance Your Integration Capabilities with Endgrate
While integrating with the Affinity API can greatly improve your CRM processes, managing multiple integrations can be complex and time-consuming. Endgrate offers a unified API solution that simplifies integration management across various platforms, including Affinity.
By leveraging Endgrate, you can save time and resources, allowing your team to focus on core product development. Build once for each use case and enjoy an intuitive integration experience for your customers. Explore how Endgrate can streamline your integration efforts by visiting Endgrate.
Start enhancing your CRM capabilities today by integrating with the Affinity API and consider using Endgrate to manage your integrations more efficiently.
Read More
Ready to get started?
