Using the Affinity API to Get People in Javascript
Introduction to Affinity API
Affinity is a powerful relationship intelligence platform that helps businesses manage and leverage their professional networks. By providing insights into connections and interactions, Affinity enables companies to build stronger relationships and drive growth.
Developers may want to integrate with the Affinity API to access and manage contact data efficiently. For example, using the Affinity API, a developer can retrieve a list of people associated with their organization, allowing for seamless data integration and enhanced relationship management.
Setting Up Your Affinity API Test Account
Before you can start using the Affinity API to manage your contacts, you'll need to set up a test account. This involves generating an API key, which will allow you to authenticate your requests and interact with the Affinity platform.
Create an Affinity Account
If you don't already have an Affinity account, you can sign up for a free trial on the Affinity website. Follow the instructions to create your account and log in to the Affinity dashboard.
Generate an API Key for Affinity
To interact with the Affinity API, you'll need to generate an API key. This key will serve as your authentication credential for making API requests.
- Log in to your Affinity account.
- Navigate to the Settings panel, accessible through the left sidebar.
- Locate the API Keys section and click on Generate API Key.
- Copy the generated API key and store it securely, as you'll need it for API requests.
Understanding Affinity API Authentication
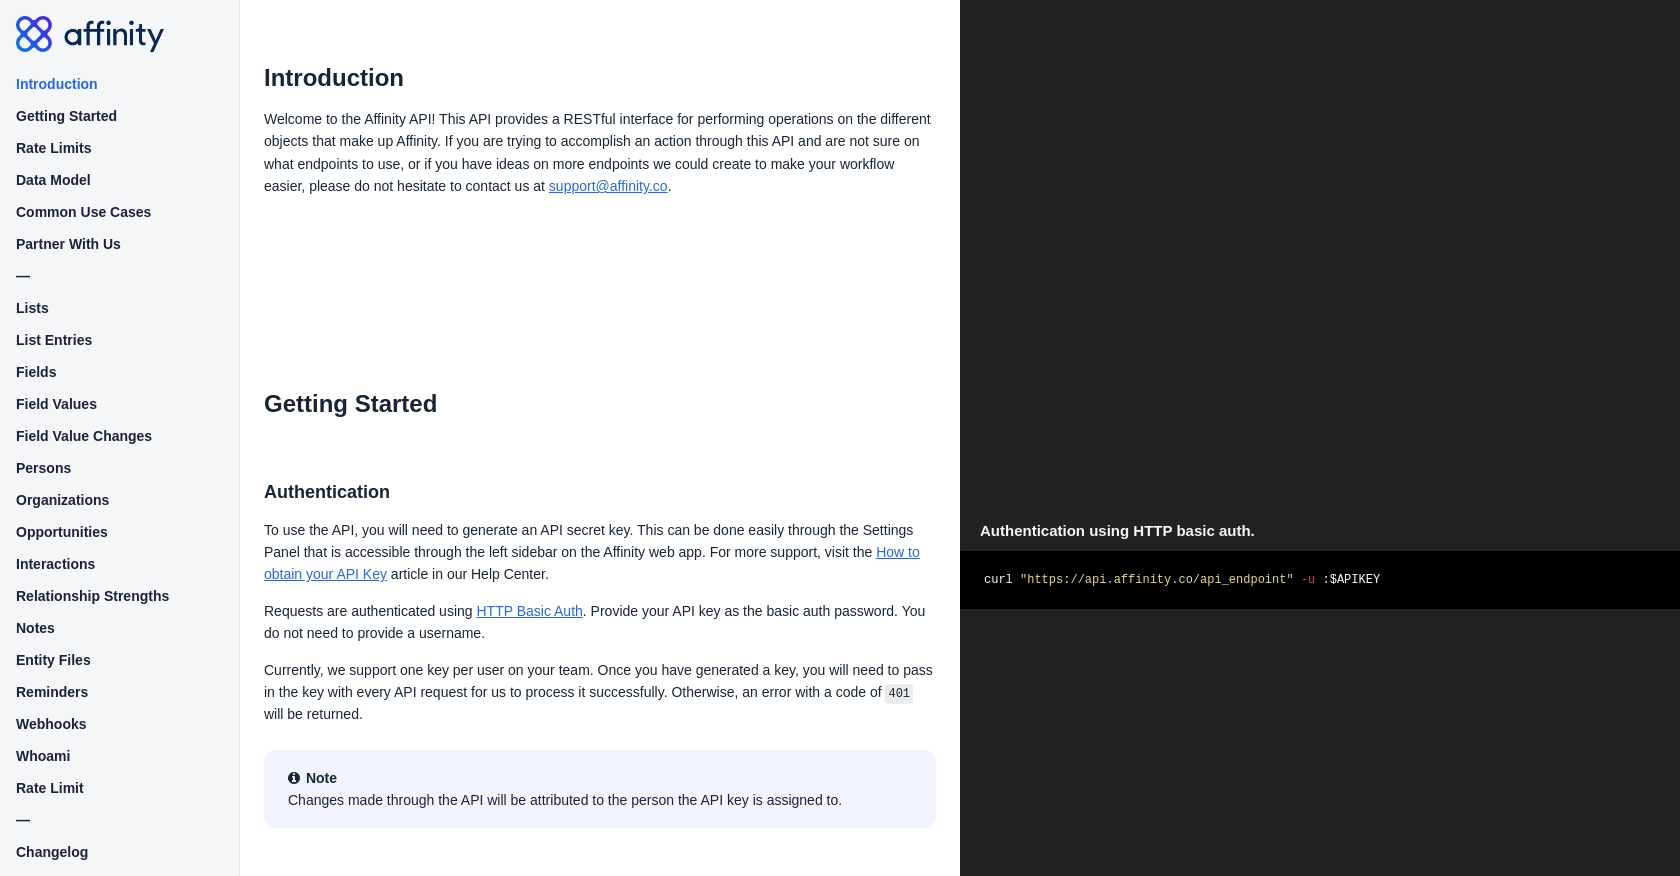
The Affinity API uses HTTP Basic Auth for authentication. You will provide your API key as the password in your requests. No username is required.
// Example of setting up authentication in a JavaScript request
const apiKey = 'Your_Affinity_API_Key';
const headers = new Headers();
headers.append('Authorization', 'Basic ' + btoa(':' + apiKey));
Testing Your Affinity API Key
Once you have your API key, it's a good idea to test it by making a simple API call to ensure everything is set up correctly.
// Example of a test API call to Affinity
fetch('https://api.affinity.co/persons', {
    method: 'GET',
    headers: headers
})
.then(response => response.json())
.then(data => console.log(data))
.catch(error => console.error('Error:', error));
If the request is successful, you should see a list of people associated with your Affinity account. If you encounter any errors, double-check your API key and ensure it's correctly included in your request headers.
sbb-itb-96038d7
Making API Calls to Retrieve People Data with Affinity API in JavaScript
In this section, we'll explore how to make API calls using JavaScript to retrieve people data from the Affinity API. This involves setting up your JavaScript environment, installing necessary dependencies, and writing code to interact with the API.
Setting Up Your JavaScript Environment for Affinity API
To begin, ensure you have a modern version of Node.js installed on your machine. This will allow you to run JavaScript code outside of a browser environment. You can download Node.js from the official website.
Installing Required Dependencies for Affinity API Integration
For making HTTP requests in JavaScript, we'll use the popular node-fetch library. Install it using npm by running the following command in your terminal:
npm install node-fetchWriting JavaScript Code to Fetch People Data from Affinity API
Now, let's write the JavaScript code to make a GET request to the Affinity API and retrieve a list of people. Create a new file named getAffinityPeople.js and add the following code:
const fetch = require('node-fetch');

// Set your Affinity API key
const apiKey = 'Your_Affinity_API_Key';

// Set the API endpoint
const endpoint = 'https://api.affinity.co/persons';

// Set up headers for authentication
const headers = {
    'Authorization': 'Basic ' + Buffer.from(':' + apiKey).toString('base64')
};

// Make the GET request to the API
fetch(endpoint, { method: 'GET', headers: headers })
    .then(response => {
        if (!response.ok) {
            throw new Error('Network response was not ok ' + response.statusText);
        }
        return response.json();
    })
    .then(data => {
        console.log('People Data:', data);
    })
    .catch(error => {
        console.error('Error fetching data:', error);
    });
Understanding the JavaScript Code for Affinity API
In the code above, we start by importing the node-fetch library to handle HTTP requests. We then define the API endpoint and set up the headers for authentication using your API key. The fetch function is used to make a GET request to the Affinity API, and the response is processed to display the list of people.
Running Your JavaScript Code to Retrieve People Data
To execute the code, run the following command in your terminal:
node getAffinityPeople.jsIf everything is set up correctly, you should see the people data printed in your terminal. If you encounter any errors, ensure your API key is correct and that your network connection is stable.
Handling Errors and Verifying API Call Success
It's important to handle potential errors when making API calls. The code includes error handling to catch network issues or invalid responses. Additionally, you can verify the success of your API call by checking the returned data against your Affinity account.
Best Practices for Using Affinity API in JavaScript
- Store your API key securely and avoid hardcoding it in your source files.
- Implement error handling to manage API rate limits and network issues.
- Regularly update your dependencies to ensure compatibility and security.
Conclusion and Best Practices for Using Affinity API in JavaScript
Integrating with the Affinity API using JavaScript can significantly enhance your ability to manage and leverage professional relationships. By following the steps outlined in this guide, you can efficiently retrieve and handle people data, enabling seamless integration with your existing systems.
Best Practices for Secure and Efficient Affinity API Integration
- Secure API Key Storage: Always store your API key securely, using environment variables or secure vaults, to prevent unauthorized access.
- Handle API Rate Limits: Be mindful of Affinity's rate limits, which are set at 900 requests per user per minute. Implement logic to handle 429 errors gracefully.
- Data Standardization: Ensure that data retrieved from the API is standardized and transformed as needed to fit your application's data model.
- Regular Updates: Keep your dependencies up to date to maintain compatibility and security with the latest versions of libraries and tools.
Leveraging Endgrate for Streamlined Integration Solutions
While integrating with the Affinity API can be straightforward, managing multiple integrations can become complex. Endgrate offers a unified API solution that simplifies integration processes across various platforms, including Affinity. By using Endgrate, you can:
- Save time and resources by outsourcing integration tasks and focusing on core product development.
- Build once for each use case, reducing the need for multiple integration efforts.
- Provide an intuitive integration experience for your customers, enhancing their satisfaction and engagement.
Explore how Endgrate can support your integration needs by visiting Endgrate's website and discover the benefits of a streamlined integration strategy.
Read More

Ready to get started?
