Using the Airtable API to Create Or Update Records (with PHP examples)
Introduction to Airtable API Integration
Airtable is a versatile cloud-based platform that combines the simplicity of a spreadsheet with the power of a database. It allows users to organize and manage data in a flexible and collaborative environment, making it a popular choice for businesses and developers alike.
Integrating with the Airtable API enables developers to automate data management tasks, such as creating or updating records programmatically. For example, a developer might use the Airtable API to automatically update inventory levels in a product database whenever a sale is made, ensuring that the data remains accurate and up-to-date.
Setting Up Your Airtable Test/Sandbox Account
Before diving into the Airtable API integration, it's essential to set up a test or sandbox account. This will allow you to safely experiment with API calls without affecting live data. Airtable offers a flexible environment for developers to test their integrations.
Create an Airtable Account
If you don't already have an Airtable account, you can sign up for a free version on the Airtable website. Follow the on-screen instructions to create your account. If you already have an account, simply log in.
Set Up a Base for Testing
Once logged in, create a new base to serve as your testing environment. This base will act as your sandbox where you can safely create and update records using the API.
- Navigate to your Airtable dashboard.
- Click on "Add a base" and select "Start from scratch."
- Name your base and configure the tables and fields as needed for your testing purposes.
Register an Airtable App for OAuth Authentication
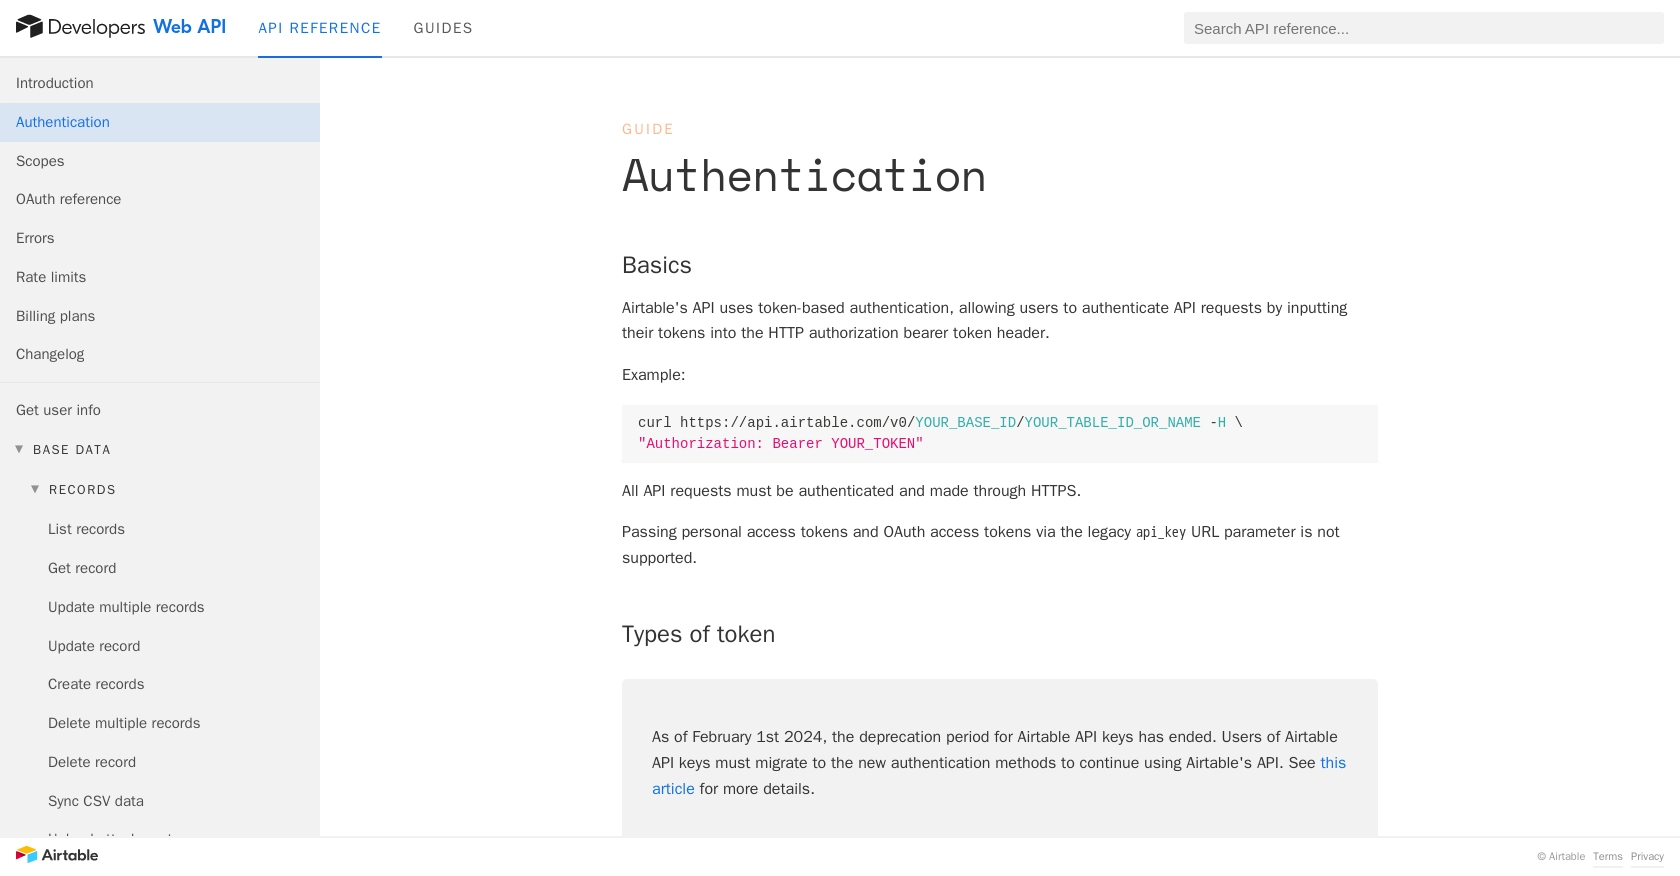
Since Airtable uses OAuth for authentication, you'll need to register an app to obtain the necessary credentials.
- Go to the Airtable OAuth page.
- Click on "Create an OAuth app" and fill in the required details, such as the app name and redirect URI.
- Set the necessary scopes for your app, ensuring you include
data.records:writefor creating and updating records. - Once your app is registered, note down the client ID and client secret, as you'll need these for authentication.
Generate OAuth Access Tokens
To interact with the Airtable API, you'll need to generate OAuth access tokens. Follow these steps:
- Initiate the OAuth flow by directing users to the authorization URL with your client ID and requested scopes.
- After the user authorizes your app, they'll be redirected to your specified redirect URI with an authorization code.
- Exchange this authorization code for an access token by making a POST request to the Airtable token endpoint.
// Example PHP code to exchange authorization code for access token
$client_id = 'YOUR_CLIENT_ID';
$client_secret = 'YOUR_CLIENT_SECRET';
$authorization_code = 'AUTHORIZATION_CODE';
$redirect_uri = 'YOUR_REDIRECT_URI';

$response = file_get_contents('https://airtable.com/oauth2/v1/token', false, stream_context_create([
    'http' => [
        'method' => 'POST',
        'header' => 'Content-Type: application/x-www-form-urlencoded',
        'content' => http_build_query([
            'grant_type' => 'authorization_code',
            'code' => $authorization_code,
            'redirect_uri' => $redirect_uri,
            'client_id' => $client_id,
            'client_secret' => $client_secret,
        ]),
    ],
]));

$token_data = json_decode($response, true);
$access_token = $token_data['access_token'];
Store the access token securely, as it will be used to authenticate your API requests.
sbb-itb-96038d7
Making API Calls to Airtable for Creating or Updating Records Using PHP
To interact with Airtable's API for creating or updating records, you'll need to use PHP to make HTTP requests. This section will guide you through the necessary steps, including setting up your environment, writing the code, and handling responses and errors effectively.
Setting Up Your PHP Environment for Airtable API Integration
Before you start coding, ensure that your PHP environment is properly configured. You'll need PHP 7.4 or later and the cURL extension enabled to make HTTP requests.
- Verify your PHP version by running
php -vin your terminal. - Ensure the
cURLextension is enabled by checking yourphp.inifile or runningphp -m | grep curl.
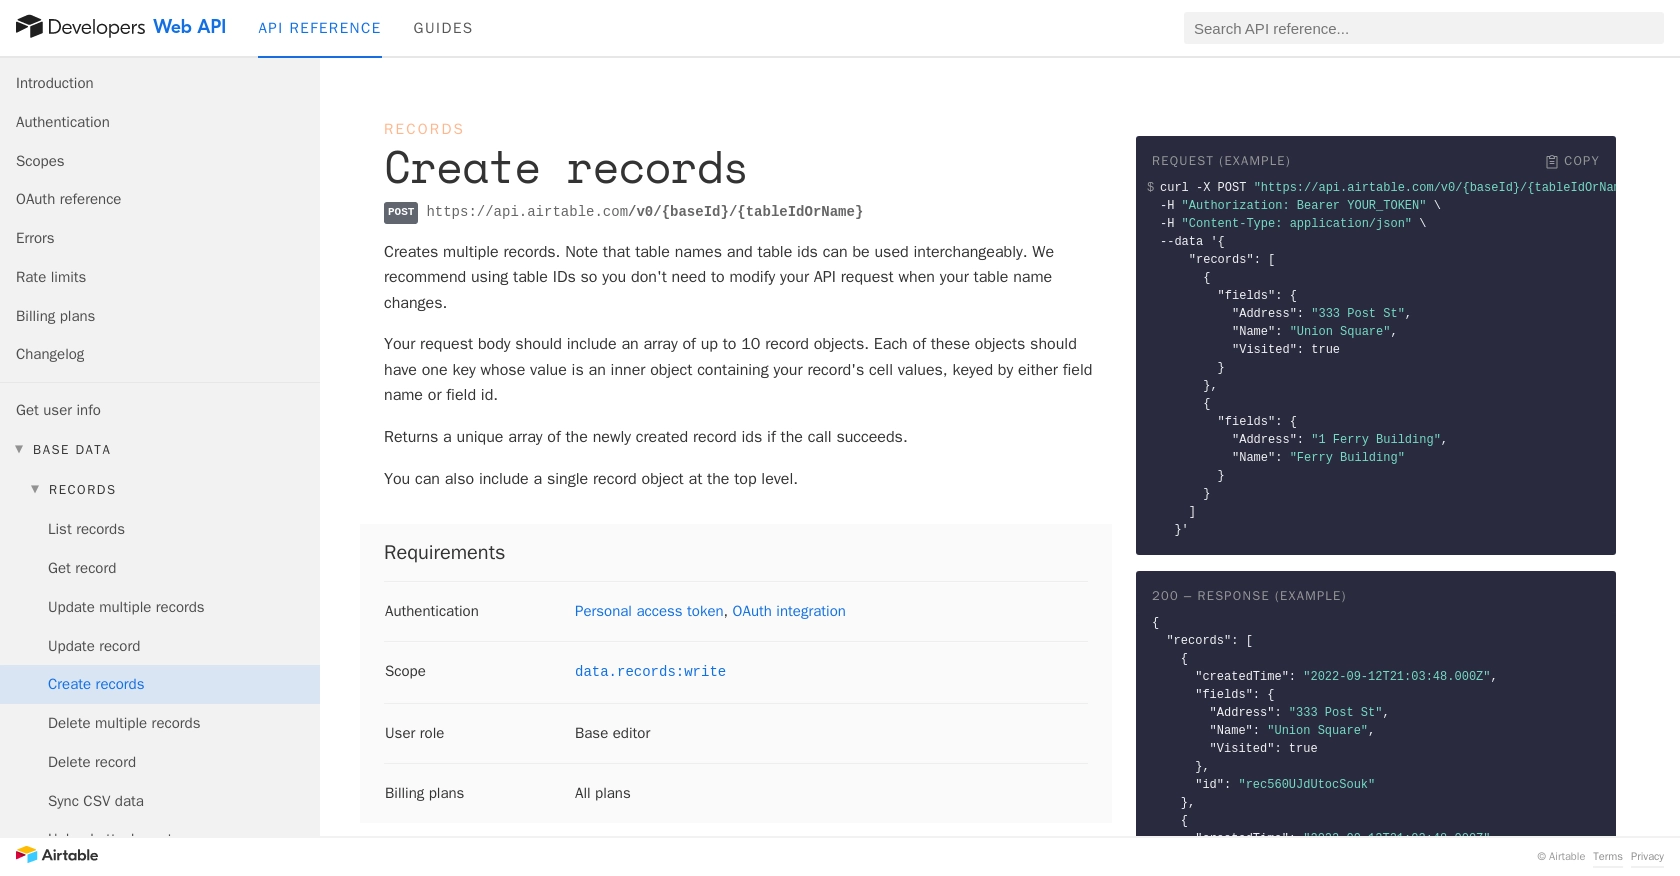
Creating Records in Airtable Using PHP
To create records in Airtable, you'll need to make a POST request to the Airtable API endpoint. Here's how you can do it using PHP:
// Define the API endpoint and your access token
$baseId = 'YOUR_BASE_ID';
$tableName = 'YOUR_TABLE_NAME';
$accessToken = 'YOUR_ACCESS_TOKEN';
$url = "https://api.airtable.com/v0/$baseId/$tableName";

// Set up the data for the new record
$data = [
    'records' => [
        [
            'fields' => [
                'Name' => 'New Record Name',
                'Address' => '123 Example St',
                'Visited' => true
            ]
        ]
    ]
];

// Initialize cURL session
$ch = curl_init($url);
curl_setopt($ch, CURLOPT_RETURNTRANSFER, true);
curl_setopt($ch, CURLOPT_HTTPHEADER, [
    'Authorization: Bearer ' . $accessToken,
    'Content-Type: application/json'
]);
curl_setopt($ch, CURLOPT_POST, true);
curl_setopt($ch, CURLOPT_POSTFIELDS, json_encode($data));

// Execute the request and handle the response
$response = curl_exec($ch);
curl_close($ch);

// Decode the response
$responseData = json_decode($response, true);
if (isset($responseData['records'])) {
    echo "Record created successfully!";
} else {
    echo "Failed to create record: " . $responseData['error']['message'];
}
Replace YOUR_BASE_ID, YOUR_TABLE_NAME, and YOUR_ACCESS_TOKEN with your actual Airtable base ID, table name, and access token.
Updating Records in Airtable Using PHP
To update existing records, you'll need to make a PATCH request. Here's an example of how to update a record:
// Define the API endpoint with the record ID
$recordId = 'YOUR_RECORD_ID';
$url = "https://api.airtable.com/v0/$baseId/$tableName/$recordId";

// Set up the data for the update
$data = [
    'fields' => [
        'Name' => 'Updated Record Name',
        'Visited' => false
    ]
];

// Initialize cURL session
$ch = curl_init($url);
curl_setopt($ch, CURLOPT_RETURNTRANSFER, true);
curl_setopt($ch, CURLOPT_HTTPHEADER, [
    'Authorization: Bearer ' . $accessToken,
    'Content-Type: application/json'
]);
curl_setopt($ch, CURLOPT_CUSTOMREQUEST, 'PATCH');
curl_setopt($ch, CURLOPT_POSTFIELDS, json_encode($data));

// Execute the request and handle the response
$response = curl_exec($ch);
curl_close($ch);

// Decode the response
$responseData = json_decode($response, true);
if (isset($responseData['id'])) {
    echo "Record updated successfully!";
} else {
    echo "Failed to update record: " . $responseData['error']['message'];
}
Replace YOUR_RECORD_ID with the ID of the record you wish to update.
Handling Errors and Verifying API Requests
When making API requests, it's crucial to handle potential errors and verify the success of your operations. Airtable's API returns various HTTP status codes to indicate the result of your requests:
- 200 OK: The request was successful.
- 400 Bad Request: The request was malformed.
- 401 Unauthorized: Invalid or missing authentication credentials.
- 429 Too Many Requests: Rate limit exceeded. Wait before retrying.
Always check the response for error messages and handle them appropriately in your application logic. For more detailed error handling, refer to the Airtable API error documentation.
Verifying Changes in Airtable
After making API calls, you can verify the changes by checking your Airtable base. Newly created or updated records should reflect the changes made through the API. This ensures that your integration is functioning as expected.
Conclusion and Best Practices for Airtable API Integration Using PHP
Integrating with the Airtable API using PHP allows developers to automate and streamline data management tasks efficiently. By following the steps outlined in this guide, you can create and update records in Airtable programmatically, enhancing your application's functionality and user experience.
Best Practices for Secure and Efficient Airtable API Usage
- Secure Storage of Credentials: Always store your OAuth access tokens securely. Avoid hardcoding them in your source code and consider using environment variables or secure vaults.
- Handle Rate Limits Gracefully: Airtable imposes a rate limit of 5 requests per second per base. Implement back-off strategies and retry logic to handle
429 Too Many Requestsresponses. For more details, refer to the Airtable API rate limits documentation. - Data Validation and Error Handling: Validate your data before making API requests and handle errors gracefully. Check for HTTP status codes and error messages to ensure robust error handling.
- Optimize API Calls: Use batch operations where possible to minimize the number of API calls. Airtable allows creating multiple records in a single request, which can improve performance.
Enhancing Integration Capabilities with Endgrate
For developers looking to expand their integration capabilities beyond Airtable, consider leveraging Endgrate. Endgrate provides a unified API endpoint that simplifies connecting to multiple platforms and services, allowing you to focus on your core product development. By using Endgrate, you can save time and resources, offering an intuitive integration experience for your customers.
Visit Endgrate to learn more about how it can streamline your integration processes and support your business growth.
Read More
- https://endgrate.com/provider/airtable
- https://airtable.com/developers/web/api/authentication
- https://airtable.com/developers/web/api/scopes
- https://airtable.com/developers/web/api/oauth-reference
- https://airtable.com/developers/web/api/errors
- https://airtable.com/developers/web/api/rate-limits
- https://airtable.com/developers/web/api/create-records
- https://airtable.com/developers/web/api/update-record

Ready to get started?
