Using the Apollo API to Create Or Update Companies (with Javascript examples)
Introduction to Apollo API for Company Management
Apollo is a comprehensive sales intelligence and engagement platform that empowers businesses to streamline their sales processes. By providing access to a vast database of contacts and companies, Apollo enables sales teams to identify potential leads, engage with prospects, and optimize their sales strategies.
Integrating with Apollo's API allows developers to automate and enhance company management tasks, such as creating or updating company records. This can be particularly useful for maintaining up-to-date information in CRM systems, ensuring that sales teams have access to the latest data for their outreach efforts.
For example, a developer might use the Apollo API to automatically update company details in their CRM whenever new information becomes available, reducing manual data entry and improving data accuracy.
Setting Up Your Apollo API Test Account
Before you can start using the Apollo API to create or update company records, you need to set up a test account. This will allow you to safely experiment with API calls without affecting live data.
Creating an Apollo Account
If you don't already have an Apollo account, you can sign up for a free trial on the Apollo website. This will give you access to the platform's features and allow you to generate an API key for testing purposes.
- Visit the Apollo website and click on "Sign Up."
- Follow the on-screen instructions to create your account.
- Once your account is set up, log in to access the dashboard.
Generating an API Key for Apollo
To authenticate your API requests, you'll need an API key. Follow these steps to generate one:
- Navigate to the "API Settings" section in your Apollo dashboard.
- Click on "Generate API Key" to create a new key.
- Copy the generated API key and store it securely, as you'll need it for authentication in your API requests.
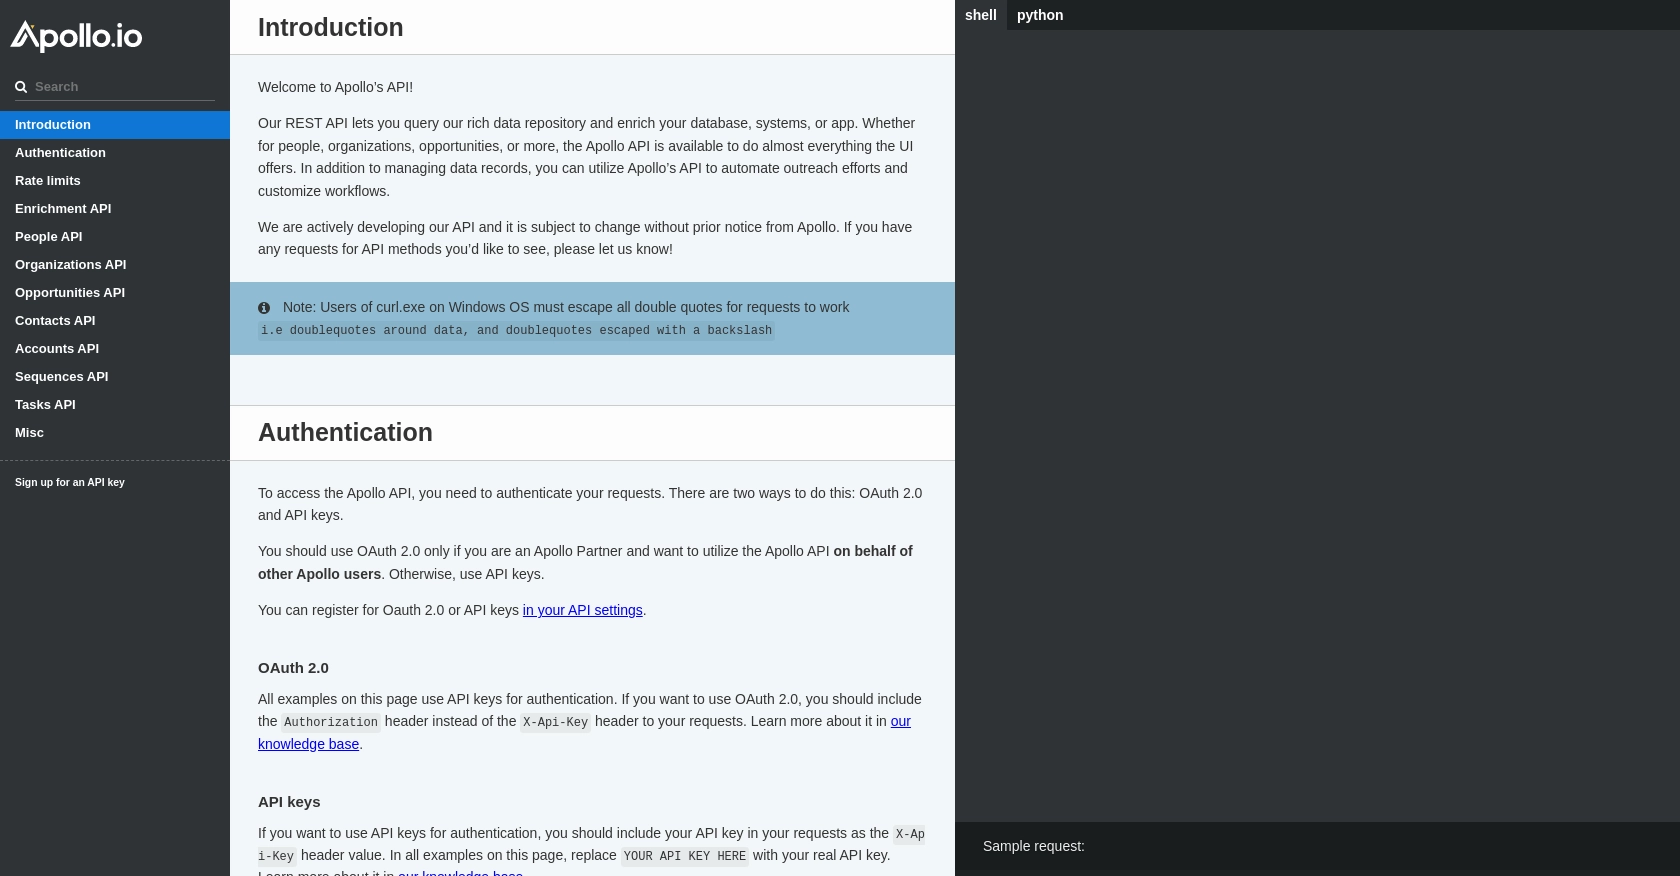
Configuring API Key Authentication
With your API key ready, you can now configure your requests to authenticate with Apollo's API. Use the following example to set up your headers:
// Example of setting up headers with API key
const headers = {
    'Content-Type': 'application/json',
    'Cache-Control': 'no-cache',
    'X-Api-Key': 'YOUR_API_KEY_HERE'
};
Replace YOUR_API_KEY_HERE with the API key you generated earlier.
Understanding Apollo API Rate Limits
It's important to be aware of the rate limits associated with your Apollo API usage. According to Apollo's documentation, the rate limits are as follows:
- 50 requests per minute
- 100 requests per hour
- 300 requests per day
Ensure that your application handles these limits appropriately to avoid any disruptions in service.
For more detailed information, refer to the Apollo API documentation.
sbb-itb-96038d7
Making API Calls to Apollo for Company Creation and Updates Using JavaScript
To interact with the Apollo API for creating or updating company records, you'll need to use JavaScript to make HTTP requests. This section will guide you through the process, including setting up your environment, writing the code, and handling responses and errors.
Setting Up Your JavaScript Environment for Apollo API Integration
Before making API calls, ensure you have Node.js installed on your machine. You can download it from the official Node.js website. Additionally, you'll need the axios library to handle HTTP requests. Install it using the following command:
npm install axiosWriting JavaScript Code to Create or Update Companies with Apollo API
Below is an example of how to create or update a company using the Apollo API. This code demonstrates how to set up the request, send it, and handle the response:
const axios = require('axios');

// Define the API endpoint and headers
const url = 'https://api.apollo.io/v1/accounts';
const headers = {
    'Content-Type': 'application/json',
    'Cache-Control': 'no-cache',
    'X-Api-Key': 'YOUR_API_KEY_HERE'
};

// Define the company data
const companyData = {
    name: 'New Company Name',
    domain: 'newcompany.com',
    phone_number: '123-456-7890',
    raw_address: '123 Main St, Anytown, USA'
};

// Make a POST request to create a new company
axios.post(url, companyData, { headers })
    .then(response => {
        console.log('Company created successfully:', response.data);
    })
    .catch(error => {
        console.error('Error creating company:', error.response ? error.response.data : error.message);
    });
Replace YOUR_API_KEY_HERE with your actual API key. The companyData object contains the details of the company you want to create or update.
Handling Responses and Errors from Apollo API
After making the API call, it's crucial to handle the response correctly. If the request is successful, you'll receive a confirmation message with the company details. In case of an error, the catch block will log the error message, helping you debug issues.
Verifying API Call Success in Apollo Test Account
To ensure that your API call was successful, log in to your Apollo test account and check the company records. The newly created or updated company should appear in your account dashboard.
Managing Errors and Rate Limits with Apollo API
Be mindful of the rate limits when making API calls. Apollo allows:
- 50 requests per minute
- 100 requests per hour
- 300 requests per day
Implement error handling to manage rate limit errors and retry logic if necessary. For more details, refer to the Apollo API documentation.
Best Practices for Using Apollo API in Company Management
When integrating with the Apollo API for company management, it's essential to follow best practices to ensure data security, efficiency, and reliability. Here are some recommendations:
- Secure API Key Storage: Always store your API keys securely. Avoid hardcoding them in your source code. Instead, use environment variables or secure vaults to manage sensitive information.
- Implement Rate Limiting: Respect Apollo's rate limits by implementing logic to handle rate limit errors. Consider using exponential backoff strategies to retry requests when limits are exceeded.
- Data Standardization: Ensure that the data you send to Apollo is standardized. This includes consistent formatting for company names, addresses, and phone numbers to maintain data integrity across systems.
- Error Handling: Implement comprehensive error handling to manage API responses effectively. Log errors for debugging and provide user-friendly messages to inform users of any issues.
Enhancing Integration Efficiency with Endgrate
Integrating multiple APIs can be complex and time-consuming. Endgrate simplifies this process by offering a unified API endpoint that connects to various platforms, including Apollo. By using Endgrate, you can:
- Save Time and Resources: Focus on your core product development while Endgrate handles the integration complexities.
- Build Once, Deploy Everywhere: Develop a single integration for multiple platforms, reducing redundancy and maintenance efforts.
- Improve Customer Experience: Provide your customers with a seamless and intuitive integration experience.
Explore how Endgrate can streamline your integration processes by visiting Endgrate.
Read More

Ready to get started?
