Using the Apollo API to Create Or Update Contacts (with Javascript examples)
Introduction to Apollo API for Contact Management
Apollo is a comprehensive sales intelligence and engagement platform that empowers businesses to streamline their sales processes. With a vast database of contacts and companies, Apollo provides tools for prospecting, outreach, and data enrichment, making it an essential resource for sales teams aiming to enhance their engagement strategies.
Integrating with Apollo's API allows developers to automate and manage contact data efficiently. By leveraging the API, developers can create or update contact information directly within Apollo, ensuring that sales teams have access to the most current and accurate data. For example, a developer might use the Apollo API to automatically update contact details from a CRM system, ensuring seamless data synchronization across platforms.
Setting Up Your Apollo API Test Account
Before you can start using the Apollo API to manage contacts, you'll need to set up a test account. This will allow you to safely experiment with API calls without affecting live data.
Creating an Apollo Account
If you don't already have an Apollo account, you can sign up for a free trial on the Apollo website. This will give you access to the platform's features and allow you to generate an API key for testing purposes.
- Visit the Apollo website and click on the "Sign Up" button.
- Fill in the required information to create your account.
- Once registered, log in to your Apollo dashboard.
Generating an API Key for Apollo
To authenticate your API requests, you'll need an API key. Follow these steps to generate one:
- Navigate to the "API Settings" section in your Apollo dashboard.
- Click on "Generate API Key" to create a new key.
- Copy the generated API key and store it securely, as you'll need it for authentication in your API requests.
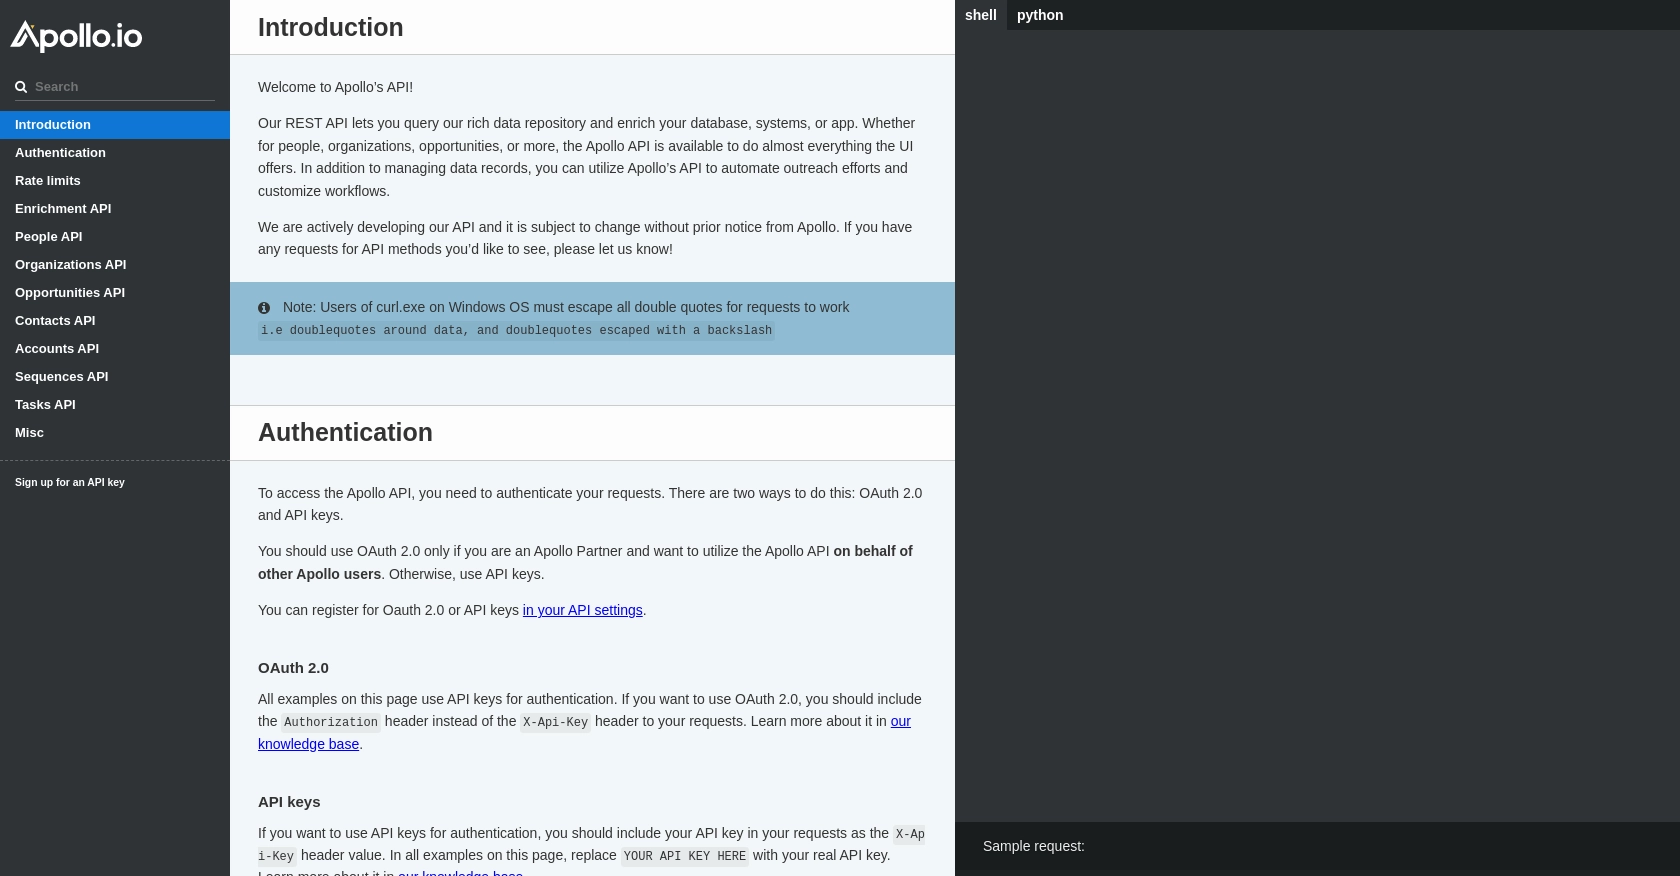
Configuring API Key Authentication
Once you have your API key, you can use it to authenticate your requests to the Apollo API. Include the API key in the request headers as follows:
// Example of setting headers with API key
const headers = {
    'Content-Type': 'application/json',
    'Cache-Control': 'no-cache',
    'X-Api-Key': 'YOUR_API_KEY_HERE'
};
Replace YOUR_API_KEY_HERE with your actual API key.
With your test account and API key set up, you're ready to start making API calls to create or update contacts in Apollo.
sbb-itb-96038d7
Making API Calls to Create or Update Contacts in Apollo Using JavaScript
To interact with the Apollo API for creating or updating contacts, you'll need to use JavaScript to make HTTP requests. This section will guide you through the process of setting up your environment, writing the code, and handling responses effectively.
Setting Up Your JavaScript Environment for Apollo API Integration
Before making API calls, ensure you have Node.js installed on your machine. This will allow you to run JavaScript code outside of a browser. Additionally, you'll need the axios library to simplify HTTP requests.
- Install Node.js from the official website if you haven't already.
- Open your terminal and run the following command to install axios:
npm install axiosWriting JavaScript Code to Create a Contact in Apollo
With your environment set up, you can now write the code to create a contact in Apollo. The following example demonstrates how to make a POST request to the Apollo API to add a new contact.
const axios = require('axios');

const createContact = async () => {
    const url = 'https://api.apollo.io/v1/contacts';
    const headers = {
        'Content-Type': 'application/json',
        'Cache-Control': 'no-cache',
        'X-Api-Key': 'YOUR_API_KEY_HERE'
    };
    const data = {
        first_name: 'Jon',
        last_name: 'Snow',
        title: 'Lord Commander',
        organization_name: 'Westeros'
    };

    try {
        const response = await axios.post(url, data, { headers });
        console.log('Contact Created:', response.data);
    } catch (error) {
        console.error('Error creating contact:', error.response.data);
    }
};

createContact();
Replace YOUR_API_KEY_HERE with your actual API key. This code sends a POST request to create a new contact with the specified details.
Updating an Existing Contact in Apollo Using JavaScript
To update an existing contact, you'll need the contact's ID. The following example shows how to make a PUT request to update contact information.
const updateContact = async (contactId) => {
    const url = `https://api.apollo.io/v1/contacts/${contactId}`;
    const headers = {
        'Content-Type': 'application/json',
        'Cache-Control': 'no-cache',
        'X-Api-Key': 'YOUR_API_KEY_HERE'
    };
    const data = {
        first_name: 'Jon',
        last_name: 'Snow',
        email: 'jon.snow@westeros.com',
        title: 'King in the North',
        organization_name: 'Westeros'
    };

    try {
        const response = await axios.put(url, data, { headers });
        console.log('Contact Updated:', response.data);
    } catch (error) {
        console.error('Error updating contact:', error.response.data);
    }
};

updateContact('CONTACT_ID_HERE');
Replace CONTACT_ID_HERE with the actual contact ID you wish to update. This code updates the contact's details using a PUT request.
Handling API Responses and Errors
When making API calls, it's crucial to handle responses and errors effectively. The examples above use try...catch blocks to manage errors. Always check the response status and data to ensure the API call was successful.
For more detailed information on error codes and rate limits, refer to the Apollo API documentation.
Conclusion and Best Practices for Apollo API Integration
Integrating with the Apollo API to manage contact data offers significant advantages for developers and sales teams. By automating the creation and updating of contacts, you ensure that your sales team has access to the most accurate and up-to-date information, enhancing their ability to engage effectively with prospects and clients.
When working with the Apollo API, consider the following best practices:
- Secure API Keys: Always store your API keys securely and avoid hardcoding them in your source code. Use environment variables or secure vaults to manage sensitive information.
- Handle Rate Limits: Be mindful of the rate limits imposed by Apollo. The API allows up to 50 requests per minute, 100 requests per hour, and 300 requests per day. Plan your API calls accordingly to avoid hitting these limits.
- Error Handling: Implement robust error handling in your code to manage API response errors gracefully. This ensures that your application can recover from unexpected issues without disrupting the user experience.
- Data Standardization: Ensure that the data you send to Apollo is standardized and consistent. This helps maintain data integrity and improves the quality of your contact database.
By following these best practices, you can maximize the efficiency and reliability of your Apollo API integrations, allowing your team to focus on core business activities and strategic initiatives.
For developers looking to streamline their integration processes further, consider leveraging Endgrate. Endgrate simplifies the integration experience by providing a unified API endpoint that connects to multiple platforms, including Apollo. This allows you to build once for each use case, saving time and resources while delivering a seamless integration experience for your customers.
Read More

Ready to get started?
