Using the Brevo API to Create or Update Contacts in Javascript
Introduction to Brevo API Integration
Brevo is a versatile platform offering a range of services including email marketing, SMS campaigns, and contact management. It provides businesses with the tools needed to effectively engage with their audience through personalized communication strategies.
Developers may want to integrate with Brevo's API to streamline contact management processes, such as creating or updating contact information directly from their applications. For example, a developer could use the Brevo API to automatically update customer contact details in response to changes made in a CRM system, ensuring that all communication channels remain synchronized.
Setting Up Your Brevo Test Account for API Integration
Before you can start using the Brevo API to manage contacts, you'll need to set up a Brevo account. This will allow you to generate the necessary API key for authentication and test your integration in a sandbox environment.
Creating a Brevo Account
If you don't already have a Brevo account, follow these steps to create one:
- Visit the Brevo signup page and register for a free account.
- Follow the instructions to verify your email address and complete the account setup process.
Generating Your Brevo API Key
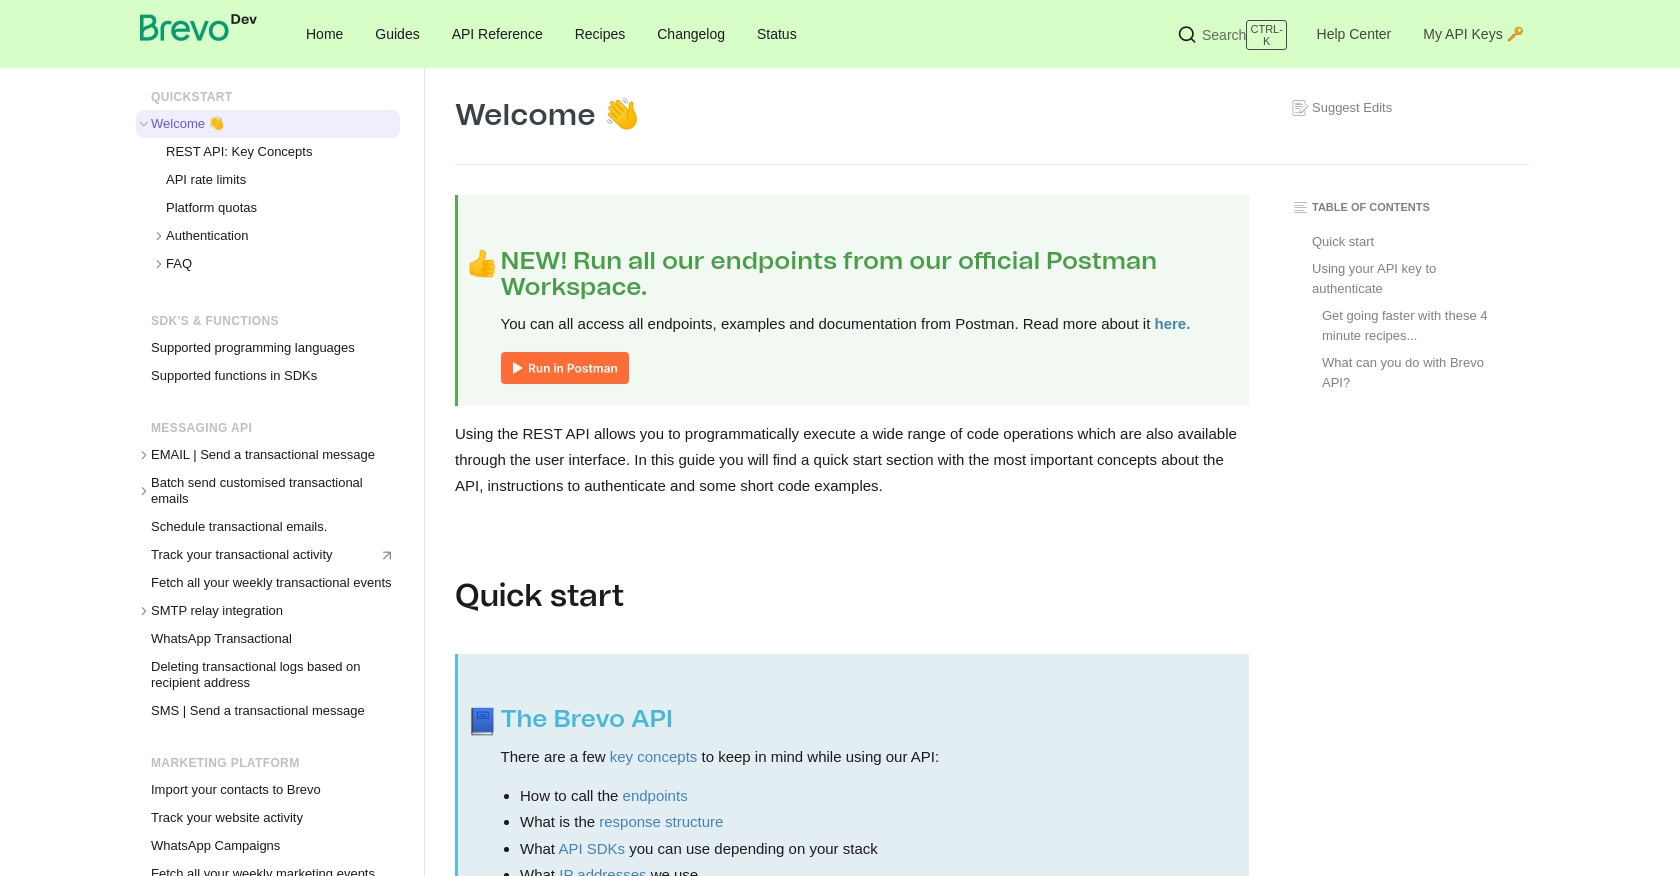
Once your account is set up, you need to generate an API key to authenticate your requests:
- Log in to your Brevo account.
- Click on your profile name in the top-right corner and select SMTP & API from the dropdown menu.
- Navigate to the API keys tab and click on Generate a new API key.
- Enter a name for your API key and click Generate.
- Copy the generated API key and store it securely, as you'll need it for making API calls.
For more detailed instructions, refer to the Brevo API documentation.
sbb-itb-96038d7
Making API Calls to Create or Update Contacts with Brevo in JavaScript
To interact with the Brevo API for creating or updating contacts, you will need to use JavaScript. This section will guide you through setting up your environment, writing the necessary code, and handling responses and errors effectively.
Setting Up Your JavaScript Environment for Brevo API Integration
Before making API calls, ensure you have Node.js installed on your machine. You can download it from the official Node.js website. Additionally, you will need the axios library to handle HTTP requests.
npm install axios
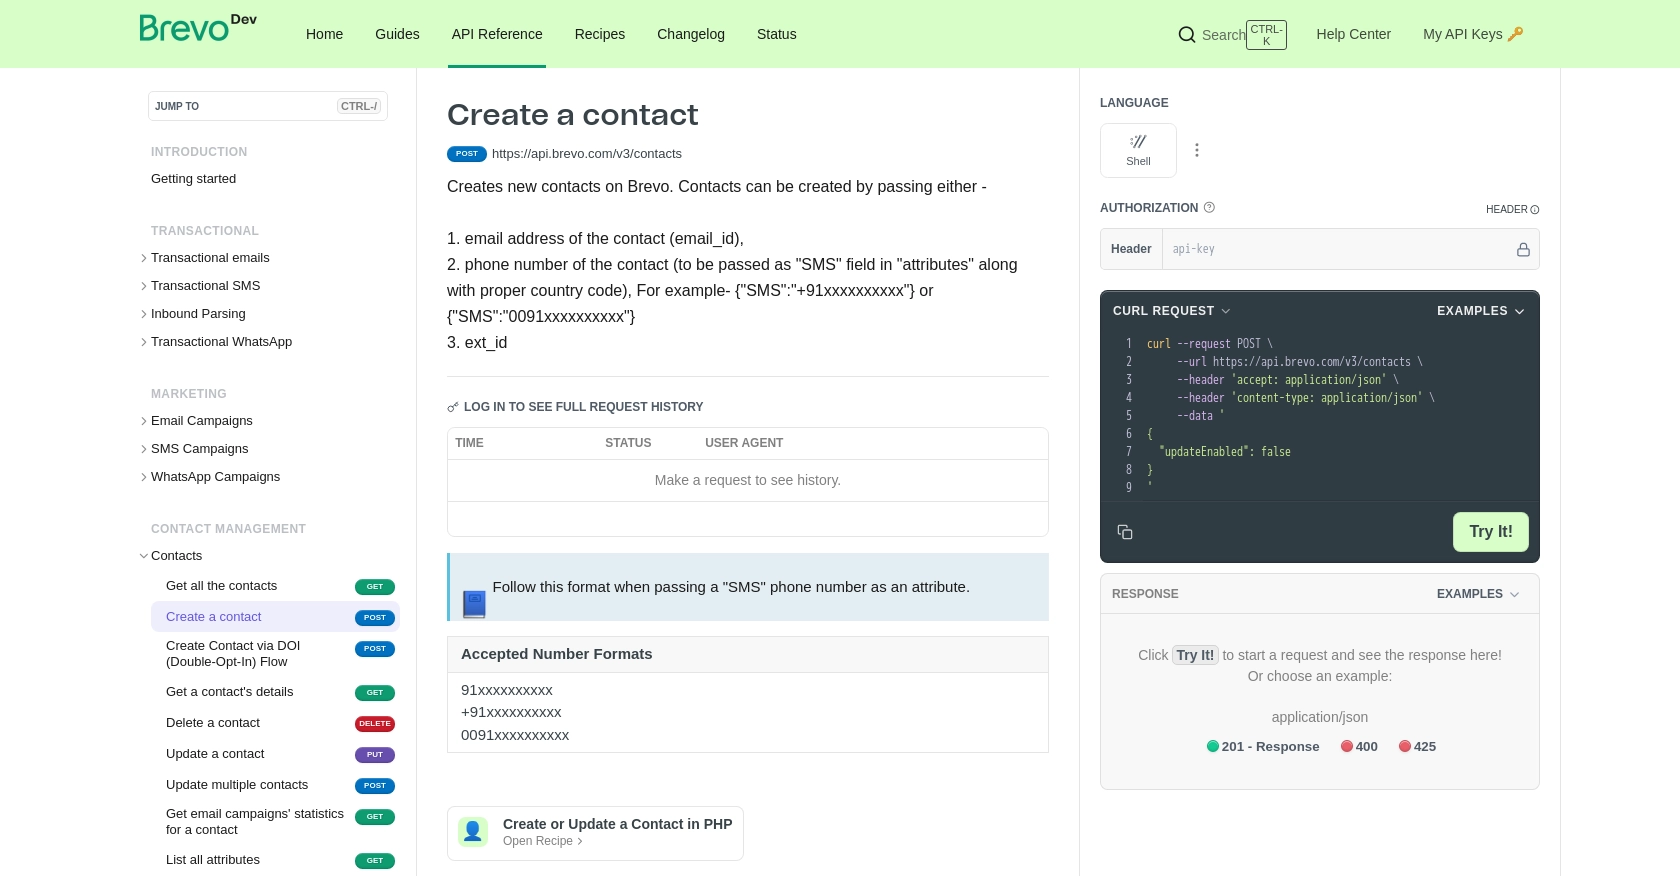
Writing JavaScript Code to Create or Update Contacts Using Brevo API
Below is a sample code snippet to create or update a contact using the Brevo API. Replace YOUR_API_KEY with the API key you generated earlier.
const axios = require('axios');

const createOrUpdateContact = async () => {
    const apiKey = 'YOUR_API_KEY';
    const contactData = {
        email: 'example@example.com',
        attributes: {
            FIRSTNAME: 'John',
            LASTNAME: 'Doe',
            SMS: '919876543210'
        },
        listIds: [2],
        updateEnabled: true
    };

    try {
        const response = await axios.post('https://api.brevo.com/v3/contacts', contactData, {
            headers: {
                'api-key': apiKey,
                'Content-Type': 'application/json'
            }
        });
        console.log('Contact created or updated successfully:', response.data);
    } catch (error) {
        console.error('Error creating or updating contact:', error.response ? error.response.data : error.message);
    }
};

createOrUpdateContact();
Understanding the Brevo API Response and Error Handling
After executing the API call, you should verify the response to ensure the contact was created or updated successfully. The response will contain details of the operation, which you can log or process further.
In case of errors, the catch block will capture them. Common errors include invalid API keys or incorrect data formats. Always check the error response for specific details to troubleshoot effectively.
Verifying Contact Creation or Update in Brevo
To confirm that the contact was successfully created or updated, log in to your Brevo account and navigate to the contacts section. You should see the new or updated contact details reflected there.
For more detailed information on error codes and handling, refer to the Brevo API documentation.
Conclusion and Best Practices for Brevo API Integration
Integrating with the Brevo API to manage contacts can significantly enhance your application's ability to maintain up-to-date customer information and streamline communication processes. By following the steps outlined in this guide, you can efficiently create or update contacts using JavaScript, ensuring seamless synchronization with Brevo's platform.
Best Practices for Managing Brevo API Integrations
- Secure API Keys: Always store your API keys securely and avoid hardcoding them in your source code. Consider using environment variables or secure vaults.
- Handle Rate Limits: Be mindful of Brevo's API rate limits to avoid throttling. Implement retry logic with exponential backoff to manage rate limit errors gracefully.
- Data Validation: Ensure that the contact data you send to Brevo is correctly formatted and validated to prevent errors during API calls.
- Error Handling: Implement comprehensive error handling to capture and log errors, allowing for easier troubleshooting and maintenance.
- Regular Updates: Keep your integration updated with the latest API changes and improvements from Brevo to maintain compatibility and leverage new features.
Enhancing Your Integration Strategy with Endgrate
While integrating with Brevo is a powerful way to manage contacts, handling multiple integrations can be complex and time-consuming. Endgrate offers a unified API solution that simplifies the integration process across various platforms, including Brevo. By using Endgrate, you can streamline your development efforts, reduce maintenance overhead, and focus on delivering core product features.
Explore how Endgrate can transform your integration strategy by visiting Endgrate's website and discover the benefits of a seamless, intuitive integration experience for your business.
Read More

Ready to get started?
