Using the Capsule API to Create or Update organizations in Javascript
Introduction to Capsule CRM
Capsule CRM is a versatile customer relationship management platform designed to help businesses manage their contacts, sales opportunities, and tasks efficiently. With its user-friendly interface and robust features, Capsule CRM is a popular choice for organizations looking to streamline their customer interactions and improve sales processes.
Developers may want to integrate with Capsule CRM's API to automate and enhance their business workflows. For example, using the Capsule API, a developer can create or update organization records directly from a custom application, ensuring that the CRM data remains up-to-date and consistent across all platforms.
This article will guide you through using JavaScript to interact with the Capsule API, specifically focusing on creating or updating organizations. By following this tutorial, you will learn how to set up authentication, make API calls, and handle responses effectively.
Setting Up a Capsule CRM Test or Sandbox Account
Before you can start interacting with the Capsule API using JavaScript, you'll need to set up a test or sandbox account. This will allow you to safely experiment with API calls without affecting live data.
Creating a Capsule CRM Account
If you don't already have a Capsule CRM account, you can sign up for a free trial on the Capsule website. This trial will give you access to the full suite of features, allowing you to test API interactions thoroughly.
- Visit the Capsule CRM signup page.
- Fill in the required information and follow the prompts to create your account.
- Once your account is set up, log in to access the dashboard.
Generating OAuth Credentials for Capsule API
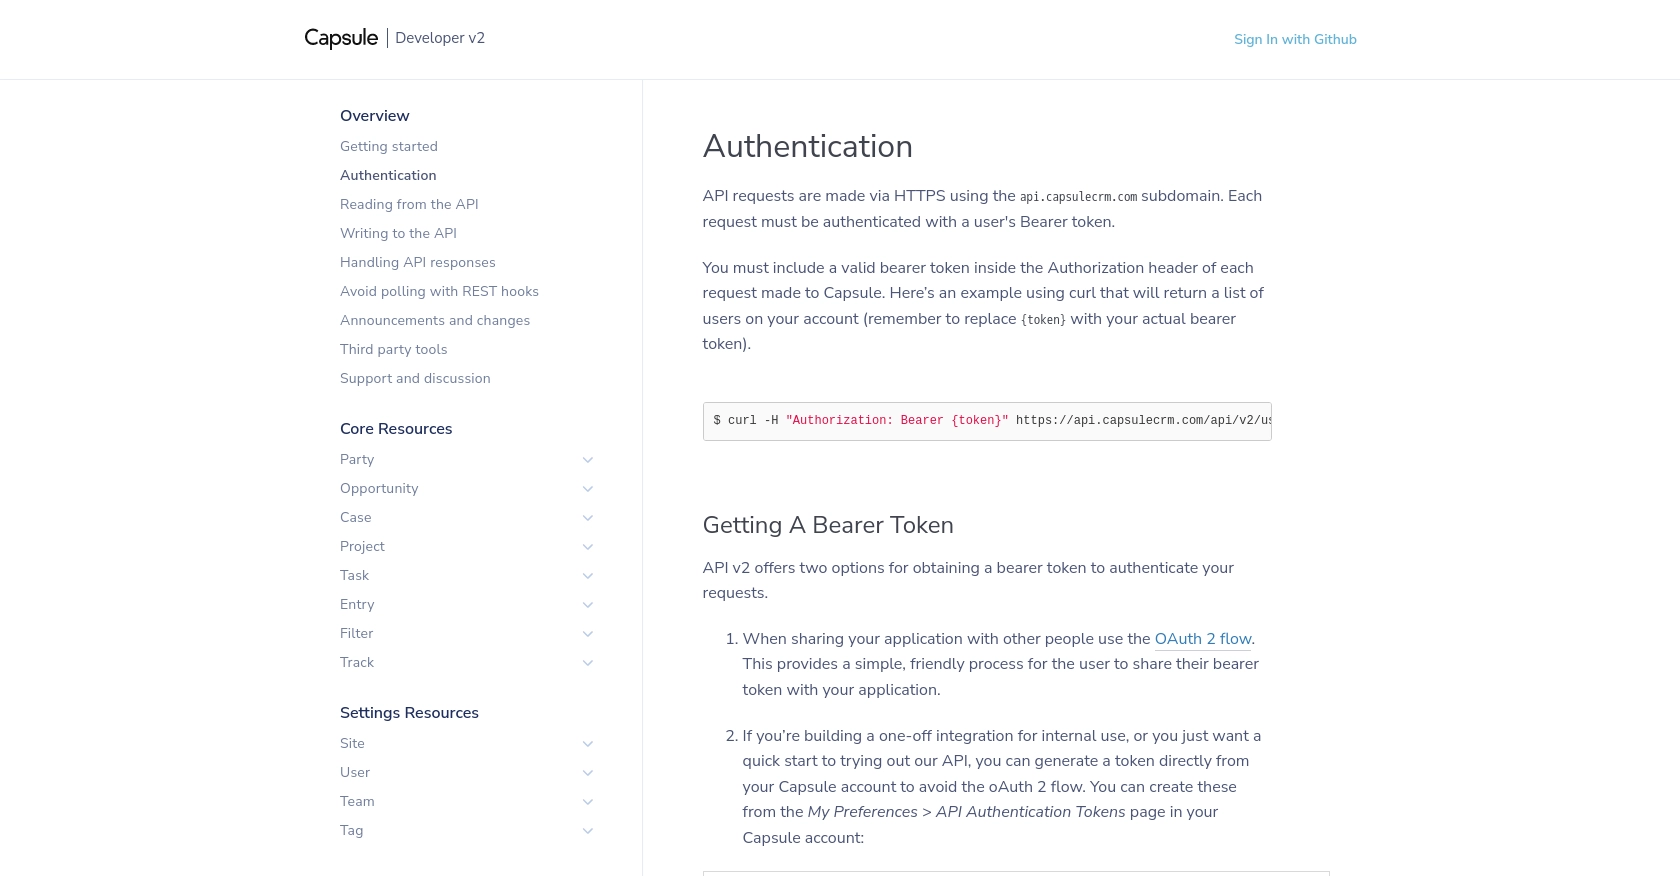
Capsule CRM uses OAuth 2.0 for authentication, which requires you to create an application within your Capsule account to obtain the necessary credentials.
- Navigate to the "My Preferences" section in your Capsule dashboard.
- Select "API Authentication Tokens" to create a new token.
- Register your application to receive a client ID and client secret. Ensure you select the appropriate application type based on your use case.
- Note down the client ID and client secret, as these will be needed for API authentication.
Setting Up OAuth 2.0 Authentication
To authenticate your API requests, you'll need to follow the OAuth 2.0 flow to obtain an access token. This involves several steps:
- Redirect users to the Capsule authorization URL to request access.
- After user approval, Capsule will redirect back to your application with an authorization code.
- Exchange the authorization code for an access token using the token exchange URL.
- Use the access token in the Authorization header for API requests.
For detailed steps on the OAuth 2.0 flow, refer to the Capsule API Authentication documentation.
sbb-itb-96038d7
Making API Calls to Create or Update Organizations in Capsule Using JavaScript
To interact with the Capsule API for creating or updating organizations, you'll need to use JavaScript to make HTTP requests. This section will guide you through setting up your environment, writing the necessary code, and handling responses effectively.
Setting Up Your JavaScript Environment
Before making API calls, ensure you have the following prerequisites:
- Node.js installed on your machine.
- A code editor like Visual Studio Code.
- The
axioslibrary for making HTTP requests. You can install it using npm:
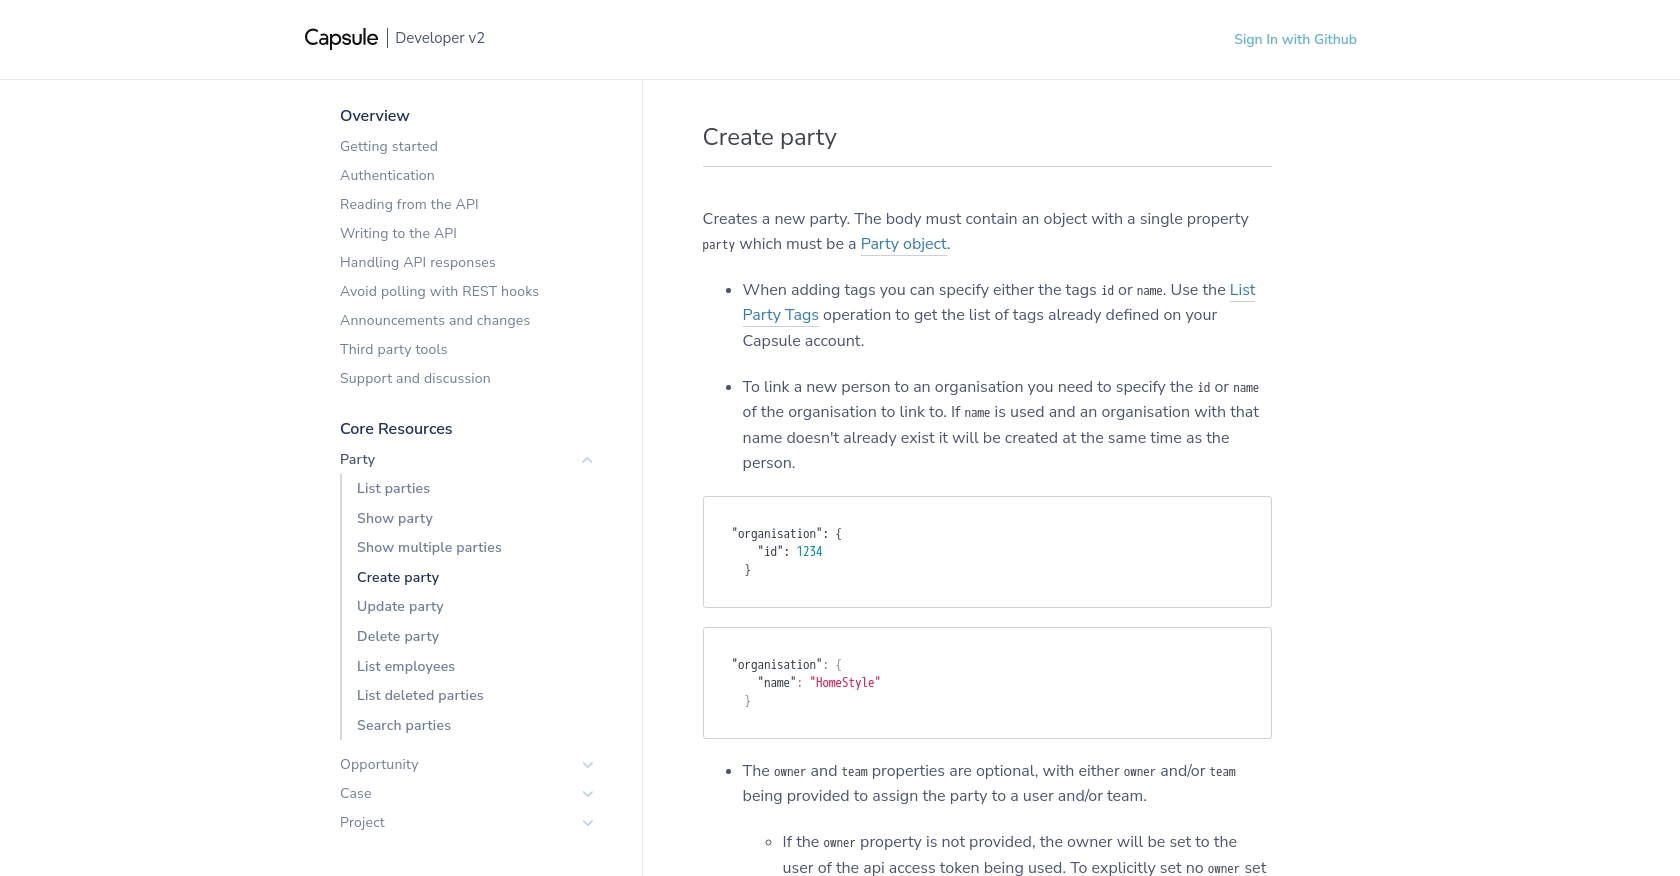
npm install axiosCreating an Organization in Capsule CRM
To create an organization in Capsule, you'll need to send a POST request with the organization details. Here's an example of how to do this using JavaScript:
const axios = require('axios');

const createOrganization = async () => {
    const url = 'https://api.capsulecrm.com/api/v2/parties';
    const token = 'Your_Access_Token'; // Replace with your actual access token

    const organizationData = {
        party: {
            type: 'organisation',
            name: 'New Organization',
            emailAddresses: [
                { type: 'Work', address: 'info@neworganization.com' }
            ],
            phoneNumbers: [
                { type: 'Work', number: '123-456-7890' }
            ],
            addresses: [
                {
                    type: 'Office',
                    city: 'New York',
                    country: 'United States',
                    street: '123 Main St',
                    state: 'NY',
                    zip: '10001'
                }
            ]
        }
    };

    try {
        const response = await axios.post(url, organizationData, {
            headers: {
                'Authorization': `Bearer ${token}`,
                'Content-Type': 'application/json'
            }
        });
        console.log('Organization Created:', response.data);
    } catch (error) {
        console.error('Error Creating Organization:', error.response.data);
    }
};

createOrganization();
Replace Your_Access_Token with the token obtained from the OAuth 2.0 flow. This script sends a POST request to the Capsule API to create a new organization with specified details.
Updating an Existing Organization in Capsule CRM
To update an existing organization, you'll need to know the organization's ID and send a PUT request with the updated information:
const updateOrganization = async (organizationId) => {
    const url = `https://api.capsulecrm.com/api/v2/parties/${organizationId}`;
    const token = 'Your_Access_Token'; // Replace with your actual access token

    const updatedData = {
        party: {
            name: 'Updated Organization Name',
            emailAddresses: [
                { type: 'Work', address: 'contact@updatedorganization.com' }
            ]
        }
    };

    try {
        const response = await axios.put(url, updatedData, {
            headers: {
                'Authorization': `Bearer ${token}`,
                'Content-Type': 'application/json'
            }
        });
        console.log('Organization Updated:', response.data);
    } catch (error) {
        console.error('Error Updating Organization:', error.response.data);
    }
};

updateOrganization('Organization_ID');
Replace Organization_ID with the ID of the organization you wish to update. This script updates the organization's name and email address.
Handling API Responses and Errors
When making API calls, it's crucial to handle responses and potential errors gracefully:
- Check the HTTP status code to determine if the request was successful (status code 2xx).
- Handle errors by catching exceptions and logging error messages for debugging.
- Refer to the Capsule API Handling API Responses documentation for more details on error codes and responses.
By following these steps, you can effectively create and update organizations in Capsule CRM using JavaScript, ensuring your CRM data is accurate and up-to-date.
Conclusion and Best Practices for Using Capsule API with JavaScript
Integrating with the Capsule API using JavaScript allows developers to efficiently manage and update organization data within Capsule CRM. By following the steps outlined in this guide, you can streamline your workflows and ensure data consistency across platforms.
Best Practices for Capsule API Integration
- Securely Store Credentials: Always store your client ID, client secret, and access tokens securely. Avoid hardcoding them in your source code.
- Handle Rate Limiting: Capsule API allows up to 4,000 requests per hour. Monitor the
X-RateLimit-Remainingheader and implement throttling to avoid exceeding limits. For more details, refer to the Capsule API Handling API Responses documentation. - Data Standardization: Ensure that data fields are standardized and validated before making API calls to maintain data integrity.
- Error Handling: Implement robust error handling by checking HTTP status codes and logging errors for debugging purposes.
Enhance Your Integration with Endgrate
For developers looking to simplify and scale their integrations, consider using Endgrate. With Endgrate, you can:
- Save time and resources by outsourcing integrations and focusing on your core product.
- Build once for each use case instead of multiple times for different integrations.
- Provide an easy, intuitive integration experience for your customers.
Visit Endgrate to learn more about how you can streamline your integration processes and enhance your application's capabilities.
Read More
- https://endgrate.com/provider/capsulecrm
- https://developer.capsulecrm.com/v2/overview/authentication
- https://developer.capsulecrm.com/v2/overview/handling-api-responses
- https://developer.capsulecrm.com/v2/overview/avoid-polling-with-rest-hooks
- https://developer.capsulecrm.com/v2/operations/Party#createParty

Ready to get started?
