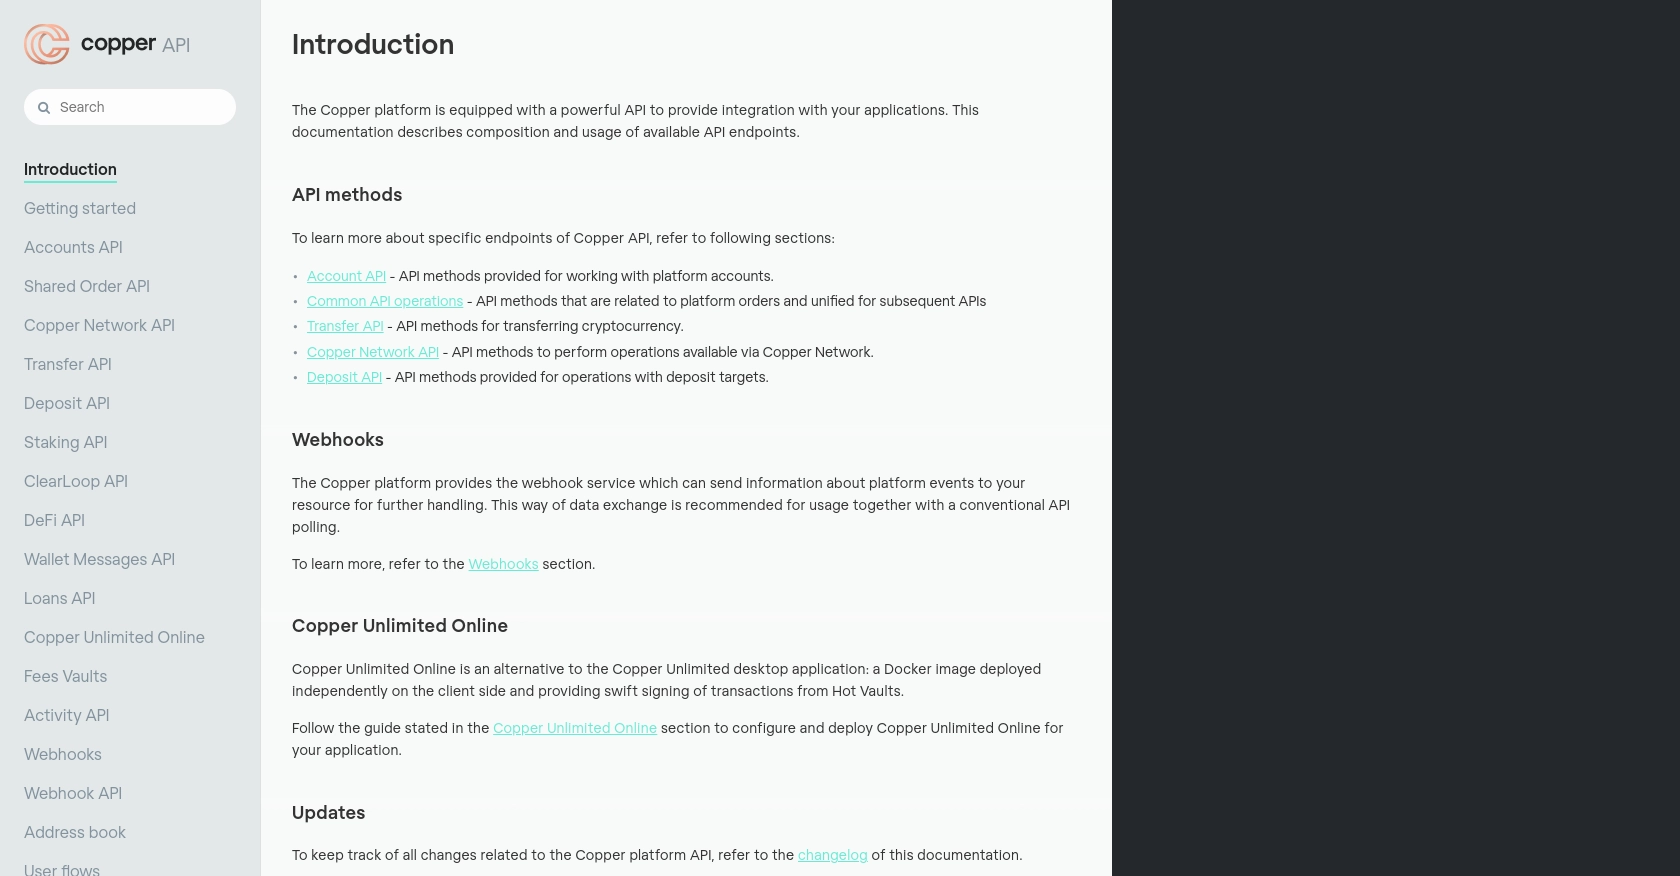
Using the Copper API to Create or Update People in Python

Introduction to Copper API for People Management
Copper is a robust CRM platform that seamlessly integrates with Google Workspace, providing businesses with an efficient way to manage customer relationships directly from their inbox. Its intuitive design and powerful features make it a popular choice for organizations looking to streamline their sales processes.
Developers may want to integrate with Copper's API to automate and enhance their CRM functionalities, such as creating or updating people records. For example, a developer could use the Copper API to automatically update contact information from an external source, ensuring that the CRM data remains current and accurate.
Setting Up Your Copper API Test or Sandbox Account
Creating a Copper Account for API Access
To begin integrating with the Copper API, you'll need to set up a Copper account. If you don't already have one, you can sign up for a free trial or demo account on the Copper website. This will give you access to the necessary tools and features to start developing your integration.
- Visit the Copper website and click on the "Sign Up" button.
- Follow the instructions to create your account. You'll need to provide basic information such as your name, email, and company details.
- Once your account is created, log in to access the Copper dashboard.
Generating Copper API Keys for Authentication
To interact with the Copper API, you'll need to generate API keys. These keys will allow your application to authenticate and make requests to the Copper API.
- Navigate to the "Settings" section in the Copper dashboard.
- Under "Integrations," select "API Keys."
- Click on "Create API Key" and provide a name for your key to help you identify it later.
- Copy the generated API key and API key secret. Store them securely, as you'll need them for authentication in your application.
Configuring Copper API Authentication
Copper uses a custom authentication method that requires you to sign your requests. Here's how you can configure your authentication:
import hashlib
import hmac
import requests
import time

ApiKey = 'your_api_key'
Secret = 'your_api_secret'
timestamp = str(round(time.time() * 1000))
method = "GET"
path = "/v1/people"
body = ""

signature = hmac.new(
    key=bytes(Secret, 'utf-8'),
    msg=bytes(timestamp + method + path + body, 'utf-8'),
    digestmod=hashlib.sha256
).hexdigest()

headers = {
    'Authorization': 'ApiKey ' + ApiKey,
    'X-Signature': signature,
    'X-Timestamp': timestamp
}

response = requests.get('https://api.copper.com' + path, headers=headers)
print(response.json())
Replace your_api_key and your_api_secret with the values you obtained earlier. This code snippet demonstrates how to sign your requests using Python, ensuring secure communication with the Copper API.

sbb-itb-96038d7
Making API Calls to Copper for Creating or Updating People Records
Setting Up Your Python Environment for Copper API Integration
To interact with the Copper API using Python, you need to ensure that your development environment is properly configured. This includes having the correct version of Python installed and the necessary dependencies.
- Ensure you have Python 3.7 or later installed on your machine.
- Install the
requestslibrary, which is essential for making HTTP requests. You can install it using pip:
pip install requestsExample Code for Creating a New Person in Copper
Once your environment is set up, you can proceed to write the code for creating a new person in Copper. Below is an example of how to make a POST request to the Copper API to add a new person record:
import hashlib
import hmac
import requests
import time

# Set your API credentials
ApiKey = 'your_api_key'
Secret = 'your_api_secret'

# Define the API endpoint and request details
timestamp = str(round(time.time() * 1000))
method = "POST"
path = "/v1/people"
body = '{"name": "John Doe", "email": "johndoe@example.com"}'

# Generate the signature
signature = hmac.new(
    key=bytes(Secret, 'utf-8'),
    msg=bytes(timestamp + method + path + body, 'utf-8'),
    digestmod=hashlib.sha256
).hexdigest()

# Set the headers
headers = {
    'Authorization': 'ApiKey ' + ApiKey,
    'X-Signature': signature,
    'X-Timestamp': timestamp,
    'Content-Type': 'application/json'
}

# Make the API call
response = requests.post('https://api.copper.com' + path, headers=headers, data=body)

# Print the response
print(response.json())
Replace your_api_key and your_api_secret with your actual Copper API credentials. This code snippet demonstrates how to create a new person in Copper by sending a POST request with the necessary authentication headers.
Handling API Responses and Errors
After making an API call, it's crucial to handle the response correctly. Copper API responses typically include a status code and a JSON body containing the result or error details.
- If the request is successful, the API will return a 2xx status code, and the response body will contain the details of the created or updated person.
- If there's an error, the API will return a 4xx or 5xx status code, along with an error message in the response body. You should handle these errors gracefully in your application.
Here's an example of how you might handle errors in your code:
if response.status_code == 201:
    print("Person created successfully:", response.json())
else:
    print("Error:", response.status_code, response.json().get('message'))
By checking the status code and parsing the response, you can ensure that your application responds appropriately to different outcomes.
Best Practices for Copper API Integration and Error Handling
When working with the Copper API, it's essential to follow best practices to ensure a smooth and efficient integration. Here are some key recommendations:
- Securely Store API Credentials: Always keep your API key and secret secure. Avoid hardcoding them in your source code and consider using environment variables or a secure vault.
- Implement Rate Limiting: Copper API has rate limits in place. Ensure your application handles these limits gracefully by implementing retry logic and exponential backoff strategies.
- Handle Errors Gracefully: Always check the status codes of API responses and handle errors appropriately. This includes logging errors and providing meaningful feedback to users.
- Validate Input Data: Before sending data to the Copper API, validate it to ensure it meets the API's requirements. This can prevent unnecessary errors and improve data integrity.
- Keep Data Consistent: Regularly synchronize your data with Copper to ensure consistency between your application and the CRM.
Enhancing Copper API Integrations with Endgrate
Integrating with multiple platforms can be time-consuming and complex. Endgrate simplifies this process by providing a unified API endpoint that connects to various platforms, including Copper. By using Endgrate, you can:
- Save Time and Resources: Focus on your core product while Endgrate handles the complexities of integration.
- Build Once, Use Everywhere: Develop a single integration that works across multiple platforms, reducing development overhead.
- Improve User Experience: Offer your customers a seamless and intuitive integration experience.
Visit Endgrate to learn more about how you can streamline your integration processes and enhance your application's capabilities.
Read More
Ready to get started?
