Using the Chargebee API to Create or Update Credit notes (with Javascript examples)

Introduction to Chargebee API for Credit Notes
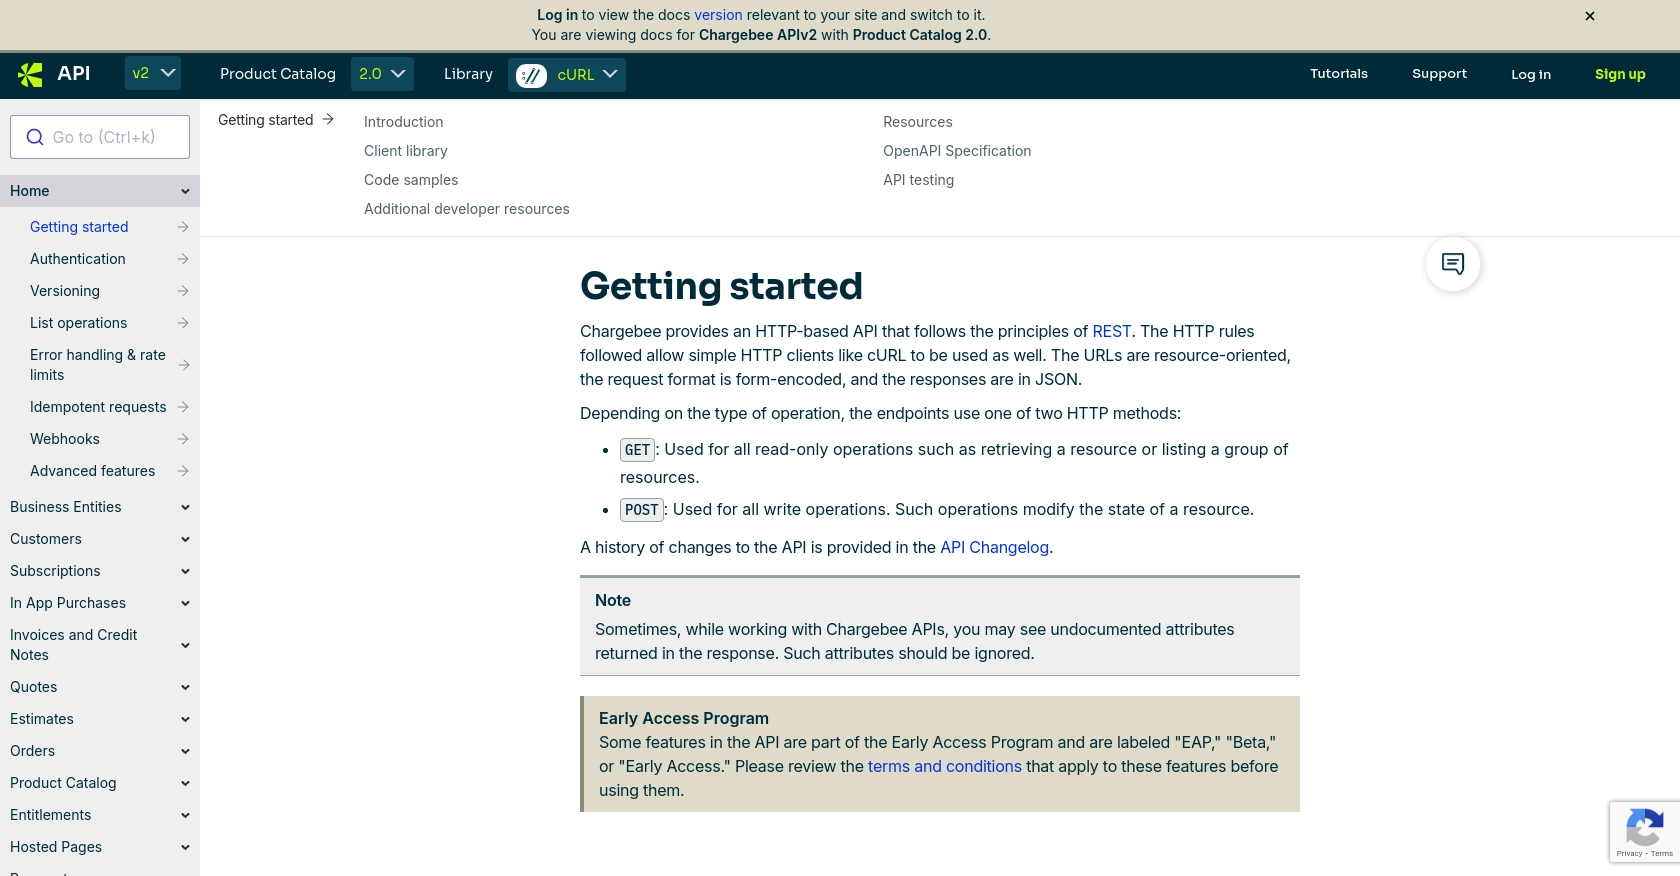
Chargebee is a robust subscription management and billing platform designed to streamline financial operations for businesses. It offers a comprehensive suite of tools to manage subscriptions, invoicing, and revenue recognition, making it a popular choice for SaaS companies and other subscription-based businesses.
Integrating with Chargebee's API allows developers to automate and enhance billing processes, such as creating or updating credit notes. Credit notes are essential for managing refunds and adjustments, providing a way to document the money owed back to customers. For example, a developer might use the Chargebee API to automatically generate a credit note when a customer returns a product, ensuring accurate financial records and customer satisfaction.
This article will guide you through using JavaScript to interact with the Chargebee API, focusing on creating and updating credit notes. You'll learn how to set up your environment, authenticate requests, and handle API responses effectively.
Setting Up Your Chargebee Test/Sandbox Account
Before you can begin integrating with the Chargebee API, you'll need to set up a test or sandbox account. This environment allows you to safely experiment with API calls without affecting live data. Follow these steps to get started:
Step 1: Sign Up for a Chargebee Test Account
- Visit the Chargebee website and sign up for a free trial or test account.
- Follow the on-screen instructions to complete the registration process.
- Once registered, log in to your Chargebee dashboard.
Step 2: Obtain Your API Key
Chargebee uses HTTP Basic authentication, where your API key serves as the username. Here's how to obtain it:
- Navigate to the "Settings" section in your Chargebee dashboard.
- Under "API Keys," generate a new API key for your test environment.
- Copy the API key and store it securely, as it will be used for authenticating your API requests.
Step 3: Configure API Access
Ensure your API key has the necessary permissions to create and update credit notes:
- In the "API Keys" section, edit the permissions for your key.
- Enable access to "Invoices and Credit Notes" to allow operations related to credit notes.
Step 4: Set Up Your Development Environment
To interact with the Chargebee API using JavaScript, you'll need to set up your development environment:
- Ensure you have Node.js installed on your machine.
- Create a new project directory and initialize it with
npm init. - Install the necessary dependencies, such as Axios for making HTTP requests:
npm install axiosWith your Chargebee test account and development environment ready, you can now proceed to make API calls to create or update credit notes.
sbb-itb-96038d7
Making API Calls to Chargebee for Creating or Updating Credit Notes Using JavaScript
In this section, we'll explore how to interact with the Chargebee API using JavaScript to create or update credit notes. We'll cover the necessary steps to set up your environment, write the code, and handle responses effectively.
Prerequisites for Using JavaScript with Chargebee API
Before diving into the code, ensure you have the following prerequisites:
- Node.js installed on your machine.
- A Chargebee test account with API access configured.
- Axios library installed for making HTTP requests:
npm install axiosCreating a Credit Note with Chargebee API
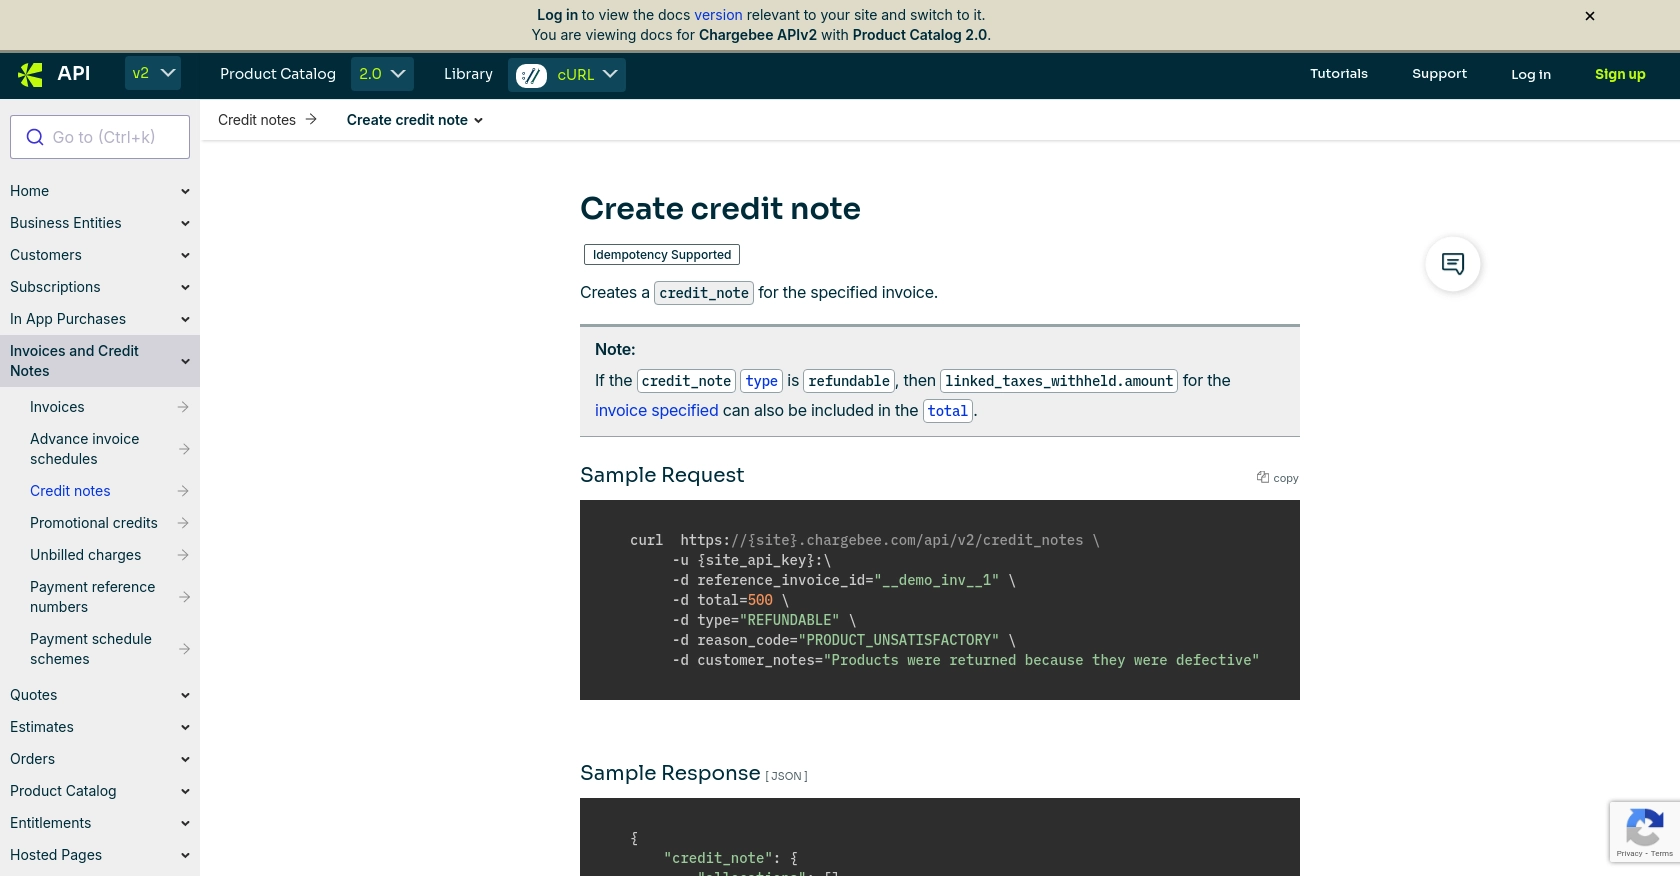
To create a credit note, you'll need to make a POST request to the Chargebee API. Here's a step-by-step guide:
- Create a new JavaScript file, for example,
createCreditNote.js. - Import the Axios library and set up the API endpoint and headers:
const axios = require('axios');

const site = 'your-site';
const apiKey = 'your-api-key';
const endpoint = `https://${site}.chargebee.com/api/v2/credit_notes`;
const headers = {
    'Authorization': `Basic ${Buffer.from(apiKey + ':').toString('base64')}`,
    'Content-Type': 'application/x-www-form-urlencoded'
};- Define the data for the credit note:
const data = new URLSearchParams({
    reference_invoice_id: '__demo_inv__1',
    total: 500,
    type: 'refundable',
    reason_code: 'product_unsatisfactory',
    customer_notes: 'Products were returned because they were defective'
});- Make the POST request to create the credit note:
axios.post(endpoint, data, { headers })
    .then(response => {
        console.log('Credit Note Created:', response.data);
    })
    .catch(error => {
        console.error('Error creating credit note:', error.response.data);
    });
Replace your-site and your-api-key with your Chargebee site name and API key. Run the script using Node.js:
node createCreditNote.jsUpdating a Credit Note with Chargebee API
To update an existing credit note, you'll need to make a similar POST request with the updated data:
- Create a new JavaScript file, for example,
updateCreditNote.js. - Set up the API endpoint for the specific credit note you want to update:
const creditNoteId = '__demo_cn__1';
const updateEndpoint = `https://${site}.chargebee.com/api/v2/credit_notes/${creditNoteId}`;- Define the updated data for the credit note:
const updateData = new URLSearchParams({
    customer_notes: 'Updated note: Customer returned the product due to defect'
});- Make the POST request to update the credit note:
axios.post(updateEndpoint, updateData, { headers })
    .then(response => {
        console.log('Credit Note Updated:', response.data);
    })
    .catch(error => {
        console.error('Error updating credit note:', error.response.data);
    });
Run the script using Node.js:
node updateCreditNote.jsHandling API Responses and Errors
When making API calls, it's crucial to handle responses and errors effectively:
- Check the response status code to verify success. A 2XX status indicates a successful request.
- Handle errors by checking the error response and logging the message for debugging.
- Refer to Chargebee's error handling documentation for detailed information on error codes and handling strategies.
By following these steps, you can efficiently create and update credit notes using the Chargebee API with JavaScript, ensuring smooth financial operations and customer satisfaction.
Conclusion and Best Practices for Using Chargebee API with JavaScript
Integrating with the Chargebee API to create or update credit notes using JavaScript can significantly enhance your billing and subscription management processes. By automating these tasks, you ensure accuracy and efficiency, leading to improved customer satisfaction and streamlined financial operations.
Best Practices for Secure and Efficient API Integration with Chargebee
- Secure API Keys: Store your API keys securely and avoid hardcoding them in your source files. Consider using environment variables or secure vaults.
- Handle Rate Limits: Chargebee imposes rate limits on API requests. Implement strategies like exponential backoff to handle HTTP 429 errors gracefully. For more details, refer to the Chargebee API documentation.
- Data Validation: Validate data before sending it to the API to minimize errors and ensure compliance with Chargebee's requirements.
- Error Handling: Implement robust error handling to manage API failures effectively. Log errors and use Chargebee's error codes to diagnose issues.
- Test Thoroughly: Use Chargebee's sandbox environment to test your integration thoroughly before deploying it to production.
Streamlining Integration with Endgrate
If managing multiple integrations is a challenge, consider using Endgrate to simplify the process. Endgrate provides a unified API endpoint that connects to various platforms, including Chargebee, allowing you to focus on your core product while outsourcing integration complexities.
With Endgrate, you can build once for each use case and leverage an intuitive integration experience for your customers. Visit Endgrate to learn more about how it can enhance your integration strategy.
By following these best practices and leveraging tools like Endgrate, you can optimize your use of the Chargebee API and ensure a seamless integration experience.
Read More

Ready to get started?
