Using the Chargebee API to Create or Update Customers in Javascript
Introduction to Chargebee API Integration
Chargebee is a robust subscription management and billing platform designed to streamline recurring billing processes for SaaS businesses. It offers a comprehensive suite of tools for managing subscriptions, invoicing, and customer data, making it an essential tool for businesses looking to automate their billing workflows.
Integrating with Chargebee's API allows developers to efficiently manage customer data, such as creating or updating customer profiles. For example, you might want to automatically update customer information in Chargebee when a user updates their profile on your platform, ensuring that your billing records are always up-to-date.
This article will guide you through using JavaScript to interact with the Chargebee API, focusing on creating or updating customer records. By the end of this tutorial, you'll be equipped to seamlessly integrate Chargebee's powerful features into your application, enhancing your billing and subscription management capabilities.
Setting Up Your Chargebee Test Account
Before you can start integrating with the Chargebee API, you'll need to set up a test account. This allows you to safely experiment with API calls without affecting any live data. Chargebee provides a sandbox environment that mimics the live environment, making it ideal for testing and development.
Creating a Chargebee Sandbox Account
To create a sandbox account, follow these steps:
- Visit the Chargebee signup page and select the option to create a sandbox account.
- Fill in the required details, such as your email address and company name, and submit the form.
- Once your account is created, you'll receive a confirmation email. Follow the instructions in the email to verify your account.
Generating API Keys for Chargebee
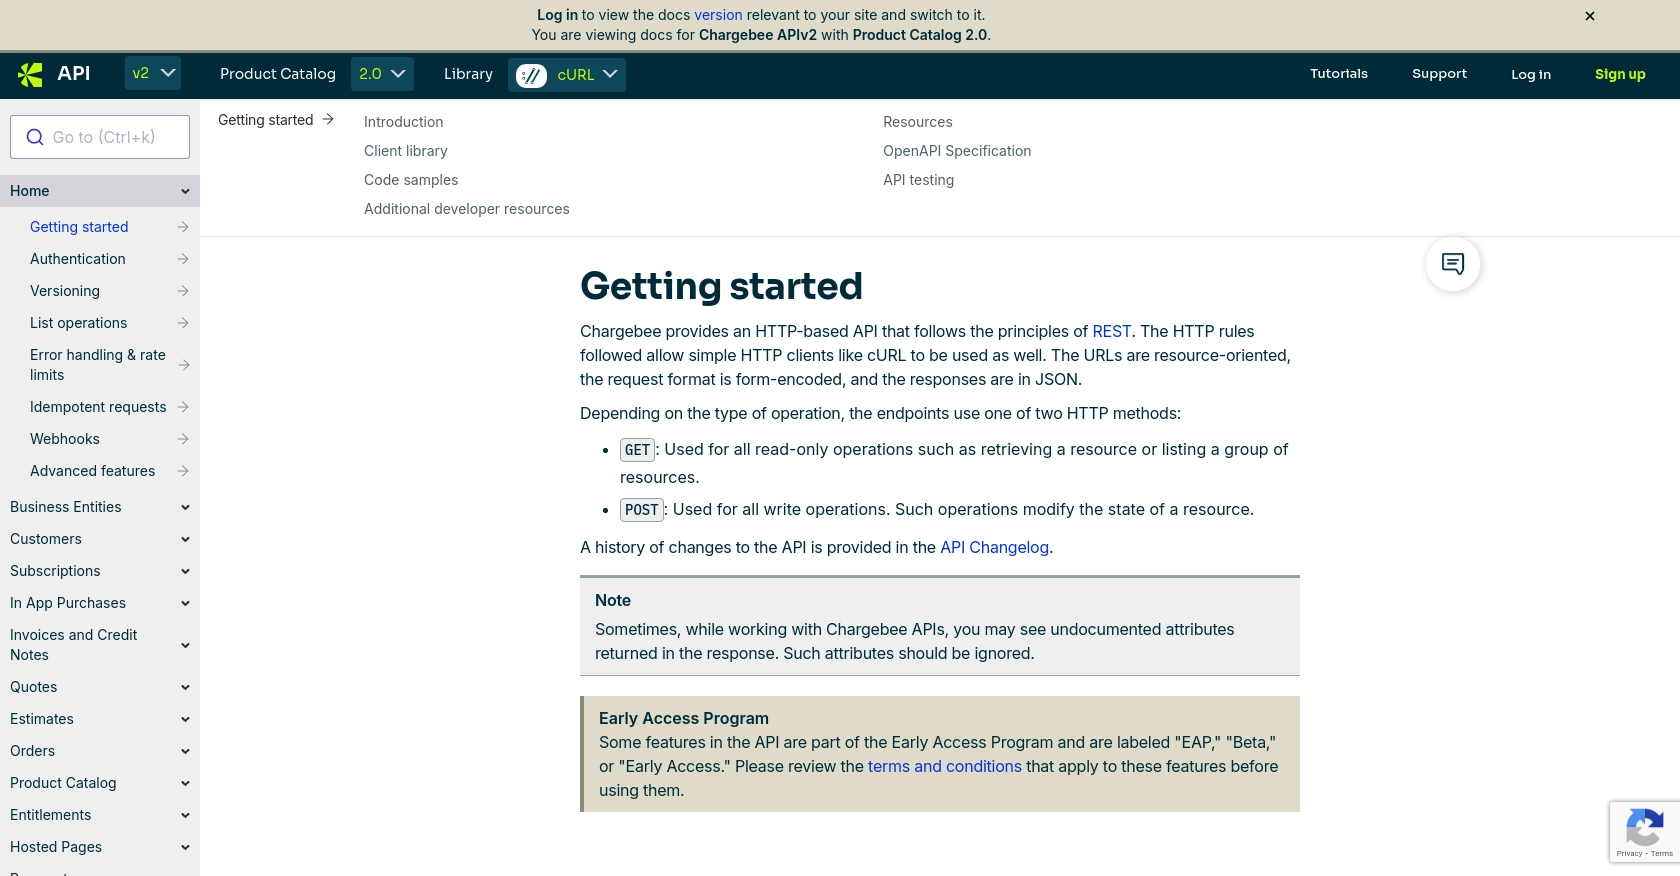
Chargebee uses HTTP Basic authentication for API calls, where the API key acts as the username and the password is left empty. Here's how to generate your API keys:
- Log in to your Chargebee sandbox account.
- Navigate to Settings > Configure Chargebee > API Keys.
- Click on Generate API Key and provide a name for your key to easily identify it later.
- Copy the generated API key and store it securely. You'll use this key to authenticate your API requests.
Configuring OAuth for Chargebee API Access
If your integration requires OAuth-based authentication, you can set it up as follows:
- In your Chargebee account, go to Settings > Configure Chargebee > Apps.
- Click on Create App and fill in the necessary details, such as the app name and redirect URL.
- After creating the app, you'll receive a Client ID and Client Secret. Keep these credentials safe as they are essential for OAuth authentication.
With your sandbox account and API keys set up, you're ready to start making API calls to Chargebee. This setup ensures that you can safely test your integration without impacting live data.
sbb-itb-96038d7
Making API Calls to Chargebee Using JavaScript
To interact with the Chargebee API using JavaScript, you'll need to set up your environment and write code that can send HTTP requests to the API endpoints. This section will guide you through the process of creating or updating customer records using JavaScript.
Setting Up Your JavaScript Environment for Chargebee API Integration
Before making API calls, ensure you have the following prerequisites:
- Node.js installed on your machine. You can download it from nodejs.org.
- A text editor or IDE for writing your JavaScript code, such as Visual Studio Code.
- The
axioslibrary for making HTTP requests. You can install it using npm:
npm install axiosCreating or Updating Customers with Chargebee API
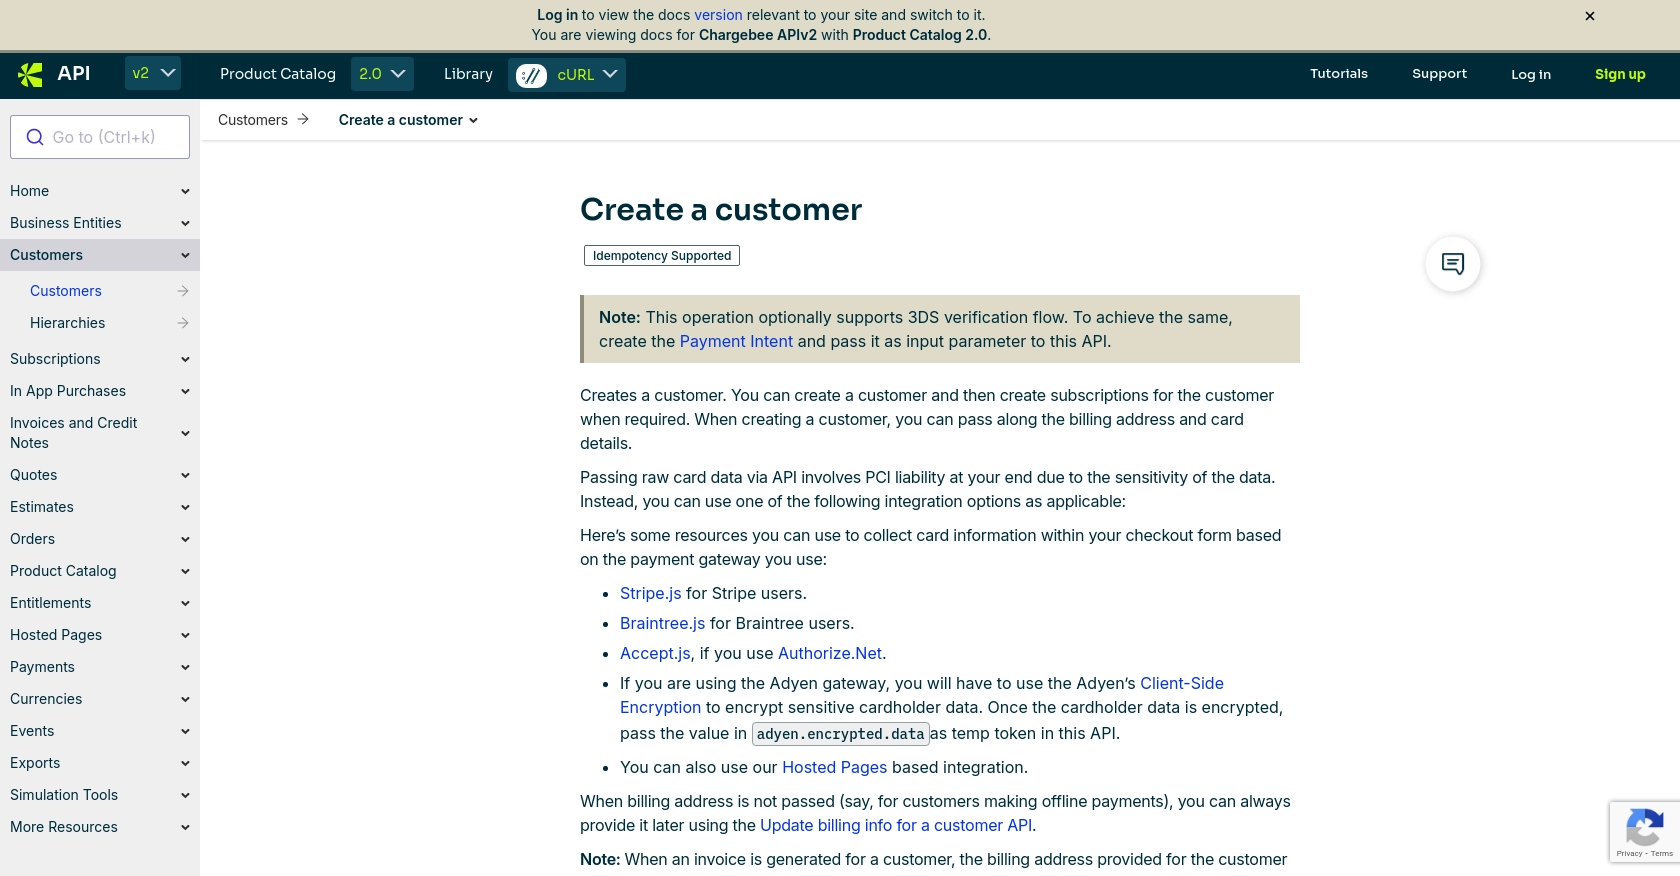
Now that your environment is set up, let's write a function to create or update a customer in Chargebee using the API. We'll use the axios library to handle HTTP requests.
const axios = require('axios');

// Function to create or update a customer in Chargebee
async function createOrUpdateCustomer(apiKey, site, customerData) {
    const url = `https://${site}.chargebee.com/api/v2/customers`;

    try {
        const response = await axios.post(url, customerData, {
            auth: {
                username: apiKey,
                password: ''
            },
            headers: {
                'Content-Type': 'application/x-www-form-urlencoded'
            }
        });
        console.log('Customer created/updated successfully:', response.data);
    } catch (error) {
        console.error('Error creating/updating customer:', error.response.data);
    }
}

// Sample customer data
const customerData = {
    first_name: 'John',
    last_name: 'Doe',
    email: 'john.doe@example.com'
};

// Replace 'your_api_key' and 'your_site' with your Chargebee API key and site name
createOrUpdateCustomer('your_api_key', 'your_site', customerData);
Understanding the JavaScript Code for Chargebee API Calls
In the code above, we define a function createOrUpdateCustomer that takes three parameters: apiKey, site, and customerData. This function constructs the API endpoint URL and makes a POST request to create or update a customer.
We use HTTP Basic authentication by passing the API key as the username and leaving the password empty. The axios.post method sends the customer data to the Chargebee API, and the response is logged to the console.
Handling Errors and Verifying API Requests in Chargebee
It's crucial to handle errors gracefully when making API calls. The try-catch block in the code captures any errors that occur during the request and logs them to the console. You can further enhance error handling by checking specific error codes and messages.
To verify that your request succeeded, log in to your Chargebee sandbox account and check the customer records. If the operation was successful, the customer data should reflect the changes made by your API call.
For more information on error handling and rate limits, refer to the Chargebee API documentation.
Conclusion and Best Practices for Chargebee API Integration
Integrating with the Chargebee API using JavaScript provides a powerful way to manage customer data and streamline your billing processes. By following the steps outlined in this guide, you can create or update customer records efficiently, ensuring your billing information is always accurate and up-to-date.
Best Practices for Secure and Efficient Chargebee API Usage
- Secure API Keys: Store your API keys securely and avoid hardcoding them in your source code. Consider using environment variables or a secure vault.
- Handle Rate Limits: Chargebee imposes rate limits on API requests. Ensure your application handles HTTP 429 errors by implementing exponential backoff and retry mechanisms. For more details, refer to the Chargebee API documentation.
- Validate Data: Always validate customer data before sending it to the API to prevent errors and ensure data integrity.
- Error Handling: Implement robust error handling to capture and log errors, allowing you to troubleshoot issues effectively.
- Data Transformation: Consider transforming and standardizing data fields to match your application's requirements.
Enhancing Your Integration with Endgrate
While integrating with Chargebee can significantly enhance your billing capabilities, managing multiple integrations can be complex and time-consuming. Endgrate offers a unified API solution that simplifies integration management across various platforms, including Chargebee.
By leveraging Endgrate, you can:
- Save time and resources by outsourcing integration management.
- Build once for each use case, reducing redundancy and complexity.
- Provide an intuitive integration experience for your customers.
Explore how Endgrate can streamline your integration processes by visiting Endgrate.
Read More

Ready to get started?
