Using the Shopify API to Get Collections (with Javascript examples)

Introduction to Shopify API Integration
Shopify is a leading e-commerce platform that empowers businesses to create and manage their online stores with ease. Known for its robust features and flexibility, Shopify provides merchants with the tools they need to sell products online, in-store, and on-the-go.
For developers, integrating with Shopify's API opens up a world of possibilities for enhancing store functionality and automating various processes. One common use case is retrieving collections of products, which allows developers to display curated groups of items on a website or app. This can be particularly useful for creating custom shopping experiences or managing inventory more efficiently.
In this article, we'll explore how to use the Shopify API to get collections using JavaScript. We'll walk through the setup process, demonstrate how to authenticate API requests, and provide code examples to help you get started quickly.
Setting Up Your Shopify Test Account for API Integration
Before diving into the Shopify API, you'll need to set up a test account. This allows you to safely experiment with API calls without affecting a live store. Shopify provides a development environment where you can create a test store and simulate real-world scenarios.
Creating a Shopify Partner Account
To begin, you'll need a Shopify Partner account. This account gives you access to Shopify's development tools and resources.
- Visit the Shopify Partners page and sign up for a free account.
- Once registered, log in to your Partner Dashboard.
Setting Up a Shopify Development Store
With your Partner account, you can create a development store to test your API integrations.
- In the Partner Dashboard, navigate to Stores and click Add store.
- Select Development store as the store type.
- Fill in the required details and click Create store.
Configuring OAuth for API Authentication
Shopify uses OAuth for API authentication, allowing secure access to store data. Follow these steps to set up OAuth:
- In your Partner Dashboard, go to Apps and click Create app.
- Enter the app name and select the development store you created.
- Under App setup, note the API key and API secret key. You'll use these for authentication.
- Set the Redirect URL to handle OAuth responses.
- Under Scopes, request the necessary permissions for accessing collections.
For more details on authentication, refer to the Shopify API Authentication documentation.
Generating Access Tokens
Once your app is set up, you can generate access tokens to authenticate API requests:
- Direct users to install your app, which will redirect them to the OAuth consent screen.
- Upon approval, Shopify will redirect to your specified URL with a temporary code.
- Exchange this code for a permanent access token using your API key and secret.
With your test account and OAuth configured, you're ready to start making API calls to retrieve collections from Shopify.

sbb-itb-96038d7
Making API Calls to Retrieve Shopify Collections Using JavaScript
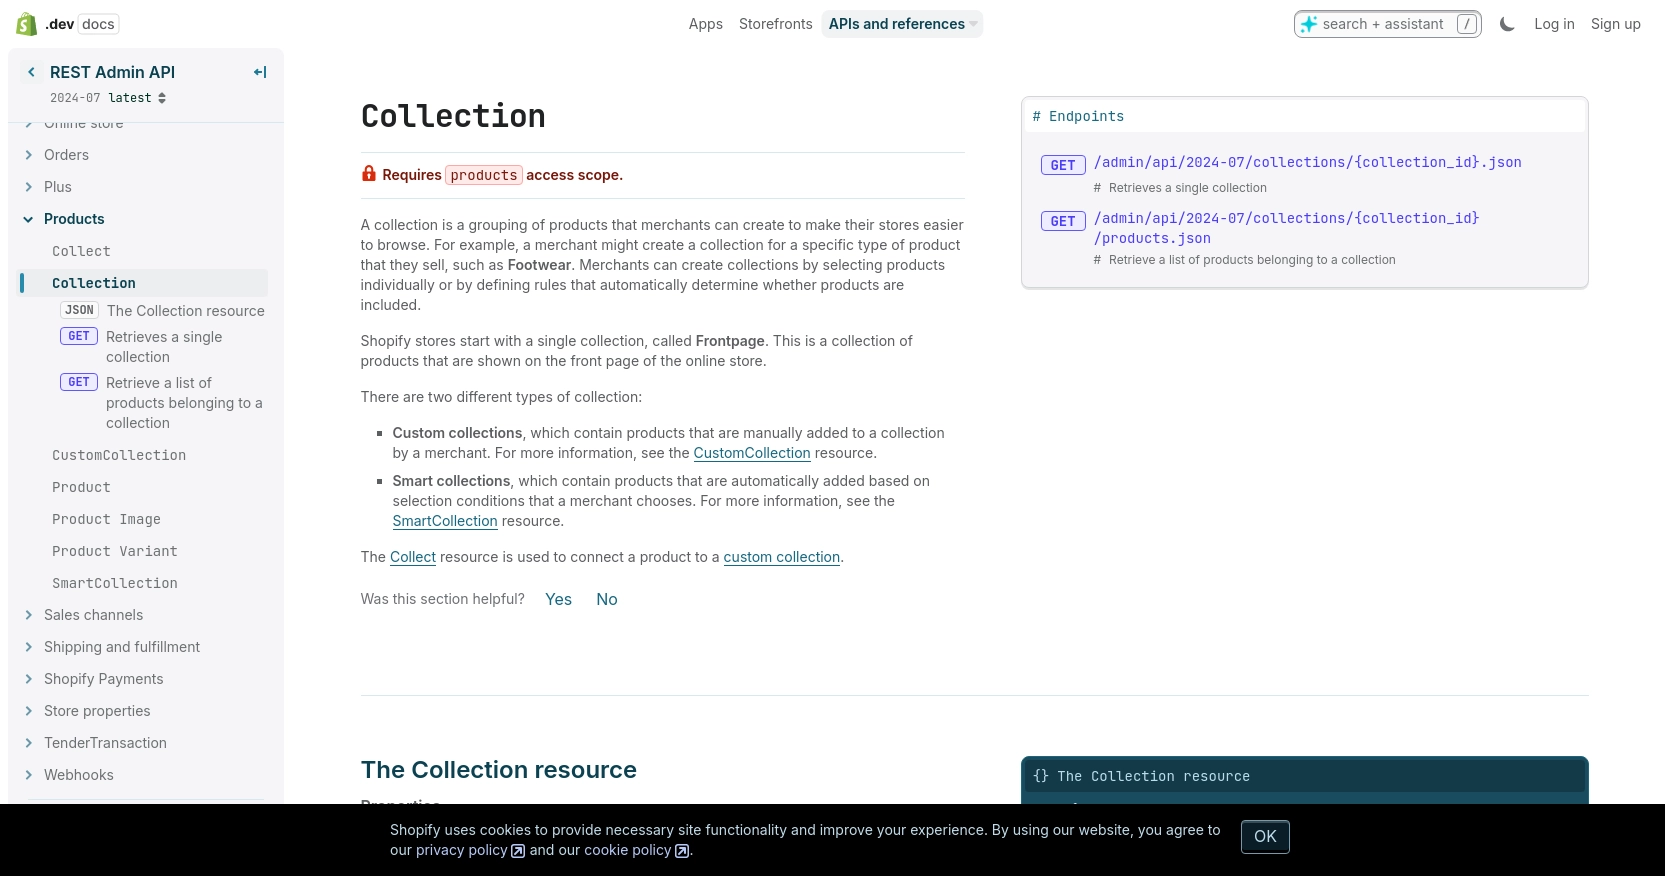
Now that you have set up your Shopify development store and configured OAuth, it's time to make API calls to retrieve collections. We'll use JavaScript to interact with Shopify's REST Admin API, which allows you to access and manage store data programmatically.
JavaScript Prerequisites for Shopify API Integration
Before you begin, ensure you have the following installed on your machine:
- Node.js (version 14 or later)
- NPM (Node Package Manager)
You'll also need to install the Axios library, which simplifies making HTTP requests:
npm install axiosExample Code to Retrieve Shopify Collections
Let's create a JavaScript script to fetch collections from your Shopify store. Create a file named getShopifyCollections.js and add the following code:
const axios = require('axios');

// Set your Shopify store name and access token
const storeName = 'your-development-store';
const accessToken = 'your_access_token';

// Define the API endpoint
const endpoint = `https://${storeName}.myshopify.com/admin/api/2024-07/collections.json`;

// Set the request headers
const headers = {
    'Content-Type': 'application/json',
    'X-Shopify-Access-Token': accessToken
};

// Make a GET request to the API
axios.get(endpoint, { headers })
    .then(response => {
        console.log('Collections:', response.data.collections);
    })
    .catch(error => {
        console.error('Error fetching collections:', error.response.data);
    });
Replace your-development-store and your_access_token with your actual store name and access token.
Running the JavaScript Script
To execute the script, run the following command in your terminal:
node getShopifyCollections.jsIf successful, you should see a list of collections from your Shopify store printed in the console.
Handling API Response and Errors
When making API calls, it's essential to handle responses and potential errors effectively. The above code checks for successful responses and logs the collections data. In case of errors, it logs the error message, which can help in debugging.
Refer to the Shopify API documentation for more details on handling responses and error codes.
Verifying API Call Success in Shopify Admin
After running the script, you can verify the retrieved collections by logging into your Shopify admin dashboard. Navigate to Products > Collections to see the collections data reflected in your store.
By following these steps, you can efficiently retrieve collections from Shopify using JavaScript, enabling you to build custom solutions and enhance your store's functionality.

Conclusion and Best Practices for Shopify API Integration
Integrating with the Shopify API using JavaScript provides developers with powerful tools to enhance and customize e-commerce experiences. By retrieving collections, you can create dynamic and personalized shopping environments that cater to specific customer needs.
When working with Shopify's API, it's crucial to follow best practices to ensure security and efficiency:
- Securely Store Credentials: Always store your API keys and access tokens securely. Avoid hardcoding them in your scripts and consider using environment variables or secure vaults.
- Handle Rate Limits: Shopify's API has a rate limit of 40 requests per app per store per minute. Implement logic to handle 429 Too Many Requests errors and use the
Retry-Afterheader to manage retries. For more details, refer to the Shopify API rate limits documentation. - Optimize Data Handling: When retrieving large datasets, consider using pagination to manage data efficiently. This helps in reducing load times and improving user experience.
- Monitor and Log Errors: Implement comprehensive error handling and logging to quickly identify and resolve issues. This is essential for maintaining a robust integration.
By adhering to these best practices, you can build reliable and scalable integrations with Shopify, enhancing your store's capabilities and providing a seamless experience for your users.
For developers looking to streamline their integration processes, consider using Endgrate. With Endgrate, you can save time and resources by leveraging a unified API endpoint that connects to multiple platforms, including Shopify. Focus on your core product while Endgrate handles the complexities of integration, providing an intuitive experience for your customers.
Explore more about how Endgrate can simplify your integration needs by visiting Endgrate.
Read More
Ready to get started?
