Using the Chargebee API to Create or Update Payments in PHP
Introduction to Chargebee API for Payment Management
Chargebee is a robust subscription management and billing platform designed to help businesses automate their recurring billing processes. With its comprehensive suite of tools, Chargebee simplifies subscription management, invoicing, and revenue recognition for SaaS companies and other subscription-based businesses.
Integrating with Chargebee's API allows developers to efficiently manage payment transactions, including creating and updating payments. For example, a developer might use the Chargebee API to automate the process of capturing payments from customers, ensuring seamless financial operations and improved cash flow management.
This article will guide you through using PHP to interact with the Chargebee API, focusing on creating or updating payments. By following this tutorial, you'll learn how to leverage Chargebee's capabilities to enhance your application's payment processing features.
Setting Up Your Chargebee Test/Sandbox Account for Payment Integration
Before you can start integrating with the Chargebee API, you need to set up a test or sandbox account. This will allow you to safely experiment with API calls without affecting your live data. Chargebee provides a dedicated test environment to help developers simulate real-world scenarios.
Creating a Chargebee Test Account
To begin, sign up for a Chargebee test account. Follow these steps:
- Visit the Chargebee signup page.
- Fill out the required information to create your account.
- Once registered, log in to your Chargebee dashboard.
Generating API Keys for Chargebee
Chargebee uses HTTP Basic authentication, where your API key serves as the username, and the password is left blank. Follow these steps to generate your API keys:
- Navigate to the Settings section in your Chargebee dashboard.
- Select API Keys under the Configure Chargebee menu.
- Click on Create a Key and choose the appropriate permissions for your integration.
- Copy the generated API key and store it securely. Remember, the API keys for your test site are different from your live site.
Configuring Chargebee API Authentication in PHP
To authenticate your API requests in PHP, you will need to use the generated API key. Here’s a basic example of how to set up authentication:
// Set your Chargebee site and API key
$site = "your-site";
$apiKey = "your-api-key";

// Set the base URL for Chargebee API
$baseUrl = "https://{$site}.chargebee.com/api/v2/";

// Initialize cURL session
$ch = curl_init();

// Set cURL options
curl_setopt($ch, CURLOPT_URL, $baseUrl . "transactions");
curl_setopt($ch, CURLOPT_USERPWD, $apiKey . ":");
curl_setopt($ch, CURLOPT_RETURNTRANSFER, true);

// Execute the request
$response = curl_exec($ch);

// Close cURL session
curl_close($ch);

// Handle the response
$data = json_decode($response, true);
Replace your-site and your-api-key with your actual Chargebee site name and API key.
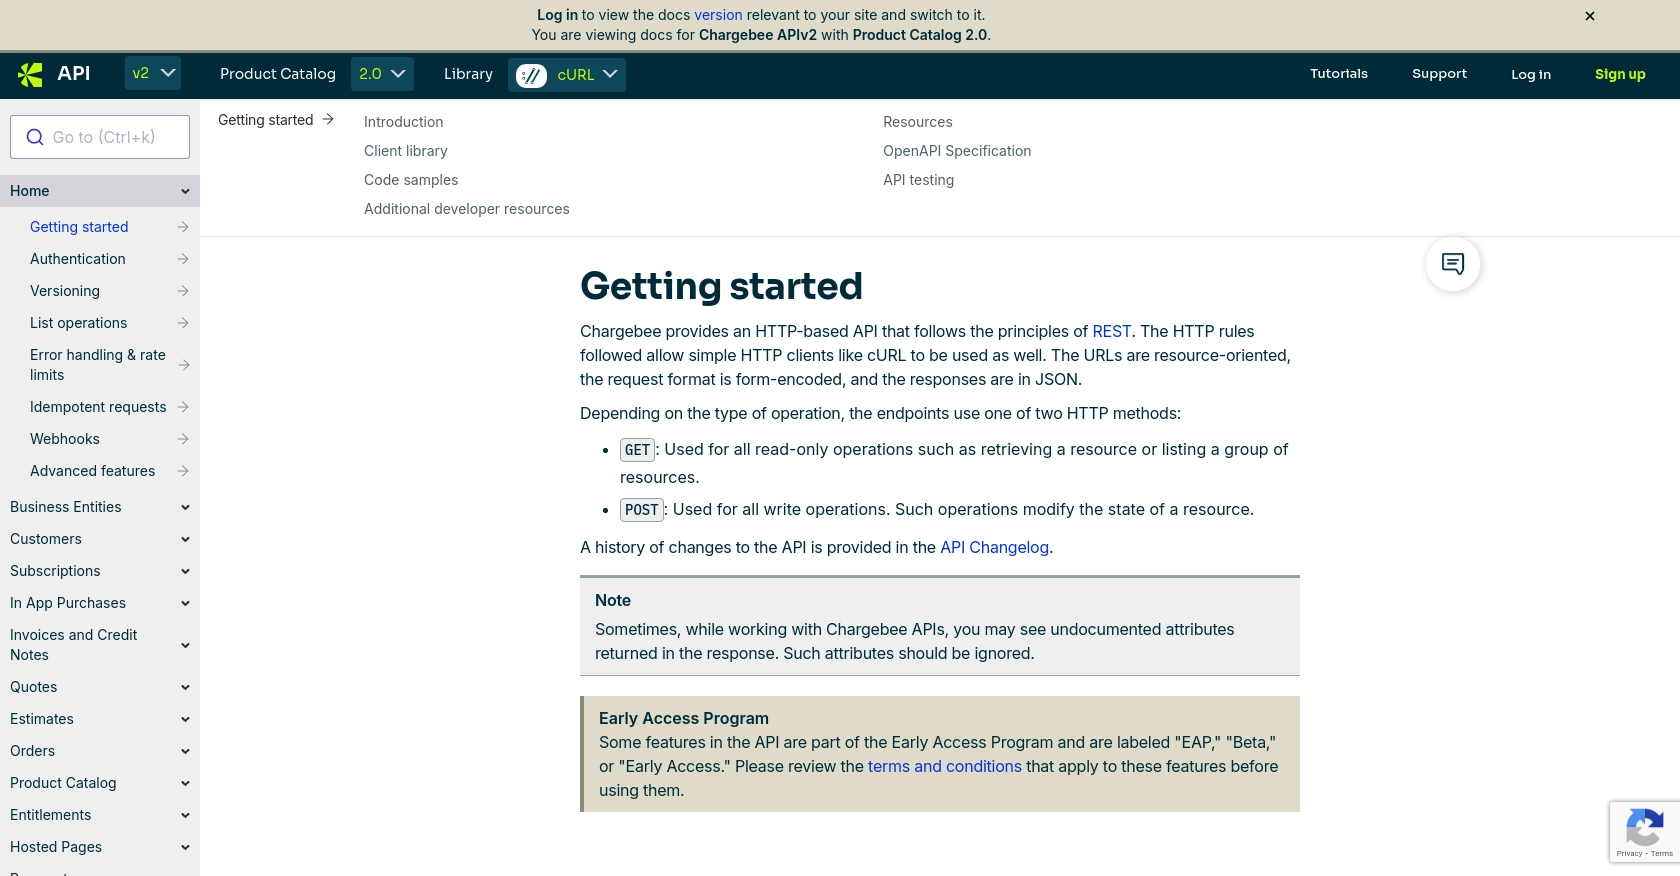
By following these steps, you will have a fully configured test environment to start integrating Chargebee's payment functionalities into your application. For more detailed information, refer to the Chargebee API documentation.
sbb-itb-96038d7
How to Make API Calls to Chargebee for Payment Transactions Using PHP
To interact with Chargebee's API for creating or updating payments, you'll need to make HTTP requests using PHP. This section will guide you through the necessary steps, including setting up your PHP environment and executing API calls to manage payment transactions.
Setting Up Your PHP Environment for Chargebee API Integration
Before making API calls, ensure your PHP environment is properly configured. You'll need PHP 7.4 or later and the cURL extension enabled. You can verify your PHP version and extensions by running the following command:
php -vTo check if cURL is enabled, use:
php -m | grep curlIf cURL is not enabled, you may need to install it using your package manager or enable it in your php.ini file.
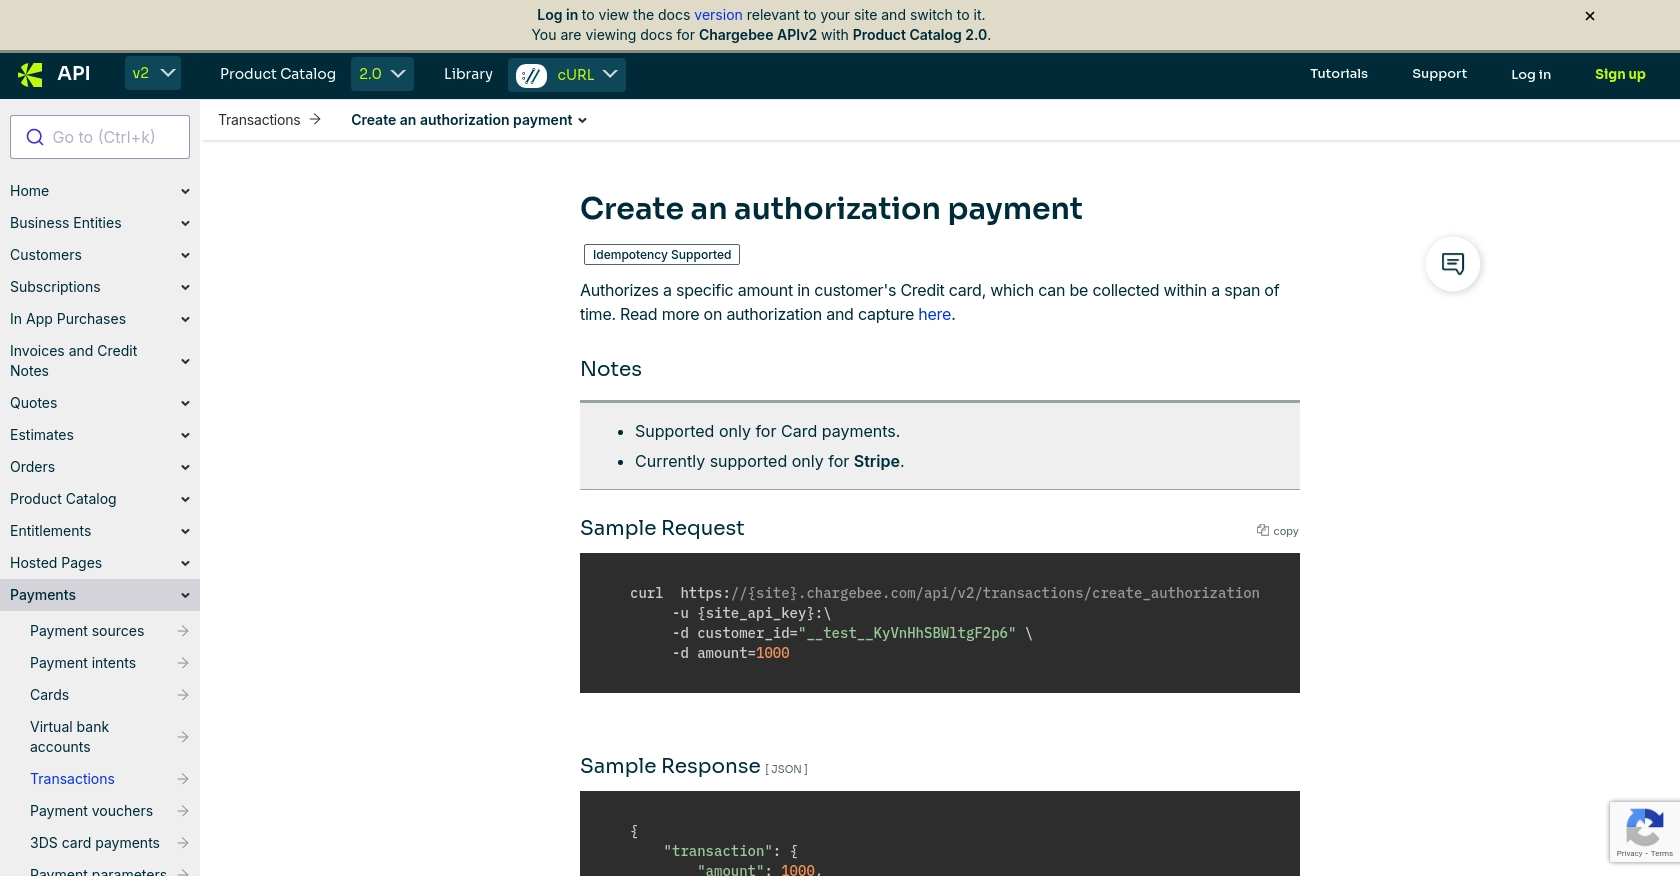
Executing a Chargebee API Call to Create a Payment
To create a payment using Chargebee's API, you'll need to send a POST request to the appropriate endpoint. Here's an example of how to create a payment transaction in PHP:
// Set your Chargebee site and API key
$site = "your-site";
$apiKey = "your-api-key";

// Set the API endpoint for creating a payment
$endpoint = "https://{$site}.chargebee.com/api/v2/transactions";

// Prepare the data for the payment
$data = [
    'customer_id' => '__test__KyVnHhSBWltgF2p6',
    'amount' => 1000,
    'currency_code' => 'USD'
];

// Initialize cURL session
$ch = curl_init($endpoint);

// Set cURL options
curl_setopt($ch, CURLOPT_USERPWD, $apiKey . ":");
curl_setopt($ch, CURLOPT_POST, true);
curl_setopt($ch, CURLOPT_POSTFIELDS, http_build_query($data));
curl_setopt($ch, CURLOPT_RETURNTRANSFER, true);

// Execute the request
$response = curl_exec($ch);

// Close cURL session
curl_close($ch);

// Handle the response
$result = json_decode($response, true);

if ($result && isset($result['transaction'])) {
    echo "Payment created successfully. Transaction ID: " . $result['transaction']['id'];
} else {
    echo "Failed to create payment.";
}
Replace your-site and your-api-key with your actual Chargebee site name and API key. The customer_id and amount should be set according to your requirements.
Verifying Successful API Requests in Chargebee
After executing the API call, you can verify the transaction by checking the Chargebee dashboard. Navigate to the Transactions section to see if the payment appears as expected. If the transaction is successful, it should be listed with the status "success."
Handling Errors and Understanding Chargebee API Error Codes
Chargebee provides detailed error responses to help you troubleshoot issues. Common HTTP status codes include:
- 400 Bad Request: The request was invalid. Check your parameters.
- 401 Unauthorized: Authentication failed. Verify your API key.
- 404 Not Found: The requested resource does not exist.
- 429 Too Many Requests: Rate limit exceeded. Implement retry logic.
For a comprehensive list of error codes, refer to the Chargebee API error handling documentation.
Conclusion and Best Practices for Chargebee API Integration in PHP
Integrating with Chargebee's API using PHP provides a powerful way to manage payment transactions efficiently. By following the steps outlined in this article, you can create and update payments seamlessly, enhancing your application's financial operations.
Best Practices for Secure and Efficient Chargebee API Usage
- Secure API Keys: Store your API keys securely and avoid including them in your codebase. Consider using environment variables or secure vaults.
- Handle Rate Limits: Chargebee imposes rate limits on API requests. Implement retry logic with exponential backoff to handle HTTP 429 errors gracefully. For more details, refer to the Chargebee API error handling documentation.
- Data Transformation: Standardize and transform data fields as needed to ensure compatibility with your application's data model.
- Monitor API Usage: Regularly monitor your API usage and adjust your integration as needed to optimize performance and cost.
Enhance Your Integration Strategy with Endgrate
While integrating with Chargebee is a valuable step, managing multiple integrations can be complex and time-consuming. Endgrate simplifies this process by providing a unified API endpoint that connects to various platforms, including Chargebee. This allows you to build once for each use case and streamline your integration efforts.
By leveraging Endgrate, you can save time and resources, allowing your team to focus on core product development while ensuring a seamless integration experience for your customers. Explore how Endgrate can enhance your integration strategy by visiting Endgrate.
Read More

Ready to get started?
