Using the Chargebee API to Create or Update Subscriptions in PHP
Introduction to Chargebee API for Subscription Management
Chargebee is a robust subscription management platform that simplifies billing and revenue operations for businesses. It offers a comprehensive suite of tools to manage subscriptions, invoicing, and customer relationships, making it a preferred choice for SaaS companies and other subscription-based businesses.
Developers often integrate with Chargebee's API to automate and streamline subscription processes. For example, using the Chargebee API, you can create or update customer subscriptions directly from your application, ensuring seamless billing and customer management.
This article will guide you through using PHP to interact with the Chargebee API, focusing on creating and updating subscriptions. By the end of this tutorial, you'll be equipped to efficiently manage subscriptions within your application, leveraging Chargebee's powerful API capabilities.
Setting Up Your Chargebee Test or Sandbox Account
Before you begin integrating with the Chargebee API, it's essential to set up a test or sandbox account. This environment allows you to experiment with API calls without affecting your live data, ensuring a safe space to develop and test your application.
Creating a Chargebee Test Account
To get started, follow these steps to create a Chargebee test account:
- Visit the Chargebee signup page and register for a new account.
- Choose the option to create a test site during the signup process. This will provide you with a sandbox environment to test your API integrations.
- Once your account is set up, log in to the Chargebee dashboard to access your test site.
Generating API Keys for Chargebee
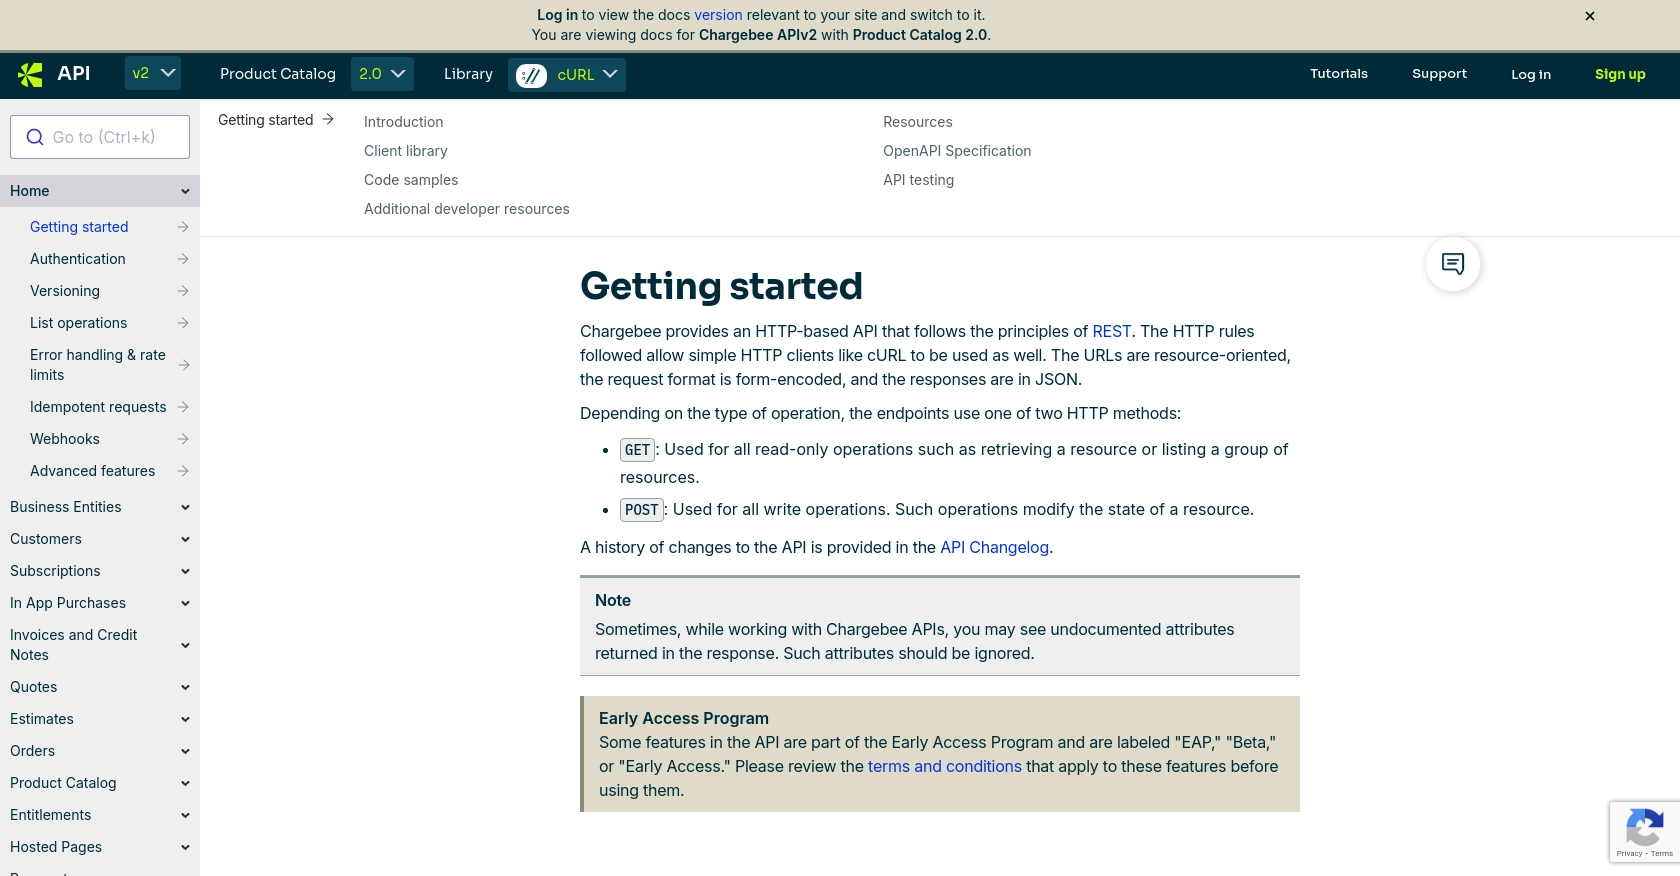
Chargebee uses HTTP Basic authentication for API calls, where the API key serves as the username, and the password is left empty. Follow these steps to generate your API keys:
- Navigate to the Settings section in your Chargebee dashboard.
- Select API Keys under the Configure Chargebee menu.
- Click on Create a Key to generate a new API key for your test site.
- Copy the generated API key and store it securely, as you will need it for authentication in your API requests.
Note: Ensure you use the API key specific to your test site to avoid any unintended changes to your live data.
Setting Up OAuth Authentication (If Applicable)
If your integration requires OAuth-based authentication, follow these additional steps:
- In the Chargebee dashboard, navigate to Apps and select API Credentials.
- Click on Create App and fill in the necessary details, such as the app name and redirect URL.
- Once the app is created, you will receive a Client ID and Client Secret. Store these credentials securely.
- Use these credentials to implement OAuth flows in your application, allowing users to authorize and authenticate with Chargebee.
With your Chargebee test account and API keys set up, you're ready to start integrating and testing your subscription management features using the Chargebee API.
sbb-itb-96038d7
Making API Calls to Chargebee for Subscription Management in PHP
To interact with the Chargebee API for creating or updating subscriptions, you'll need to set up your PHP environment correctly. This section will guide you through the necessary steps, including setting up PHP, installing dependencies, and making API calls to Chargebee.
Setting Up PHP Environment for Chargebee API Integration
Before making API calls, ensure your PHP environment is ready:
- Ensure you have PHP 7.4 or later installed on your system.
- Install Composer, the PHP package manager, to manage dependencies.
Installing Required PHP Dependencies for Chargebee API
To interact with the Chargebee API, you'll need to install the Chargebee PHP client library. Use Composer to install it:
composer require chargebee/chargebee-phpCreating a Subscription with Chargebee API in PHP
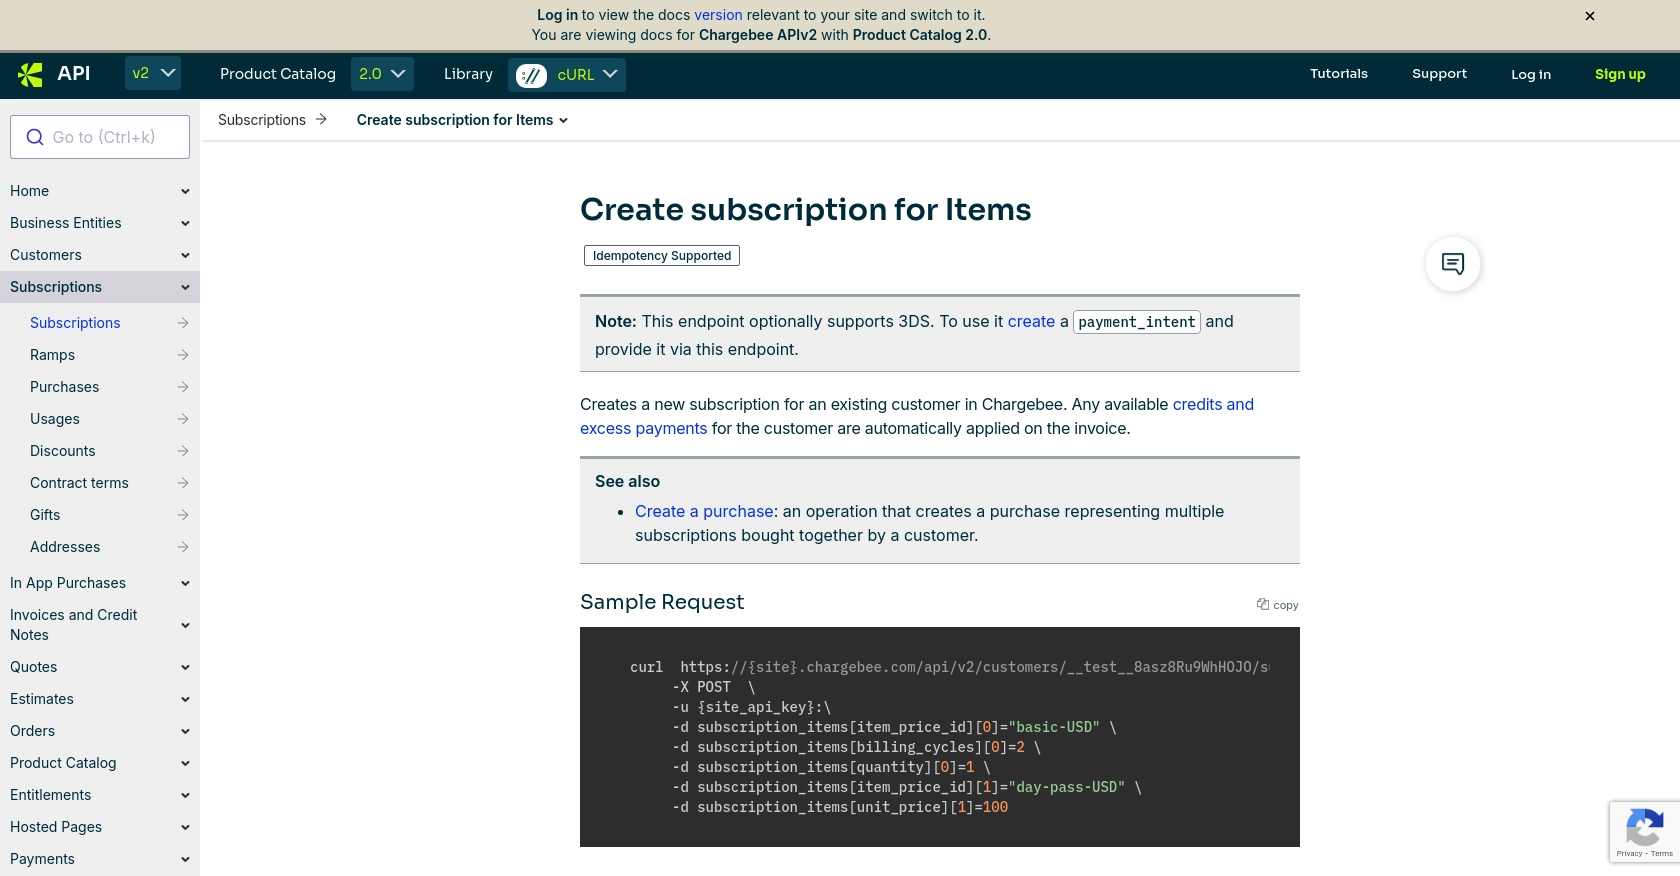
With your environment set up, you can now create a subscription using the Chargebee API. Here's a sample code snippet to get you started:
require 'vendor/autoload.php';

use ChargeBee\ChargeBee\Models\Subscription;
use ChargeBee\ChargeBee\Environment;

// Set your Chargebee site and API key
Environment::configure('your-site', 'your-api-key');

// Create a subscription
$result = Subscription::create([
    'planId' => 'basic-USD',
    'customer' => [
        'email' => 'john.doe@example.com',
        'firstName' => 'John',
        'lastName' => 'Doe'
    ]
]);

// Output the subscription details
echo "Subscription ID: " . $result->subscription()->id . "\n";
echo "Status: " . $result->subscription()->status . "\n";
Replace your-site and your-api-key with your Chargebee site name and API key. The above code creates a new subscription for a customer with the specified plan and customer details.
Updating an Existing Subscription with Chargebee API in PHP
To update an existing subscription, use the following code snippet:
use ChargeBee\ChargeBee\Models\Subscription;

// Update a subscription
$subscriptionId = 'existing-subscription-id';
$result = Subscription::update($subscriptionId, [
    'planId' => 'premium-USD'
]);

// Output the updated subscription details
echo "Updated Subscription ID: " . $result->subscription()->id . "\n";
echo "New Plan ID: " . $result->subscription()->planId . "\n";
Replace existing-subscription-id with the ID of the subscription you wish to update. This code updates the subscription to a new plan.
Handling Errors and Verifying API Requests in Chargebee
When making API calls, it's crucial to handle potential errors and verify the success of your requests. Chargebee provides detailed error codes and messages to help you troubleshoot issues. Here's how you can handle errors in your PHP code:
try {
    $result = Subscription::create([
        'planId' => 'basic-USD',
        'customer' => [
            'email' => 'john.doe@example.com',
            'firstName' => 'John',
            'lastName' => 'Doe'
        ]
    ]);
    echo "Subscription created successfully!";
} catch (\ChargeBee\ChargeBee\Exceptions\PaymentException $e) {
    echo "Payment error: " . $e->getMessage();
} catch (\ChargeBee\ChargeBee\Exceptions\InvalidRequestException $e) {
    echo "Invalid request: " . $e->getMessage();
} catch (\Exception $e) {
    echo "An error occurred: " . $e->getMessage();
}
By implementing error handling, you can ensure your application responds appropriately to different error scenarios, improving the user experience and reliability of your integration.
Conclusion and Best Practices for Using Chargebee API in PHP
Integrating with the Chargebee API using PHP allows developers to efficiently manage subscriptions, automate billing processes, and enhance customer management within their applications. By following the steps outlined in this guide, you can create and update subscriptions seamlessly, leveraging Chargebee's robust API capabilities.
Best Practices for Secure and Efficient Chargebee API Integration
- Secure API Keys: Always store your API keys securely and avoid hardcoding them in your source code. Use environment variables or secure vaults to manage sensitive information.
- Handle Rate Limits: Be mindful of Chargebee's API rate limits to avoid disruptions. Implement exponential backoff strategies to manage retries effectively. For more details, refer to Chargebee's documentation.
- Error Handling: Implement comprehensive error handling to manage different error scenarios gracefully. This ensures a smooth user experience and helps in troubleshooting issues efficiently.
- Data Transformation: Standardize and transform data fields as needed to ensure compatibility with your application's data model and Chargebee's API requirements.
Enhance Your Integration with Endgrate
While integrating with Chargebee's API can streamline your subscription management, leveraging a tool like Endgrate can further enhance your integration experience. Endgrate allows you to save time and resources by outsourcing integrations, enabling you to focus on your core product. With Endgrate, you can build once for each use case and enjoy an intuitive integration experience for your customers.
Explore how Endgrate can simplify your integration needs by visiting Endgrate's website.
Read More

Ready to get started?
