Using the Chargebee API to Get Customers (with PHP examples)

Introduction to Chargebee API
Chargebee is a robust subscription management and billing platform designed to streamline recurring billing operations for businesses of all sizes. It offers a comprehensive suite of tools to manage subscriptions, invoicing, payments, and more, making it a popular choice for SaaS companies looking to automate their billing processes.
Integrating with Chargebee's API allows developers to efficiently manage customer data and billing operations. For example, a developer might use the Chargebee API to retrieve customer information and automate billing tasks, ensuring seamless subscription management and improved customer experience.
This article will guide you through using PHP to interact with the Chargebee API to get customer details, providing step-by-step instructions and code examples to facilitate a smooth integration process.
Setting Up Your Chargebee Test/Sandbox Account
Before you can start integrating with the Chargebee API, it's essential to set up a test or sandbox account. This allows you to safely experiment with API calls without affecting live data. Chargebee provides a dedicated test environment to facilitate this process.
Creating a Chargebee Test Account
To begin, you'll need to create a Chargebee test account. Follow these steps:
- Visit the Chargebee Signup Page and register for a new account.
- During the signup process, select the option to create a test site. This will ensure that your account is set up in a sandbox environment.
- Once your account is created, you will be directed to the Chargebee dashboard.
Generating API Keys for Chargebee
Chargebee uses HTTP Basic authentication for API calls, where your API key acts as the username. Follow these steps to generate your API keys:
- Log in to your Chargebee account and navigate to the Settings section.
- Select API Keys from the menu.
- Click on Create a Key to generate a new API key for your test site.
- Copy the API key and store it securely, as you will need it to authenticate your API requests.
Note: Ensure you use the API key specific to your test site to avoid any unintended changes to live data.
Configuring Chargebee API Authentication in PHP
With your API key ready, you can now configure authentication in your PHP application. Here's a basic example of how to set up authentication:
// Set your Chargebee site and API key
$site = 'your-site';
$apiKey = 'your-api-key';

// Base URL for Chargebee API
$baseUrl = "https://{$site}.chargebee.com/api/v2/";

// Set up HTTP Basic Authentication
$options = [
    'http' => [
        'header' => "Authorization: Basic " . base64_encode("{$apiKey}:")
    ]
];

// Create a stream context
$context = stream_context_create($options);
Replace your-site and your-api-key with your actual Chargebee site name and API key. This setup will allow you to make authenticated API calls to Chargebee.

sbb-itb-96038d7
Making API Calls to Retrieve Customers from Chargebee Using PHP
To interact with the Chargebee API and retrieve customer details, you'll need to make HTTP requests from your PHP application. This section will guide you through setting up your environment and executing the necessary API calls.
Setting Up Your PHP Environment for Chargebee API Integration
Before making API calls, ensure your PHP environment is properly configured. You will need:
- PHP 7.4 or higher
- cURL extension enabled
To install the cURL extension, you can use the following command:
sudo apt-get install php-curlInstalling Required PHP Dependencies for Chargebee API
Chargebee provides a PHP client library to simplify API interactions. Install it using Composer:
composer require chargebee/chargebee-phpThis library will help you handle authentication and API requests more efficiently.
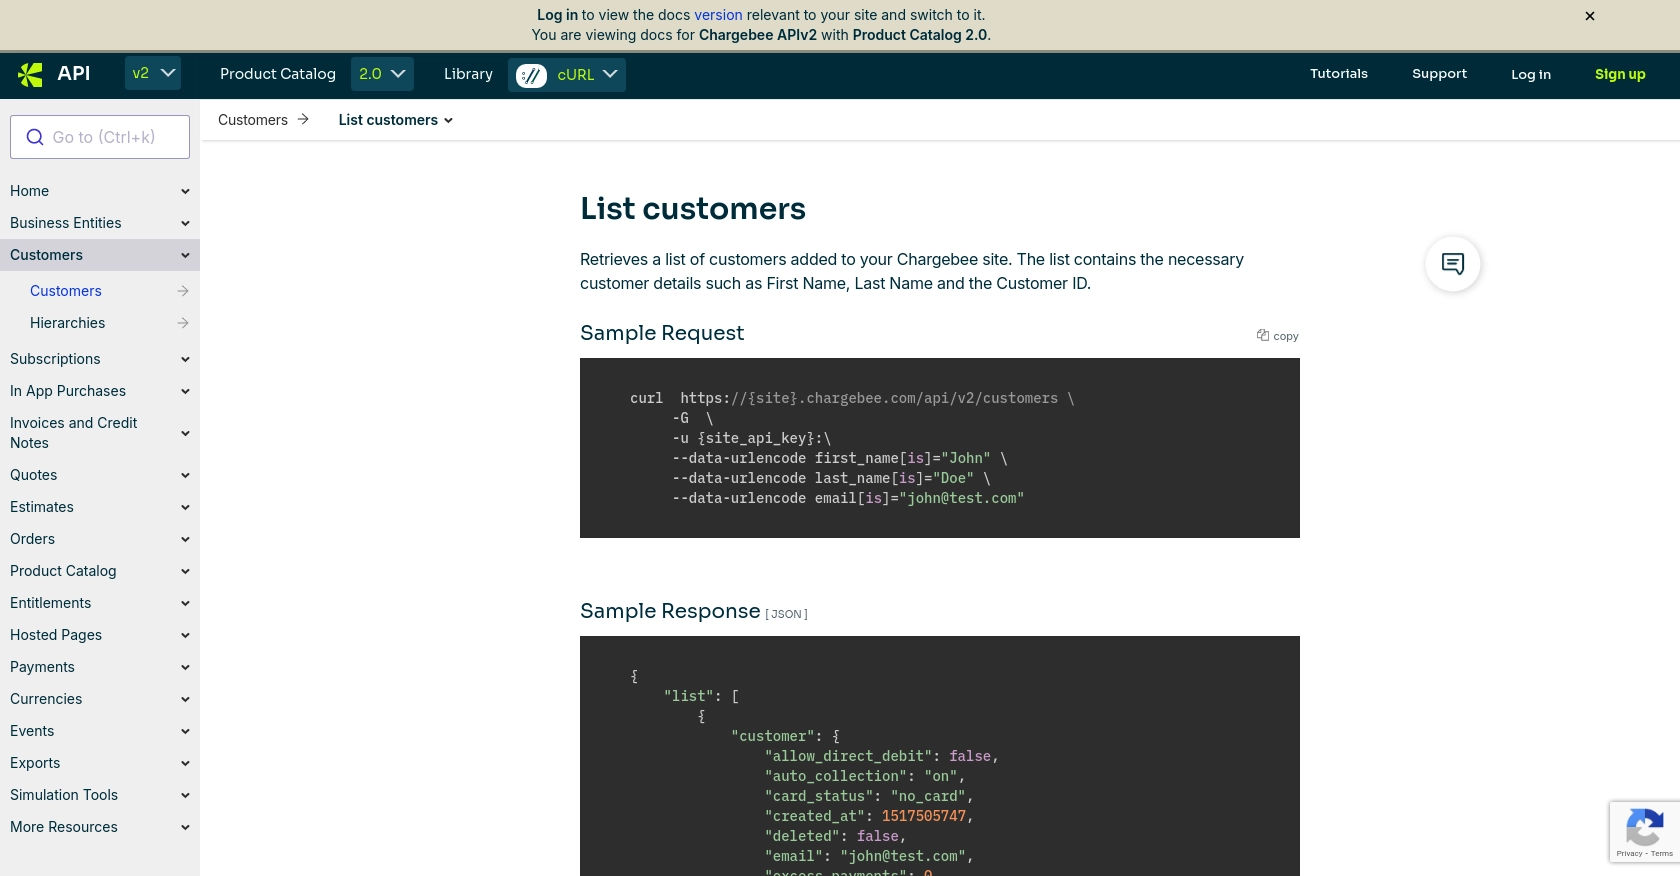
Executing the Chargebee API Call to List Customers
With your environment set up, you can now make a request to retrieve customer data. Here's a sample PHP script to list customers:
require 'vendor/autoload.php';

use ChargeBee\ChargeBee\Models\Customer;
use ChargeBee\ChargeBee\Environment;

// Set your Chargebee site and API key
Environment::configure('your-site', 'your-api-key');

// Fetch customers
$response = Customer::all([
    'limit' => 10
]);

// Display customer details
foreach ($response->list as $entry) {
    $customer = $entry->customer();
    echo "ID: " . $customer->id . "\n";
    echo "Name: " . $customer->firstName . " " . $customer->lastName . "\n";
    echo "Email: " . $customer->email . "\n\n";
}
Replace your-site and your-api-key with your actual Chargebee site name and API key. This script retrieves a list of customers and prints their details.
Handling API Responses and Errors in Chargebee
After making an API call, it's crucial to handle responses and potential errors. Chargebee uses standard HTTP status codes to indicate success or failure:
- 2XX: Success
- 4XX: Client error (e.g., invalid request)
- 5XX: Server error
Here's how you can handle errors in your PHP script:
try {
    $response = Customer::all(['limit' => 10]);
    // Process response
} catch (\ChargeBee\ChargeBee\Exceptions\PaymentException $e) {
    echo "Payment error: " . $e->getMessage();
} catch (\ChargeBee\ChargeBee\Exceptions\InvalidRequestException $e) {
    echo "Invalid request: " . $e->getMessage();
} catch (\ChargeBee\ChargeBee\Exceptions\ApiException $e) {
    echo "API error: " . $e->getMessage();
}
By catching exceptions, you can provide meaningful error messages and handle issues gracefully.
Verifying API Call Success in Chargebee Sandbox
To verify the success of your API calls, check the Chargebee dashboard in your test environment. Ensure that the data retrieved matches the expected results. This step is crucial for confirming that your integration works as intended.

Conclusion and Best Practices for Chargebee API Integration with PHP
Integrating with the Chargebee API using PHP can significantly enhance your subscription management capabilities, allowing for seamless automation of billing and customer data management. By following the steps outlined in this guide, you can efficiently retrieve customer details and handle API interactions with ease.
Best Practices for Secure and Efficient Chargebee API Usage
- Secure API Keys: Always store your API keys securely and avoid hardcoding them in your application code. Consider using environment variables or secure vaults.
- Handle Rate Limits: Chargebee enforces API rate limits, so ensure your application handles HTTP 429 errors gracefully by implementing retry logic with exponential backoff. For more details, refer to the Chargebee API documentation.
- Data Standardization: Standardize and validate data formats before sending requests to ensure consistency and reduce errors.
- Error Handling: Implement comprehensive error handling to manage different types of exceptions and provide meaningful feedback to users.
Enhance Your Integration with Endgrate
While integrating with Chargebee is a powerful way to manage subscriptions, handling multiple integrations can be complex and time-consuming. Endgrate simplifies this process by providing a unified API endpoint for various platforms, including Chargebee. By leveraging Endgrate, you can:
- Save time and resources by outsourcing integration management.
- Focus on your core product development instead of maintaining multiple integrations.
- Offer a seamless integration experience to your customers.
Explore how Endgrate can streamline your integration processes by visiting Endgrate.
Read More
Ready to get started?
