Using the Chargebee API to Get Payments in Python
Introduction to Chargebee API for Payment Processing
Chargebee is a robust subscription management and billing platform that empowers businesses to streamline their recurring billing processes. With its comprehensive suite of tools, Chargebee simplifies subscription management, invoicing, and revenue recognition, making it an ideal choice for SaaS companies and other subscription-based businesses.
Integrating with Chargebee's API allows developers to automate and manage payment transactions efficiently. For example, by using the Chargebee API, developers can retrieve payment transactions, enabling them to analyze payment data, generate financial reports, or trigger custom workflows based on payment status.
This article will guide you through using Python to interact with the Chargebee API, specifically focusing on retrieving payment transactions. By the end of this tutorial, you'll be equipped to seamlessly integrate Chargebee's payment functionalities into your applications, enhancing your billing and subscription management capabilities.
Setting Up Your Chargebee Test/Sandbox Account for API Integration
Before you can start interacting with the Chargebee API using Python, you'll need to set up a test or sandbox account. This environment allows you to safely experiment with API calls without affecting live data, making it ideal for development and testing purposes.
Creating a Chargebee Test Account
To begin, you'll need to create a Chargebee test account. Follow these steps to get started:
- Visit the Chargebee signup page and register for a free trial account.
- Once registered, log in to your Chargebee dashboard.
- Navigate to the 'Sites' section and create a new test site. This will serve as your sandbox environment for testing API interactions.
Generating API Keys for Chargebee Authentication
Chargebee uses HTTP Basic authentication for API calls, where the username is your API key and the password is left empty. Here's how to generate your API keys:
- In your Chargebee dashboard, go to the 'API & Webhooks' section.
- Click on 'API Keys' and then 'Create a Key'.
- Choose a descriptive name for your API key and set the appropriate permissions based on your needs.
- Save the API key securely, as you'll need it to authenticate your API requests.
Remember, the API keys for your test site are different from those for your live site. Ensure you use the correct keys for your test environment.
Configuring Your Chargebee Test Environment
With your test account and API keys ready, you can now configure your Chargebee environment:
- Set up your product catalog, pricing plans, and other necessary configurations in the test site.
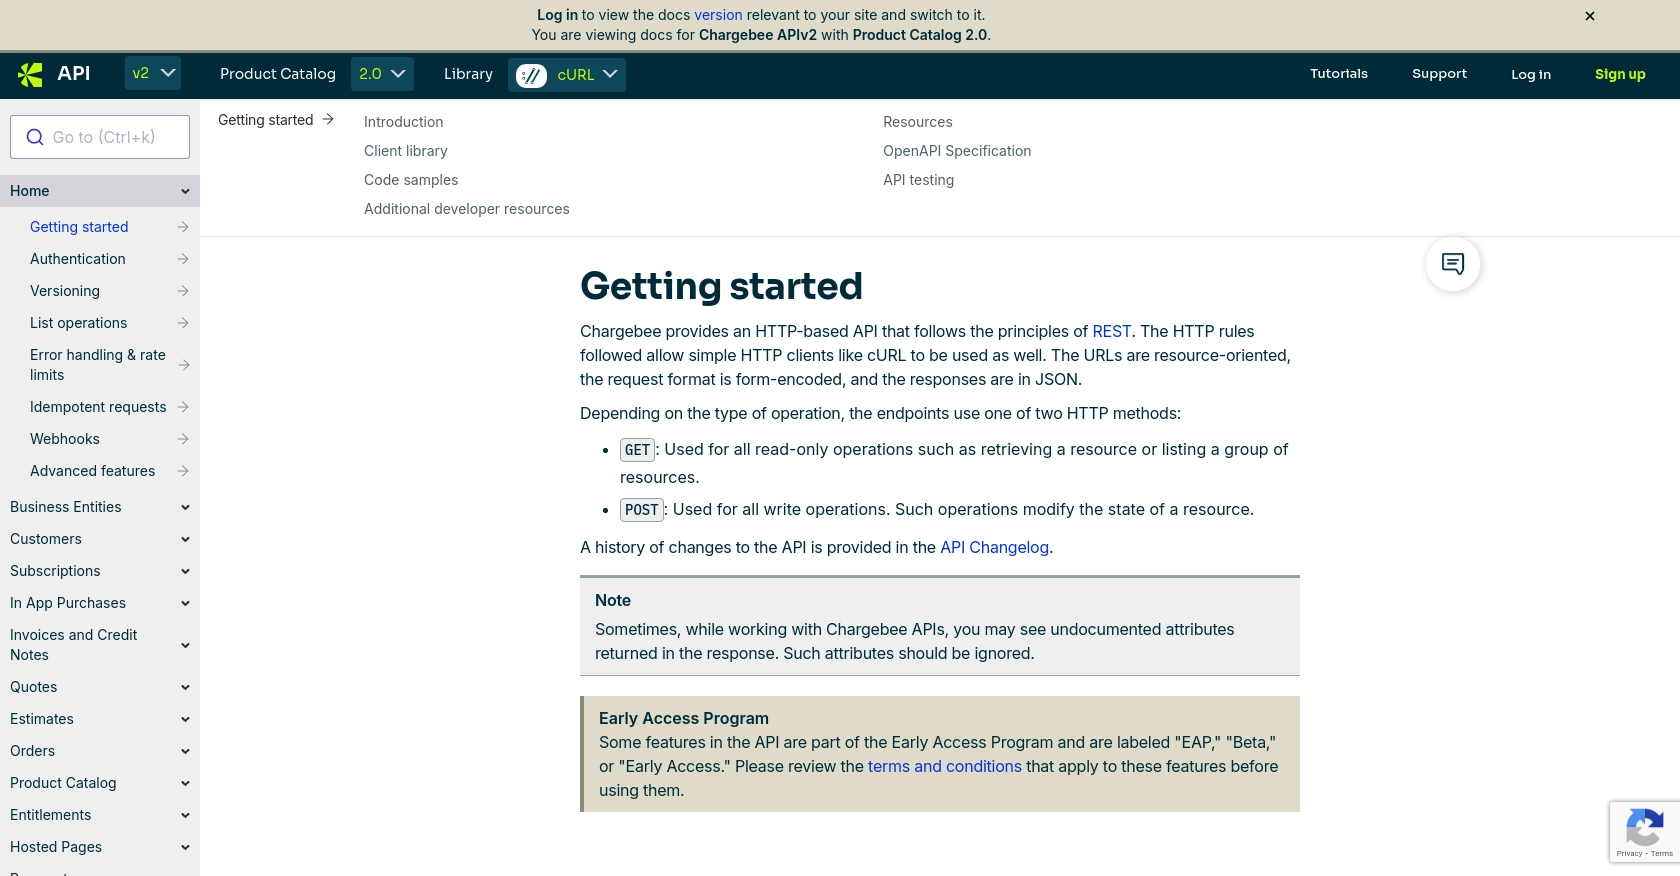
- Use Chargebee's API documentation to familiarize yourself with available endpoints and parameters.
- Test your API calls using tools like Postman or cURL to ensure everything is set up correctly before integrating with your Python application.
By following these steps, you'll have a fully functional Chargebee test environment, ready for API integration and development.
sbb-itb-96038d7
How to Make API Calls to Retrieve Payments Using Chargebee API in Python
To effectively interact with the Chargebee API and retrieve payment transactions, you'll need to set up your Python environment and write the necessary code to make API calls. This section will guide you through the process, ensuring you have the right tools and knowledge to access Chargebee's payment data.
Setting Up Your Python Environment for Chargebee API Integration
Before diving into the code, ensure your Python environment is ready for Chargebee API integration. Follow these steps:
- Ensure you have Python 3.7 or later installed on your machine.
- Install the
requestslibrary, which is essential for making HTTP requests. You can install it using pip:
pip install requestsWriting Python Code to Retrieve Payment Transactions from Chargebee
With your environment set up, you can now write the Python code to interact with the Chargebee API. The following example demonstrates how to retrieve payment transactions:
import requests
# Define the API endpoint and your Chargebee site
site = "your-site"
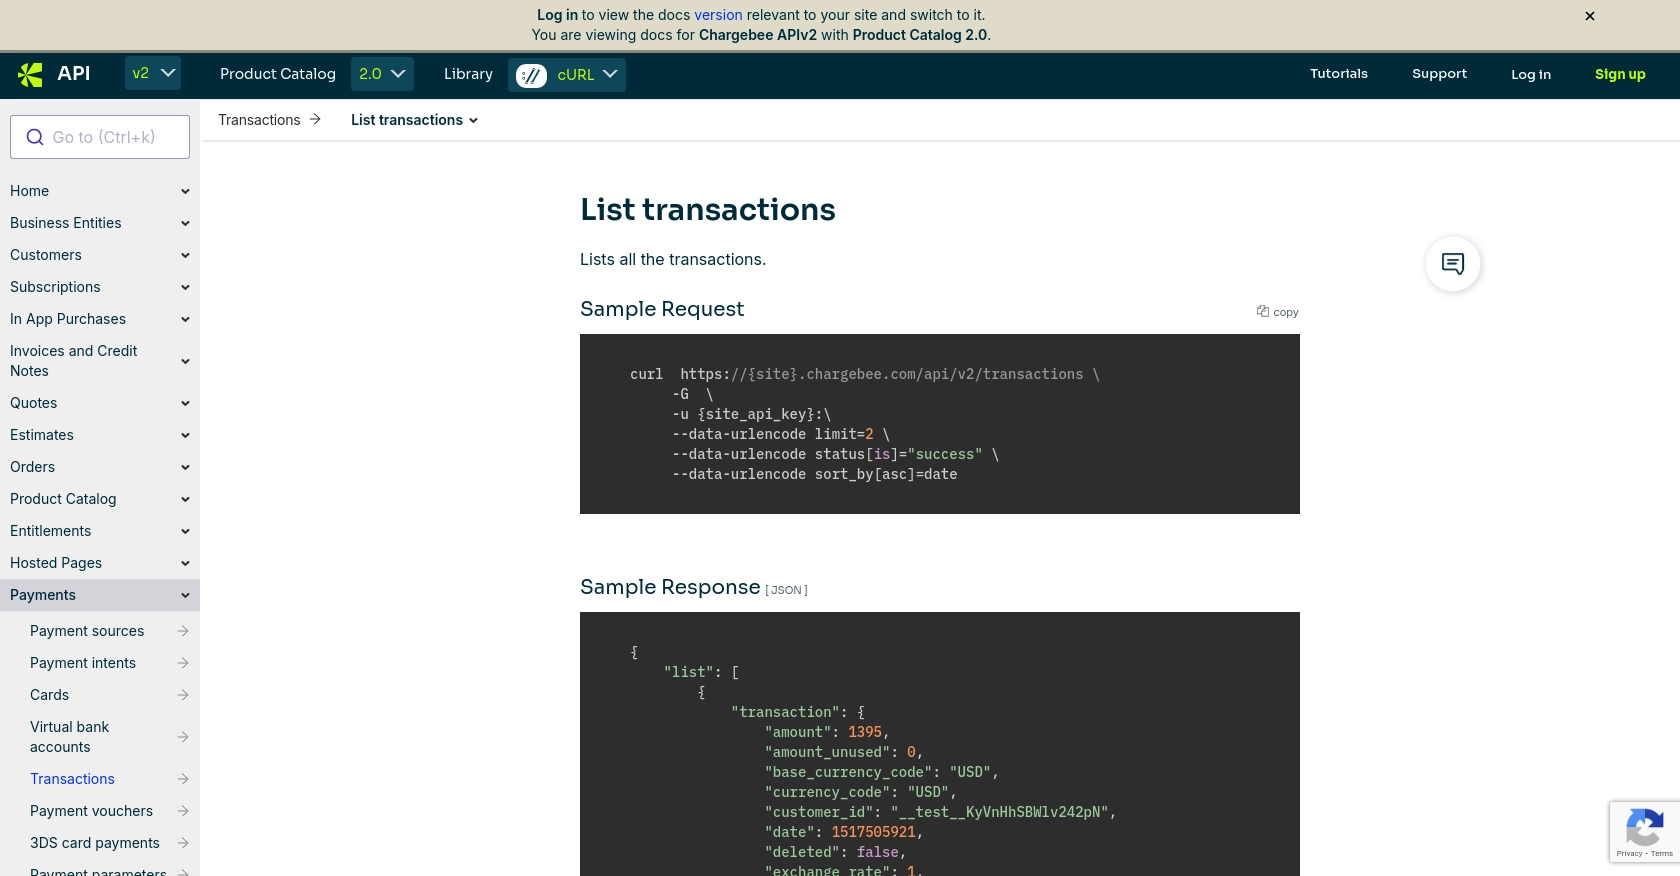
endpoint = f"https://{site}.chargebee.com/api/v2/transactions"
# Set up authentication using your API key
api_key = "your_api_key"
auth = (api_key, '')
# Define query parameters, if needed
params = {
"limit": 10,
"status[is]": "success"
}
# Make the GET request to the Chargebee API
response = requests.get(endpoint, auth=auth, params=params)
# Check if the request was successful
if response.status_code == 200:
transactions = response.json().get('list', [])
for transaction in transactions:
print(transaction)
else:
print(f"Failed to retrieve transactions: {response.status_code} - {response.text}")
Replace your-site and your_api_key with your actual Chargebee site name and API key. This script sends a GET request to the Chargebee API to list transactions, filtering for successful ones.
Verifying API Call Success and Handling Errors
After running the script, verify the output to ensure the transactions are retrieved correctly. If the request fails, the script will print an error message with the status code and response text.
Chargebee uses standard HTTP status codes to indicate success or failure. Here are some common codes you might encounter:
- 200 OK: The request was successful, and the transactions are returned.
- 401 Unauthorized: Authentication failed. Check your API key.
- 429 Too Many Requests: Rate limit exceeded. Implement rate limiting strategies as needed.
For more detailed error handling, refer to the Chargebee API error handling documentation.
By following these steps, you'll be able to retrieve payment transactions using the Chargebee API in Python, enabling you to integrate payment data into your applications effectively.
Best Practices for Secure and Efficient Chargebee API Integration
Successfully integrating the Chargebee API into your Python applications requires attention to best practices to ensure security, efficiency, and scalability. Here are some key recommendations:
- Secure API Key Management: Store your API keys securely and avoid hardcoding them in your source code. Use environment variables or secure vaults to manage sensitive information.
- Implement Rate Limiting: Chargebee enforces API rate limits to ensure fair usage. For test sites, the limit is approximately 750 API calls every 5 minutes, and for live sites, it's 150 calls per minute. Implement strategies such as exponential backoff and retry mechanisms to handle
429 Too Many Requestserrors effectively. For more details, refer to the Chargebee API rate limiting documentation. - Data Transformation and Standardization: Ensure that the data retrieved from Chargebee is transformed and standardized to fit your application's requirements. This may involve converting currency formats, normalizing date formats, or mapping Chargebee fields to your application's data model.
- Error Handling and Logging: Implement robust error handling to capture and log API errors. This will help in troubleshooting and improving the reliability of your integration.
Leverage Endgrate for Streamlined Chargebee API Integrations
If you're looking to simplify your integration process further, consider using Endgrate. Endgrate offers a unified API endpoint that connects to multiple platforms, including Chargebee, allowing you to manage integrations more efficiently. By using Endgrate, you can:
- Save time and resources by outsourcing complex integrations and focusing on your core product development.
- Build once for each use case instead of multiple times for different integrations, reducing redundancy and maintenance efforts.
- Provide an intuitive integration experience for your customers, enhancing user satisfaction and engagement.
Explore how Endgrate can enhance your integration capabilities by visiting Endgrate's website and discover the benefits of a streamlined integration process.
Read More

Ready to get started?
