Using the Chargebee API to Get Product Catalog (with Javascript examples)
Introduction to Chargebee API for Product Catalog Management
Chargebee is a robust subscription billing and revenue management platform that empowers businesses to streamline their billing processes and manage their product catalogs efficiently. With its comprehensive API, Chargebee offers developers the flexibility to integrate and automate various billing and subscription tasks seamlessly.
Connecting with Chargebee's API allows developers to access and manage product catalogs, enabling them to retrieve, update, and organize product information programmatically. This integration is particularly beneficial for businesses looking to maintain a dynamic product catalog that adapts to changing business needs.
For example, a developer might use the Chargebee API to fetch the latest product catalog details and synchronize them with an e-commerce platform, ensuring that customers always see the most up-to-date product offerings.
Setting Up Your Chargebee Test/Sandbox Account for API Integration
Before diving into the Chargebee API integration, it's essential to set up a test or sandbox account. This environment allows developers to experiment and test API interactions without affecting live data. Chargebee provides a dedicated test site for developers to simulate real-world scenarios.
Creating a Chargebee Test Account
To begin, you'll need to create a Chargebee test account. Follow these steps:
- Visit the Chargebee signup page and register for a free account.
- Once registered, log in to your Chargebee dashboard.
- Navigate to the 'Sites' section and create a new test site. This site will be your sandbox environment.
Obtaining API Keys for Chargebee Authentication
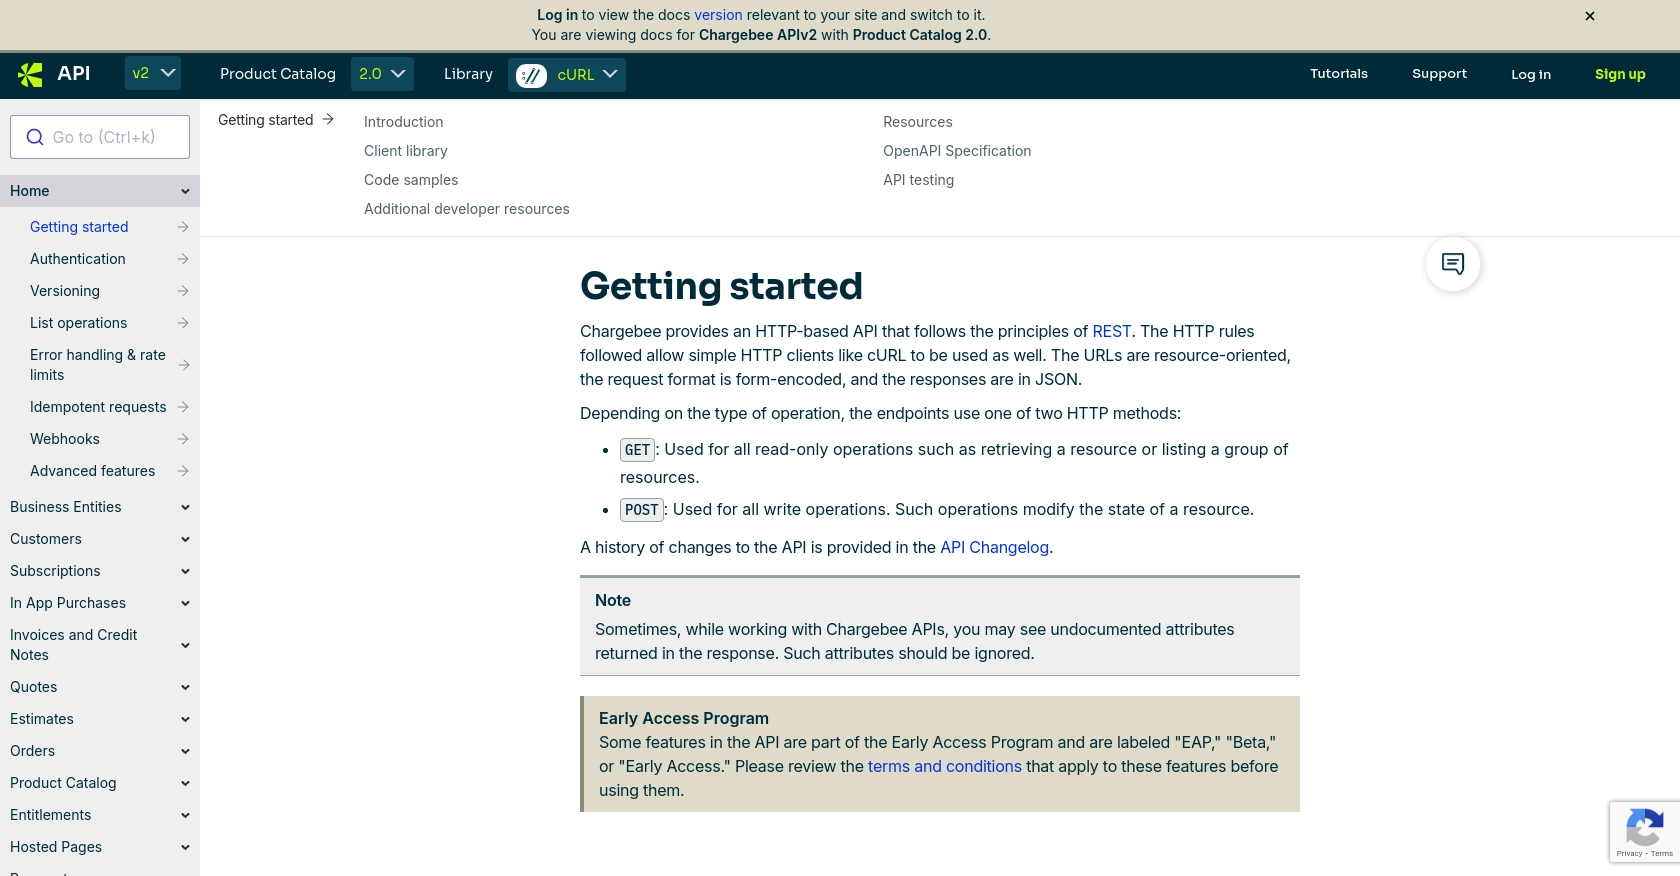
Chargebee uses HTTP Basic authentication for API calls, where the username is your API key, and the password is left empty. Here's how to obtain your API keys:
- In your Chargebee dashboard, go to 'Settings' and select 'API Keys'.
- Click on 'Create a Key' to generate a new API key for your test site.
- Ensure you store this key securely, as it will be used for authenticating your API requests.
Configuring OAuth for Chargebee API Access
Although Chargebee primarily uses API keys, you may need to configure OAuth for specific integrations. Follow these steps if applicable:
- In the Chargebee dashboard, navigate to 'Settings' and select 'OAuth Apps'.
- Create a new OAuth application by providing necessary details such as the app name and redirect URL.
- Once created, note down the client ID and client secret, which will be used for OAuth-based authentication.
With your Chargebee test account set up and API keys in hand, you're ready to start integrating and testing the Chargebee API to manage your product catalog programmatically.
sbb-itb-96038d7
Making API Calls to Retrieve Product Catalog from Chargebee Using JavaScript
To interact with the Chargebee API and retrieve the product catalog, you'll need to use JavaScript to make HTTP requests. This section will guide you through the process of setting up your environment, writing the necessary code, and handling responses effectively.
Setting Up Your JavaScript Environment for Chargebee API Integration
Before you begin, ensure you have Node.js installed on your machine, as it provides the runtime environment for executing JavaScript outside the browser. Additionally, you'll need the axios library to handle HTTP requests.
- Install Node.js from the official website.
- Open your terminal and run the following command to install
axios:
npm install axiosWriting JavaScript Code to Fetch Product Catalog from Chargebee
With your environment set up, you can now write the JavaScript code to make API calls to Chargebee and retrieve the product catalog. Below is a sample script to get you started:
const axios = require('axios');
// Set your Chargebee site and API key
const site = 'your-site';
const apiKey = 'your-api-key';
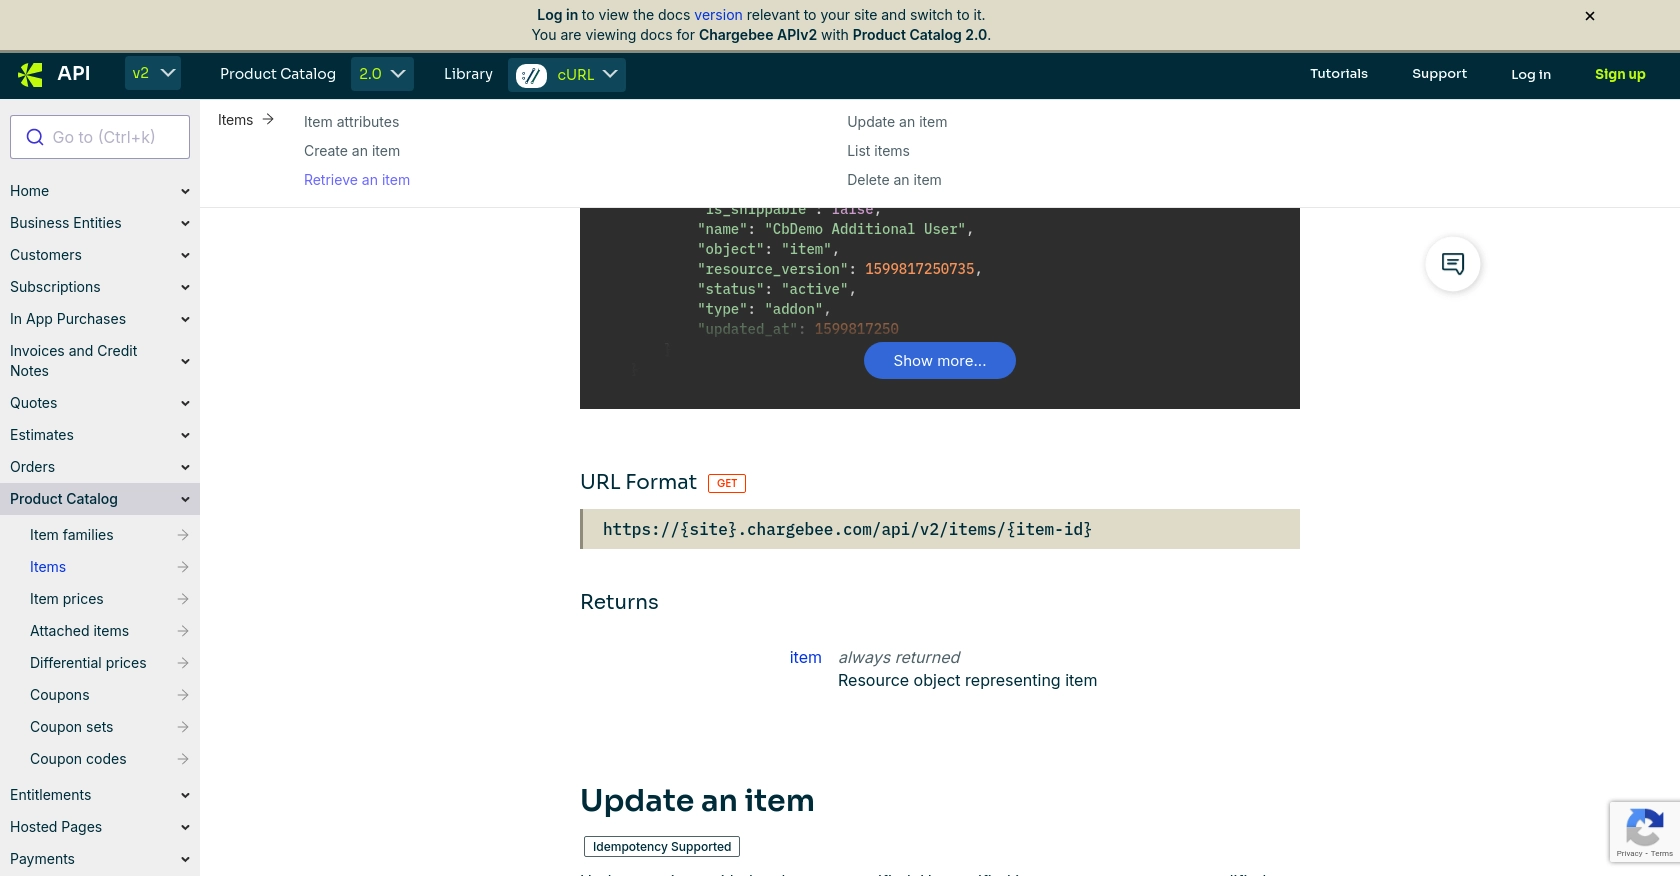
// Define the API endpoint
const endpoint = `https://${site}.chargebee.com/api/v2/items`;
// Configure the request headers
const headers = {
'Authorization': `Basic ${Buffer.from(apiKey + ':').toString('base64')}`
};
// Make a GET request to the Chargebee API
axios.get(endpoint, { headers })
.then(response => {
// Handle successful response
console.log('Product Catalog:', response.data.list);
})
.catch(error => {
// Handle errors
console.error('Error fetching product catalog:', error.response.data);
});
Replace your-site and your-api-key with your actual Chargebee site name and API key.
Understanding the Response and Verifying Success
Upon executing the script, the Chargebee API will return a JSON response containing the product catalog. You can verify the success of the request by checking the console output for the list of items.
If the request is successful, you should see an array of product items with details such as id, name, and type. If there's an error, the console will display the error message, allowing you to troubleshoot accordingly.
Handling Errors and Chargebee API Error Codes
Chargebee provides detailed error codes to help you identify and resolve issues. Common error codes include:
- 401 Unauthorized: Invalid API key or missing authentication header.
- 404 Not Found: The requested resource does not exist.
- 429 Too Many Requests: Rate limit exceeded. Refer to the Chargebee documentation for more details.
Implement error handling in your code to manage these scenarios gracefully and ensure a robust integration.
Conclusion and Best Practices for Chargebee API Integration
Integrating with the Chargebee API to manage your product catalog offers significant advantages, allowing businesses to automate and streamline their subscription billing processes. By leveraging JavaScript and the Chargebee API, developers can efficiently retrieve and manage product information, ensuring that their e-commerce platforms are always up-to-date with the latest offerings.
Best Practices for Secure and Efficient Chargebee API Usage
- Secure API Key Management: Store your API keys securely and avoid hardcoding them in your source code. Consider using environment variables or secure vaults.
- Handle Rate Limiting: Chargebee enforces rate limits to ensure fair usage. Implement exponential backoff strategies and monitor the
Retry-Afterheader to handle429 Too Many Requestserrors effectively. For more details, refer to the Chargebee documentation. - Data Standardization: Ensure that data retrieved from Chargebee is standardized and transformed as needed to match your application's requirements.
- Error Handling: Implement comprehensive error handling to manage various HTTP status codes and error messages returned by the Chargebee API.
Streamlining Integrations with Endgrate
While integrating with Chargebee's API can be straightforward, managing multiple integrations across different platforms can become complex. This is where Endgrate can be a valuable asset. By using Endgrate, you can:
- Save time and resources by outsourcing integration tasks and focusing on your core product development.
- Build once for each use case, rather than multiple times for different integrations, enhancing efficiency.
- Provide an intuitive integration experience for your customers, simplifying their interactions with your platform.
Explore how Endgrate can transform your integration strategy by visiting Endgrate and discover the benefits of a unified API solution.
Read More

Ready to get started?
