Using the Clickup API to Get Tasks (with Python examples)
Introduction to ClickUp API Integration
ClickUp is a versatile project management tool that offers a wide range of features to help teams collaborate and manage tasks efficiently. With its customizable interface and comprehensive task management capabilities, ClickUp is a popular choice for businesses looking to streamline their workflows.
Integrating with ClickUp's API allows developers to automate and enhance task management processes. For example, you can use the ClickUp API to retrieve tasks from a specific list, enabling you to create custom dashboards or automate reporting processes. This integration can significantly improve productivity by reducing manual data handling and providing real-time insights into project progress.
Setting Up Your ClickUp Test Account for API Integration
Before diving into using the ClickUp API, it's essential to set up a test or sandbox account. This allows you to safely experiment with API calls without affecting your live data. ClickUp provides a straightforward process to get started with API integration, whether for personal use or developing applications for others.
Creating a ClickUp Account
If you don't already have a ClickUp account, you can sign up for a free account on the ClickUp website. This account will serve as your test environment for API interactions.
- Visit the ClickUp website and click on the "Sign Up" button.
- Follow the on-screen instructions to create your account.
- Once your account is set up, log in to access your ClickUp workspace.
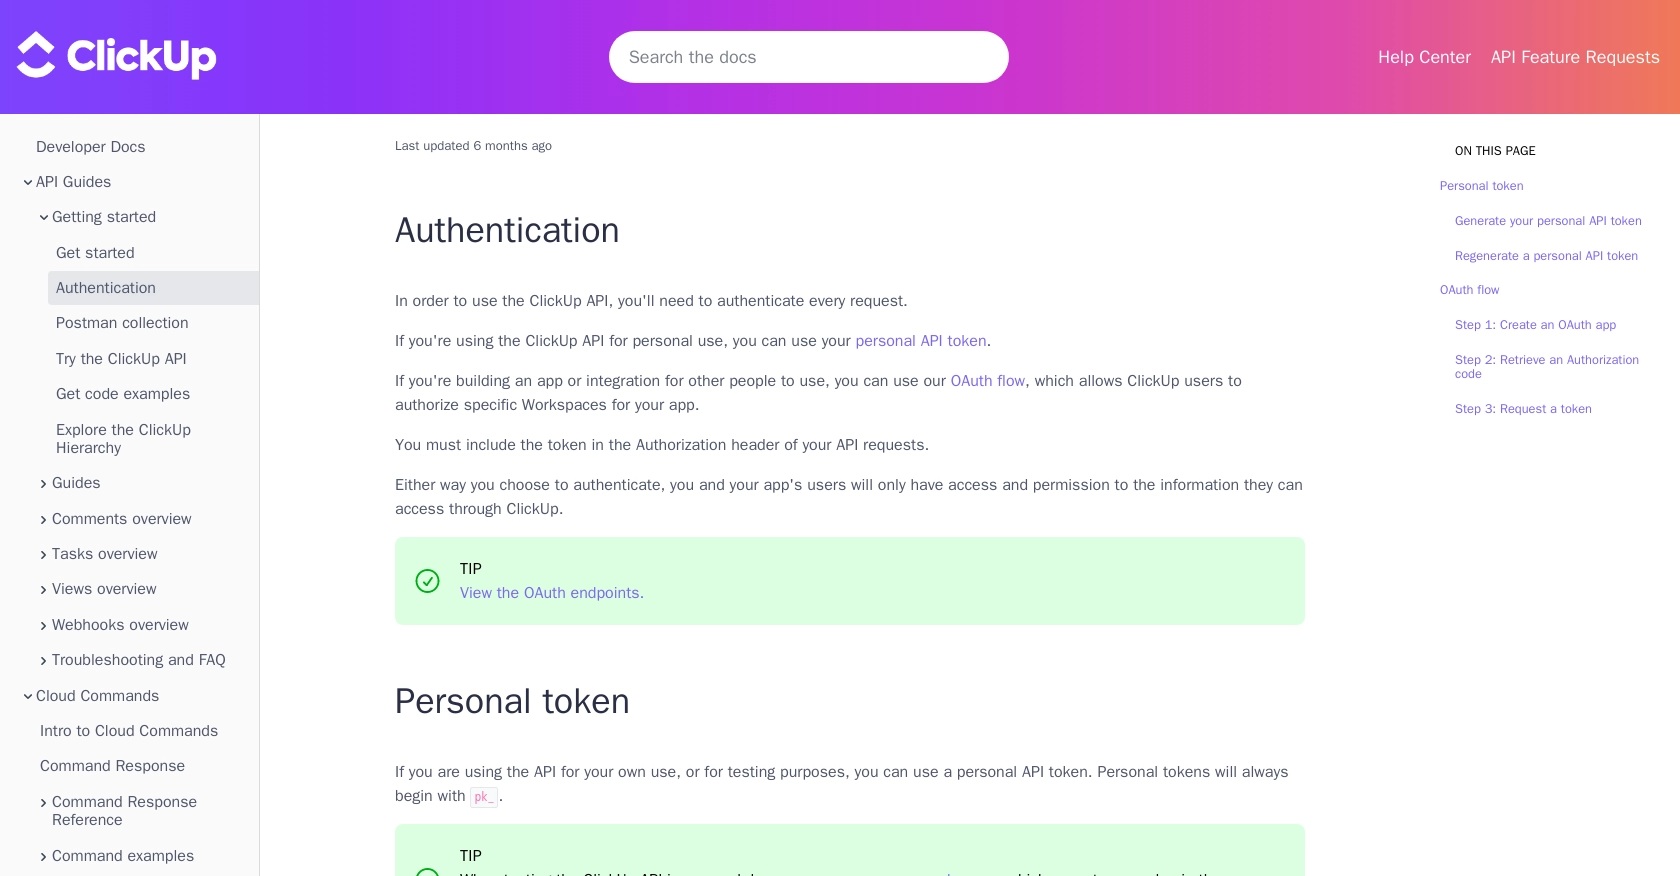
Generating a Personal API Token in ClickUp
For personal use or testing purposes, you can generate a personal API token. This token will be used to authenticate your API requests.
- Log into your ClickUp account.
- In ClickUp 3.0, click your avatar in the upper-right corner and select Settings.
- Scroll down to the Apps section in the sidebar and click on it.
- Under API Token, click Generate to create your personal API token.
- Copy and securely store your API token, as you'll need it for making API calls.
For more details, refer to the ClickUp authentication documentation.
Setting Up OAuth for Application Development
If you're developing an application for others, you'll need to use ClickUp's OAuth flow to authenticate users. This process involves creating an OAuth app and obtaining client credentials.
- Log into ClickUp and click on your avatar in the lower-left corner, then select Integrations.
- Click on ClickUp API and then Create an App.
- Provide a name for your app and a redirect URL where users will be sent after authorization.
- Once created, you'll receive a client_id and client_secret.
These credentials are essential for completing the OAuth flow and obtaining access tokens for user-specific API requests. For more information, visit the ClickUp OAuth documentation.
sbb-itb-96038d7
Making API Calls to Retrieve Tasks from ClickUp Using Python
To interact with the ClickUp API and retrieve tasks, you'll need to use Python, a versatile programming language known for its simplicity and readability. This section will guide you through the process of setting up your environment, making API calls, and handling responses effectively.
Setting Up Your Python Environment for ClickUp API Integration
Before making API calls, ensure you have Python installed on your machine. This tutorial uses Python 3.11.1. Additionally, you'll need the requests library to handle HTTP requests.
- Install Python from the official website if you haven't already.
- Use the following command to install the
requestslibrary:
pip install requestsRetrieving Tasks from ClickUp Using the API
Once your environment is set up, you can proceed to make API calls to retrieve tasks from a specific list in ClickUp. Follow the steps below to create a Python script that fetches tasks.
Step 1: Prepare Your API Request
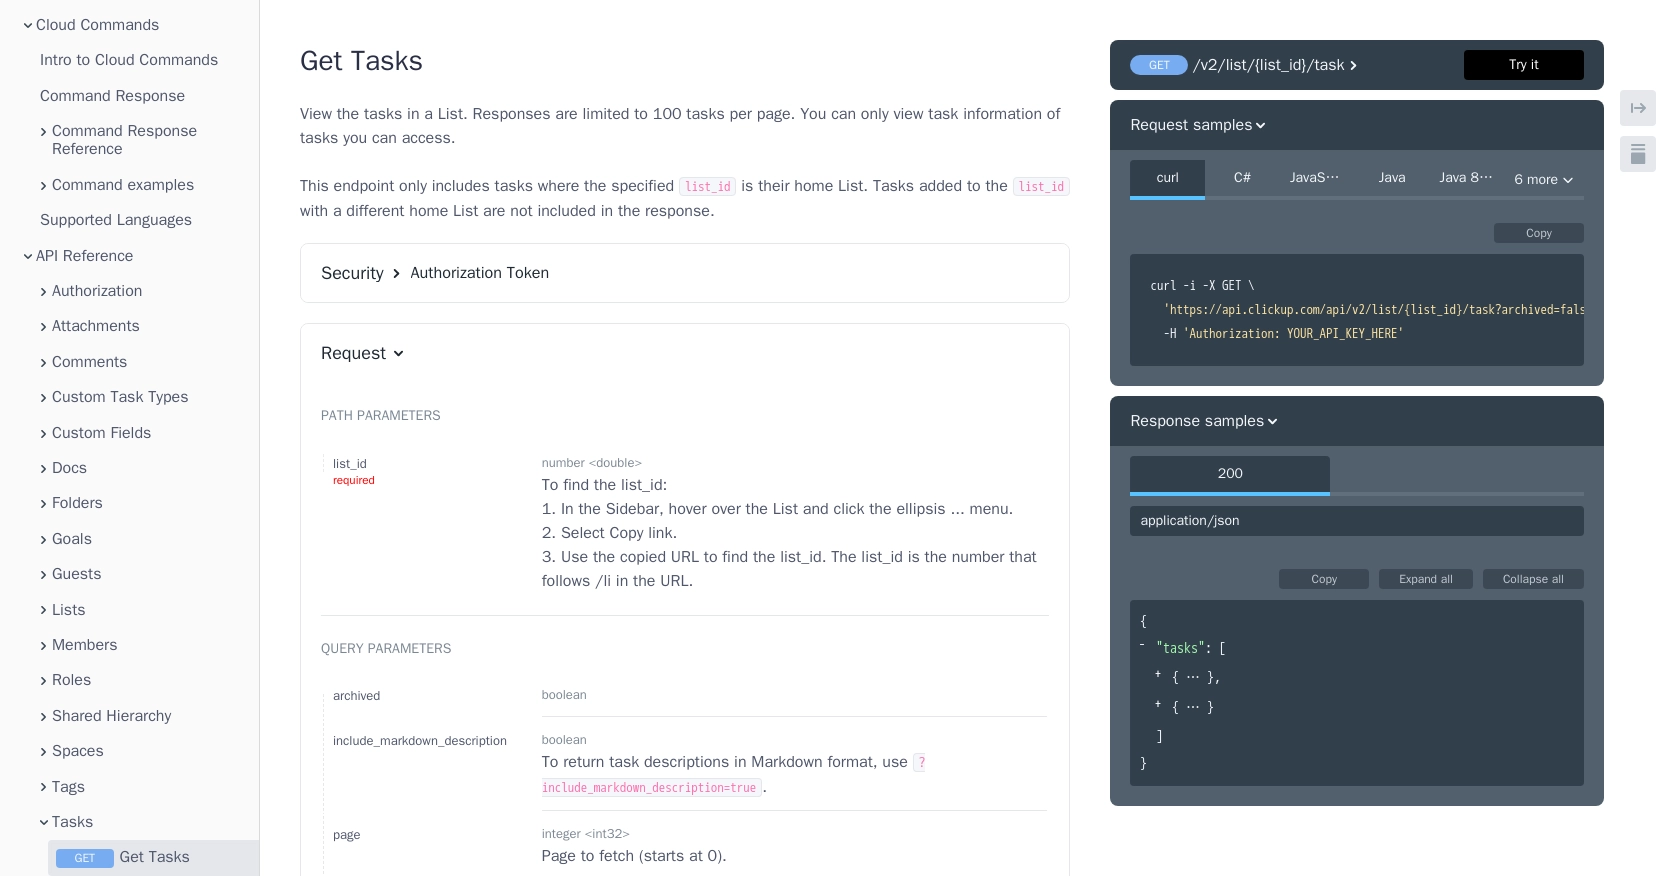
You'll need your personal API token and the list_id from which you want to retrieve tasks. The list_id can be found by copying the link of the list in ClickUp and extracting the number following /li in the URL.
Step 2: Write the Python Script
Create a new Python file named get_clickup_tasks.py and add the following code:
import requests

# Set the API endpoint and headers
list_id = 'your_list_id_here'
endpoint = f"https://api.clickup.com/api/v2/list/{list_id}/task"
headers = {"Authorization": "Bearer your_api_token_here"}

# Make a GET request to the API
response = requests.get(endpoint, headers=headers)

# Check if the request was successful
if response.status_code == 200:
    tasks = response.json().get('tasks', [])
    for task in tasks:
        print(f"Task ID: {task['id']}, Name: {task['name']}")
else:
    print(f"Failed to retrieve tasks: {response.status_code} - {response.text}")
Replace your_list_id_here and your_api_token_here with your actual list ID and API token.
Step 3: Run the Script
Execute the script from your terminal or command line:
python get_clickup_tasks.pyIf successful, the script will output the IDs and names of the tasks in the specified list.
Handling Errors and Verifying API Call Success
It's crucial to handle potential errors when making API calls. The script checks the response status code to ensure the request was successful. If the status code is not 200, it prints an error message with the status code and response text.
To verify the success of your API call, you can cross-check the retrieved tasks with those in your ClickUp list. Ensure that the tasks displayed in your terminal match those in the ClickUp interface.
For more details on the API call parameters and response structure, refer to the ClickUp API documentation.
Conclusion and Best Practices for Using ClickUp API with Python
Integrating with the ClickUp API using Python can significantly enhance your project management capabilities by automating task retrieval and management. By following the steps outlined in this guide, you can efficiently set up your environment, authenticate API requests, and handle responses to streamline your workflow.
Best Practices for Secure and Efficient ClickUp API Integration
- Securely Store API Tokens: Ensure that your API tokens are stored securely and not hard-coded in your scripts. Consider using environment variables or secure vaults to manage sensitive information.
- Handle Rate Limiting: Be mindful of ClickUp's API rate limits to avoid throttling. Implement retry logic with exponential backoff to handle rate limit responses gracefully.
- Optimize Data Handling: When retrieving large datasets, consider paginating results to manage memory usage effectively. Use filtering options to retrieve only the necessary data.
- Standardize Data Fields: Transform and standardize data fields to ensure consistency across your application, especially when integrating with multiple APIs.
Enhance Your Integration Strategy with Endgrate
While integrating with ClickUp's API can be powerful, managing multiple integrations can become complex. Endgrate offers a unified API solution that simplifies integration processes across various platforms, including ClickUp. By leveraging Endgrate, you can focus on your core product development while outsourcing integration complexities.
Explore how Endgrate can streamline your integration efforts by visiting Endgrate's website. Save time and resources by building once for each use case and providing an intuitive integration experience for your customers.
Read More

Ready to get started?
