Using the Confluence API to Create Space Pages in Javascript

Introduction to Confluence API Integration
Confluence, developed by Atlassian, is a powerful collaboration tool used by teams to create, share, and manage content seamlessly. It provides a centralized platform for documentation, project planning, and knowledge sharing, making it an essential tool for businesses aiming to enhance productivity and communication.
Integrating with the Confluence API allows developers to automate content management tasks, such as creating and updating space pages programmatically. This can be particularly useful for teams that need to generate documentation dynamically or synchronize content across different platforms. For example, a developer might use the Confluence API to automatically create project documentation pages in response to new project creation events in a project management system.
Setting Up Your Confluence Test Account
Before diving into creating space pages with the Confluence API, you'll need to set up a Confluence test account. This will allow you to safely experiment with API calls without affecting live data.
Creating a Confluence Sandbox Account
If you don't already have a Confluence account, you can sign up for a free trial on the Atlassian website. This trial will provide you with access to Confluence Cloud, where you can test API interactions.
- Visit the Confluence sign-up page.
- Follow the instructions to create your account.
- Once your account is set up, log in to access your Confluence dashboard.
Setting Up OAuth 2.0 for Confluence API
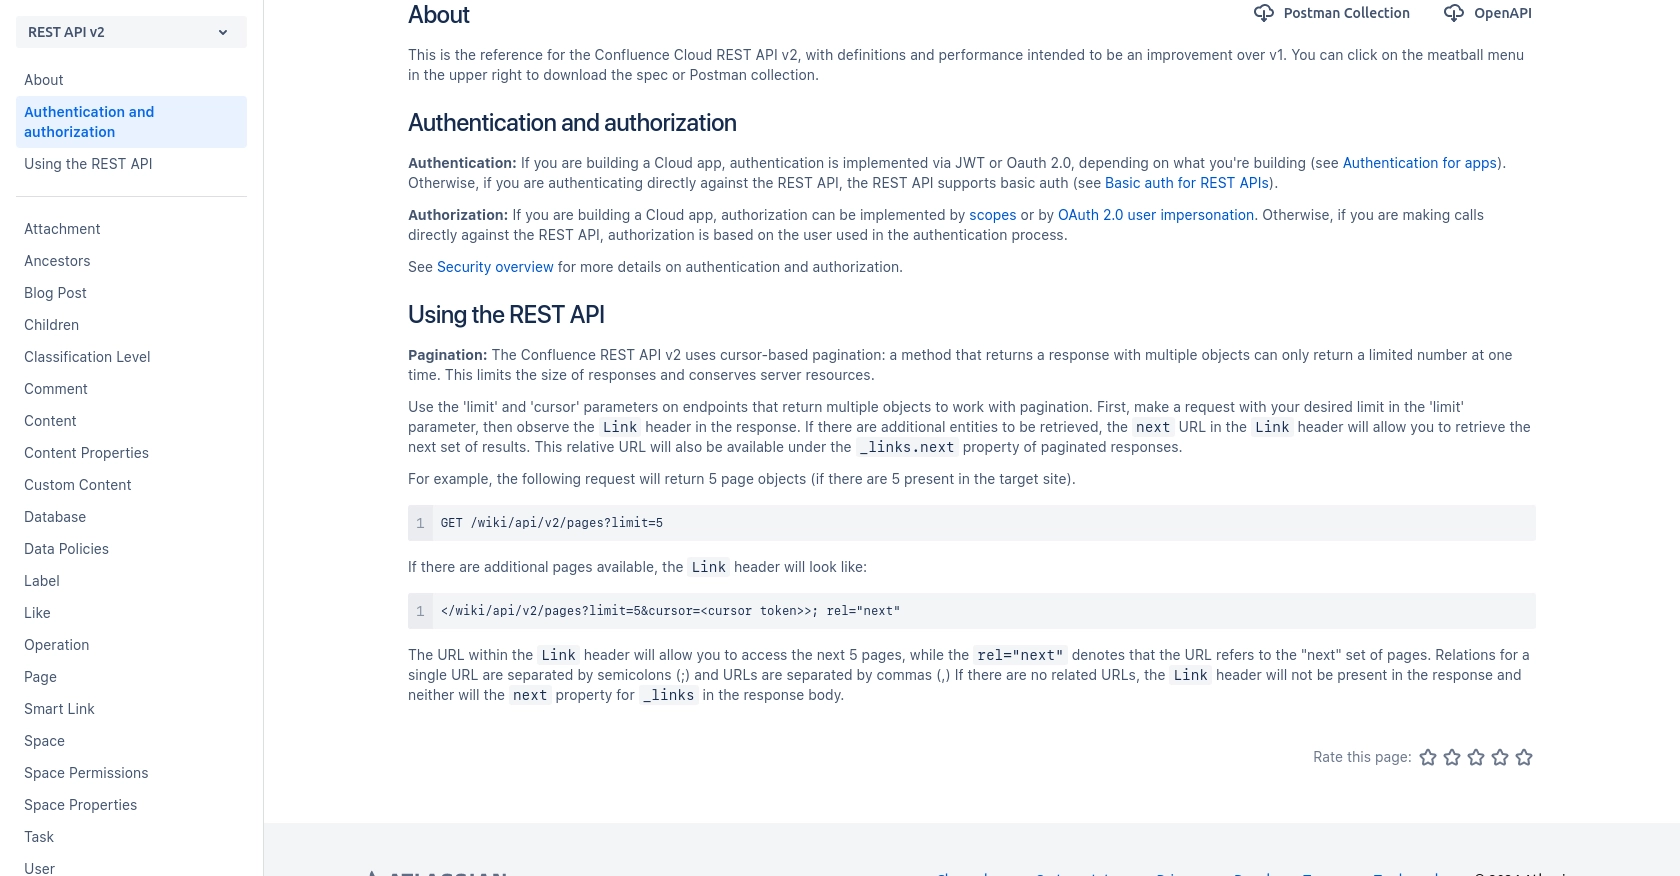
The Confluence API uses OAuth 2.0 for authentication. Follow these steps to set up OAuth 2.0:
- Navigate to the Atlassian Developer Console and create a new app.
- Fill in the required details, such as app name and description.
- Under the Authorization section, select OAuth 2.0.
- Generate your Client ID and Client Secret. Keep these credentials secure as they will be used to authenticate API requests.
- Set the necessary scopes for your app, such as
write:page:confluenceto allow page creation.
Generating an Access Token
To interact with the Confluence API, you'll need to generate an access token using your OAuth credentials:
// Example of generating an access token using Node.js
const axios = require('axios');

const getAccessToken = async () => {
    const response = await axios.post('https://auth.atlassian.com/oauth/token', {
        grant_type: 'client_credentials',
        client_id: 'Your_Client_ID',
        client_secret: 'Your_Client_Secret',
        audience: 'api.atlassian.com'
    });

    return response.data.access_token;
};

getAccessToken().then(token => console.log(token));
Replace Your_Client_ID and Your_Client_Secret with the credentials obtained earlier. This script will return an access token that you can use for API requests.

sbb-itb-96038d7
Making API Calls to Create Confluence Space Pages Using JavaScript
With your Confluence test account and OAuth 2.0 setup complete, you're ready to make API calls to create space pages. This section will guide you through the process using JavaScript, specifically with Node.js and the Axios library for HTTP requests.
Prerequisites for JavaScript Confluence API Integration
Before you begin, ensure you have the following installed on your machine:
- Node.js (version 14 or higher)
- NPM (Node Package Manager)
Install the Axios library by running the following command in your terminal:
npm install axiosCreating a Confluence Space Page with JavaScript
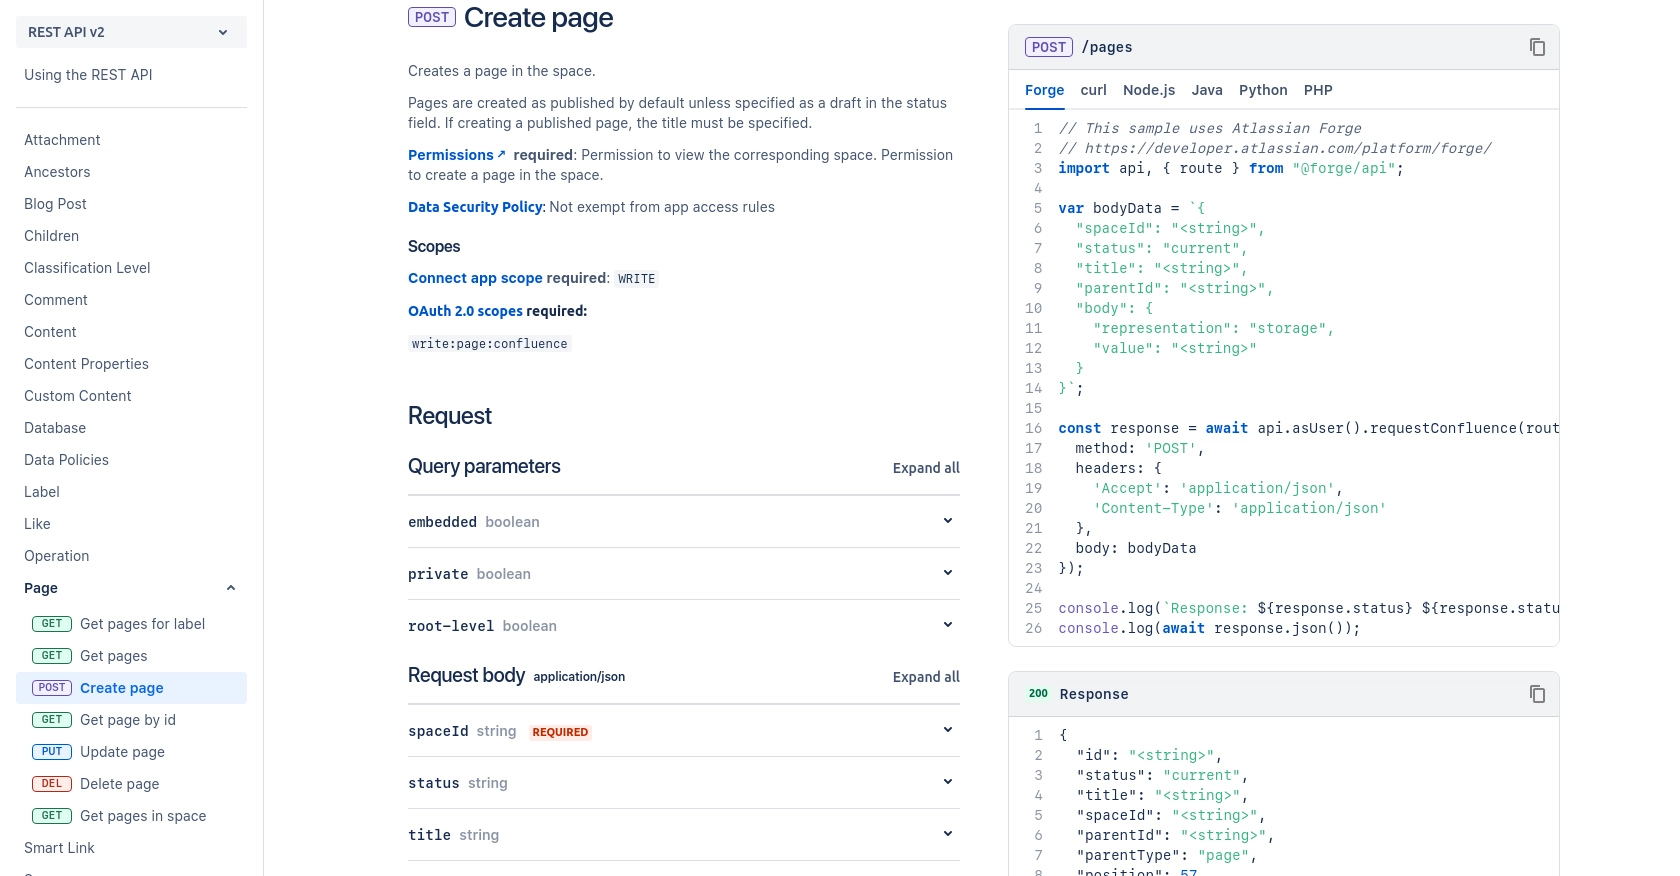
Now, let's create a JavaScript script to make a POST request to the Confluence API to create a new space page. Follow the steps below:
const axios = require('axios');

const createConfluencePage = async (accessToken) => {
    const url = 'https://api.atlassian.com/wiki/api/v2/pages';
    const pageData = {
        spaceId: 'Your_Space_ID',
        status: 'current',
        title: 'New Page Title',
        body: {
            representation: 'storage',
            value: '<p>This is a new page created via the Confluence API.</p>'
        }
    };

    try {
        const response = await axios.post(url, pageData, {
            headers: {
                'Authorization': `Bearer ${accessToken}`,
                'Accept': 'application/json',
                'Content-Type': 'application/json'
            }
        });
        console.log('Page created successfully:', response.data);
    } catch (error) {
        console.error('Error creating page:', error.response.data);
    }
};

// Replace 'Your_Access_Token' with the token obtained earlier
createConfluencePage('Your_Access_Token');
Replace Your_Space_ID and Your_Access_Token with your actual space ID and access token. This script will create a new page in the specified Confluence space.
Verifying the API Call Success in Confluence
After running the script, you can verify the success of the API call by checking your Confluence space. The new page should appear with the title and content specified in your script.
Handling Errors and Understanding Confluence API Responses
When making API calls, it's crucial to handle potential errors. The Confluence API may return various HTTP status codes, such as:
- 200 OK: The page was created successfully.
- 400 Bad Request: The request was invalid, possibly due to missing parameters.
- 401 Unauthorized: Authentication failed, check your access token.
- 404 Not Found: The specified space ID does not exist.
Always log error responses to understand and address issues promptly.
For more detailed information on error handling and API responses, refer to the Confluence API documentation.

Conclusion and Best Practices for Confluence API Integration
Integrating with the Confluence API using JavaScript can significantly enhance your team's ability to automate content management and streamline documentation processes. By following the steps outlined in this guide, you can efficiently create space pages and manage content programmatically.
Best Practices for Secure and Efficient Confluence API Usage
- Secure Storage of Credentials: Always store your OAuth credentials and access tokens securely. Consider using environment variables or secure vaults to manage sensitive information.
- Handle Rate Limiting: Be aware of Confluence API rate limits to avoid throttling. Implement exponential backoff strategies to handle rate limit responses gracefully.
- Data Standardization: Ensure that data fields are standardized and consistent across your applications to facilitate seamless integration and data synchronization.
Explore Further with Endgrate for Seamless Integration
If managing multiple integrations is becoming a challenge, consider using Endgrate to simplify the process. Endgrate offers a unified API endpoint that connects to various platforms, including Confluence, allowing you to focus on your core product while outsourcing integration complexities.
By leveraging Endgrate, you can build once for each use case and enjoy an intuitive integration experience for your customers. Visit Endgrate to learn more about how it can streamline your integration efforts.
Read More
Ready to get started?
