Using the Constant Contact API to Create or Update Contacts (with Python examples)
Introduction to Constant Contact API
Constant Contact is a powerful email marketing platform that enables businesses to create, manage, and track their email campaigns effectively. With its robust set of tools, Constant Contact helps businesses engage with their audience, build relationships, and drive growth through targeted email marketing strategies.
For developers, integrating with the Constant Contact API offers the opportunity to automate and enhance email marketing workflows. By connecting to the API, developers can programmatically manage contacts, create or update contact lists, and synchronize data between Constant Contact and other applications. This integration can streamline processes such as automatically updating contact information from a CRM system or adding new subscribers from a website form.
In this article, we will explore how to use Python to interact with the Constant Contact API, focusing on creating or updating contacts. This guide will provide step-by-step instructions and code examples to help developers efficiently manage contact data within the Constant Contact platform.
Setting Up Your Constant Contact Developer Account
Before you can start integrating with the Constant Contact API, you need to set up a developer account. This account will allow you to create applications and access the necessary credentials for API authentication.
Follow these steps to set up your Constant Contact developer account:
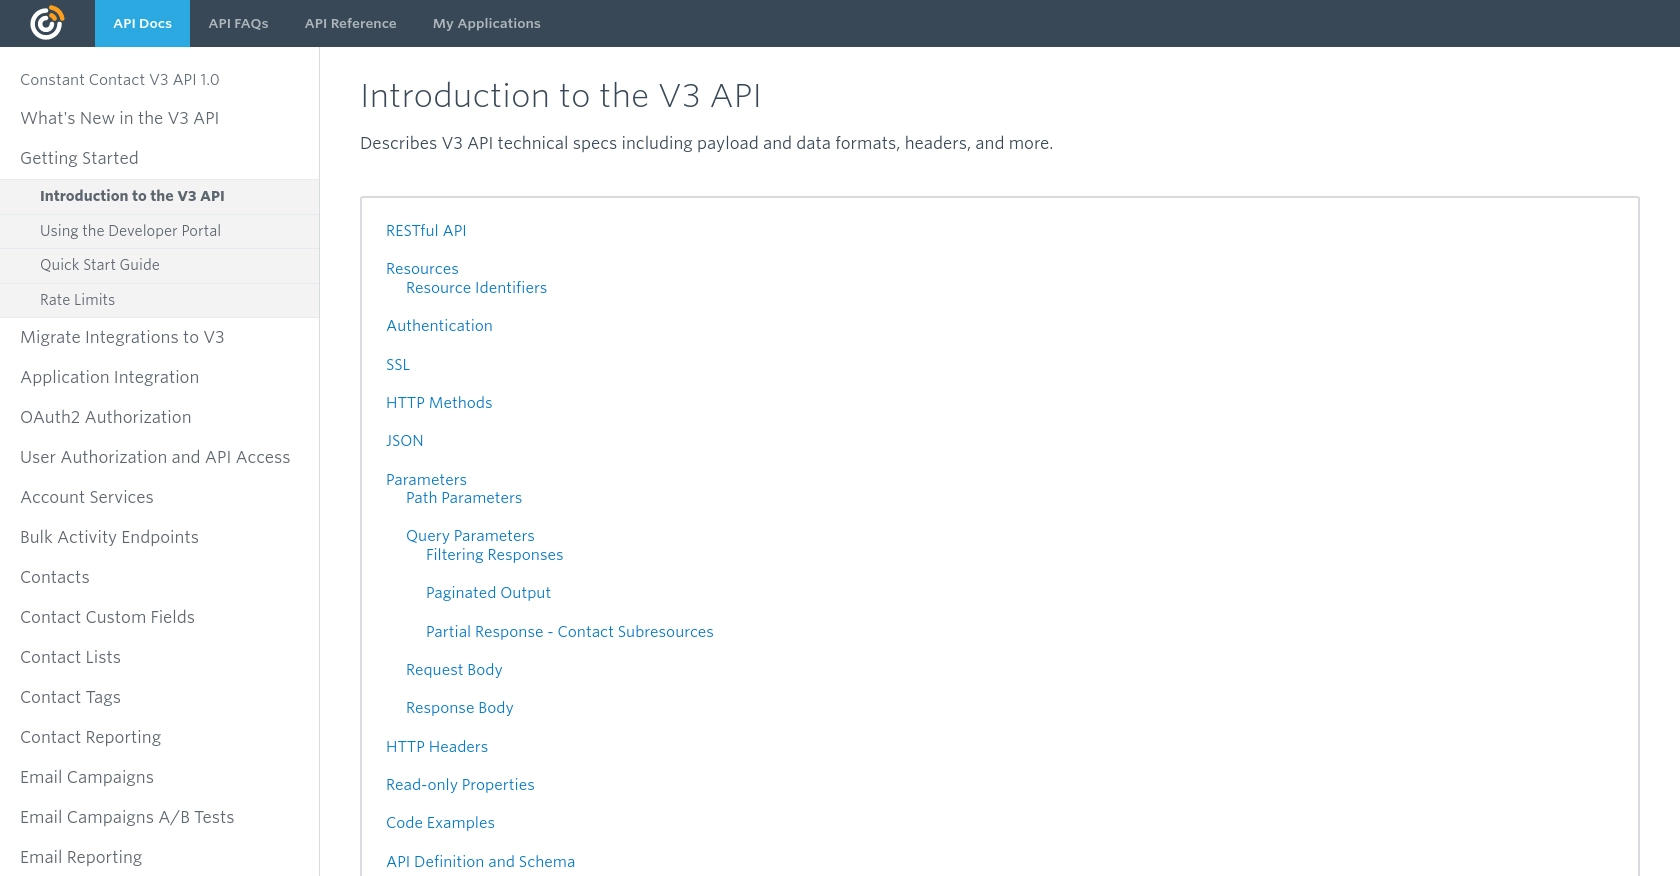
- Visit the Constant Contact Developer Portal and sign up for a developer account.
- Once registered, log in to your account and navigate to the "My Applications" section.
- Click on "Create a New Application" to start setting up your application.
- Fill in the required details such as application name, description, and redirect URI.
- After creating the application, you will receive a client ID and client secret. Keep these credentials secure as they are essential for OAuth2 authentication.
Configuring OAuth2 Authentication for Constant Contact API
The Constant Contact API uses OAuth2 for authentication, which involves obtaining an access token to make API requests. Follow these steps to configure OAuth2 authentication:
- In your application settings, define the necessary scopes. For managing contacts, ensure you include the
contact_datascope. - Use the following authorization endpoint to direct users to Constant Contact for authentication:
- Include the required query parameters such as
client_id,redirect_uri,response_type, andscope. - Once the user authorizes your application, Constant Contact will redirect them to your specified
redirect_uriwith an authorization code. - Exchange this authorization code for an access token by making a POST request to the token endpoint:
- Include the authorization code, client ID, client secret, and redirect URI in your request.
- Upon successful exchange, you'll receive an access token, which you can use to authenticate API requests.
GET https://authz.constantcontact.com/oauth2/default/v1/authorizePOST https://authz.constantcontact.com/oauth2/default/v1/tokenFor more detailed information on OAuth2 authentication, refer to the Constant Contact OAuth2 Overview.
sbb-itb-96038d7
Making API Calls to Constant Contact with Python
To interact with the Constant Contact API using Python, you need to make HTTP requests to the appropriate endpoints. This section will guide you through the process of creating or updating contacts using Python, ensuring you have the necessary setup and code examples to get started.
Prerequisites for Python Integration with Constant Contact API
Before making API calls, ensure you have the following prerequisites installed on your system:
- Python 3.11.1 or later
- The Python package installer
pip
Install the requests library to handle HTTP requests:
pip install requestsCreating or Updating Contacts in Constant Contact
To create or update contacts, you will use the POST method to send data to the Constant Contact API. Below is a step-by-step guide with example code.
Step 1: Set Up the API Endpoint and Headers
Define the API endpoint and headers required for the request. Replace Your_Access_Token with the access token obtained during OAuth2 authentication.
import requests

# Define the API endpoint
url = "https://api.cc.email/v3/contacts"

# Set the request headers
headers = {
    "Authorization": "Bearer Your_Access_Token",
    "Content-Type": "application/json"
}
Step 2: Define the Contact Data
Create a dictionary containing the contact information you want to create or update. Ensure the data is structured according to Constant Contact's API requirements.
# Define the contact data
contact_data = {
    "email_address": "example@domain.com",
    "first_name": "John",
    "last_name": "Doe",
    "list_memberships": ["list_id"]
}
Step 3: Make the API Request
Use the requests.post method to send the contact data to the API. Handle the response to check if the request was successful.
# Send the POST request
response = requests.post(url, headers=headers, json=contact_data)

# Check the response status
if response.status_code == 201:
    print("Contact created or updated successfully.")
else:
    print(f"Failed to create or update contact: {response.status_code} - {response.text}")
Step 4: Verify the Request in Constant Contact
After executing the code, verify the contact creation or update by checking the Constant Contact dashboard. The new or updated contact should appear in the specified list.
Handling Errors and Response Codes
Constant Contact API uses standard HTTP response codes to indicate the success or failure of an API request. Here are some common response codes you might encounter:
- 201 Created: The contact was successfully created or updated.
- 400 Bad Request: The request was malformed or contained invalid data.
- 401 Unauthorized: The access token is invalid or expired.
- 429 Too Many Requests: You have exceeded the rate limit of 10,000 requests per day and 4 requests per second.
For more details on handling errors, refer to the Constant Contact Response Codes.
Conclusion and Best Practices for Using Constant Contact API
Integrating with the Constant Contact API using Python can significantly enhance your email marketing workflows by automating contact management and data synchronization. By following the steps outlined in this guide, you can efficiently create or update contacts within the Constant Contact platform, ensuring your marketing efforts are both streamlined and effective.
Best Practices for Secure and Efficient API Integration
- Securely Store Credentials: Always store your client ID, client secret, and access tokens securely. Avoid hardcoding them in your source code and consider using environment variables or secure vaults.
- Handle Rate Limits: Be mindful of Constant Contact's rate limits, which are 10,000 requests per day and 4 requests per second. Implement logic to handle 429 errors by retrying requests after a delay.
- Data Standardization: Ensure that the contact data you send to Constant Contact is standardized and validated to prevent errors and maintain data integrity.
- Use Refresh Tokens Wisely: Refresh tokens can extend the lifespan of access tokens. Use them judiciously to avoid unnecessary re-authentication requests.
Leverage Endgrate for Simplified Integrations
While integrating with Constant Contact can be straightforward, managing multiple integrations across different platforms can become complex. Endgrate offers a unified API solution that simplifies integration processes, allowing you to focus on your core product development. By using Endgrate, you can build once for each use case and enjoy an intuitive integration experience for your customers.
Explore how Endgrate can streamline your integration needs by visiting Endgrate today.
Read More
- https://endgrate.com/provider/constantcontact
- https://developer.constantcontact.com/api_guide/v3_technical_overview.html
- https://developer.constantcontact.com/api_guide/auth_overview.html
- https://developer.constantcontact.com/api_guide/scopes.html
- https://developer.constantcontact.com/api_guide/glossary_responses.html

Ready to get started?
