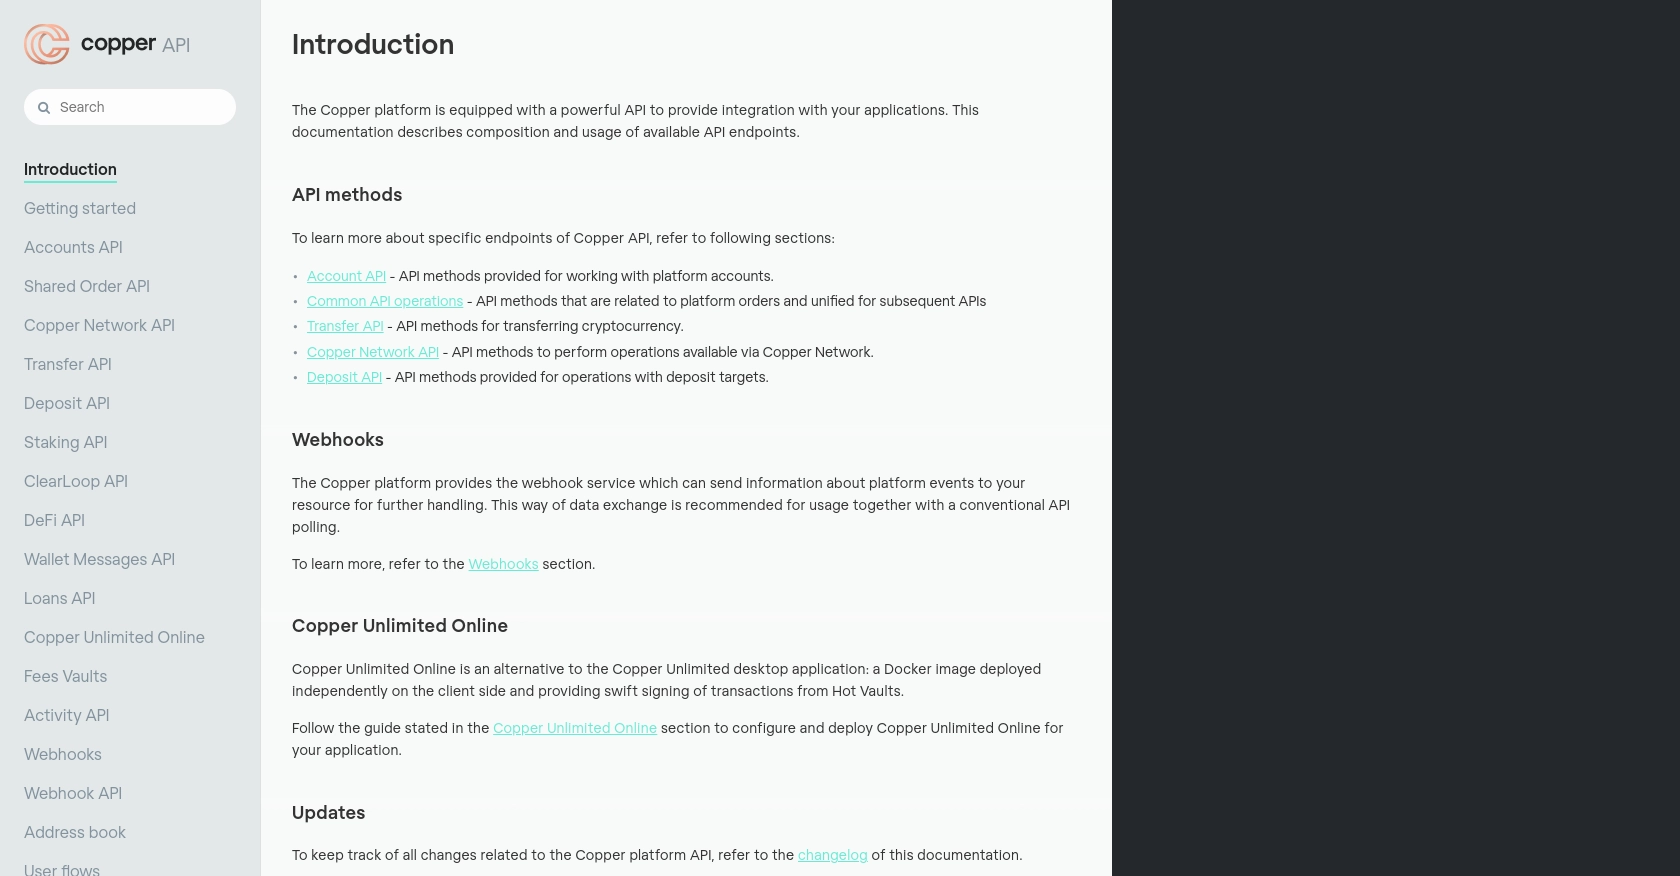
Using the Copper API to Create or Update People (with Javascript examples)

Introduction to Copper API for People Management
Copper is a robust CRM platform designed to seamlessly integrate with Google Workspace, providing businesses with a streamlined approach to managing customer relationships. Its intuitive interface and powerful features make it a popular choice for organizations looking to enhance their CRM capabilities.
Developers may want to integrate with Copper's API to automate and manage customer data, such as creating or updating people records. For example, a developer could use the Copper API to automatically update contact information from a web form, ensuring that the CRM data remains accurate and up-to-date.
Setting Up Your Copper API Test/Sandbox Account
Creating a Copper Account for API Access
To begin integrating with the Copper API, you'll need to set up a Copper account. If you don't already have one, you can sign up for a free trial on the Copper website. This will give you access to the necessary tools and features to start working with the API.
- Visit the Copper website and click on the "Sign Up" button.
- Fill in the required information to create your account.
- Once your account is created, log in to access the Copper dashboard.
Generating Copper API Key and Secret for Authentication
Authentication with the Copper API requires an API key and secret. Follow these steps to generate them:
- Navigate to the "Settings" section in your Copper dashboard.
- Select "API Keys" from the menu.
- Click on "Create API Key" and provide a name for your key.
- Once created, you will receive an API key and secret. Make sure to store these securely as they are essential for API authentication.
Configuring API Authentication with Custom Headers
To authenticate your API requests, you'll need to include custom headers in your HTTP requests. Here's how to set them up:
// Example of setting up headers for Copper API authentication
const headers = {
    'Authorization': 'ApiKey YOUR_API_KEY',
    'X-Timestamp': Date.now().toString(),
    'X-Signature': 'GENERATED_SIGNATURE'
};
Replace YOUR_API_KEY with your actual API key. The X-Signature is generated using HMAC SHA256 with your API secret, timestamp, HTTP method, and request path.
Testing API Calls in Copper's Sandbox Environment
Copper provides a sandbox environment for testing API calls without affecting live data. Use the following base URL for sandbox API requests:
const baseUrl = 'https://api.stage.copper.co';
Ensure that your API requests are directed to this URL during development and testing phases.

sbb-itb-96038d7
Making API Calls to Copper for Creating or Updating People Records
Setting Up Your JavaScript Environment for Copper API Integration
Before making API calls to Copper, ensure your JavaScript environment is properly configured. You'll need Node.js installed on your machine. Additionally, install the axios library to handle HTTP requests:
npm install axios
Creating a New Person Record in Copper Using JavaScript
To create a new person record in Copper, use the following JavaScript code. This example demonstrates how to send a POST request to the Copper API:
const axios = require('axios');

const createPerson = async () => {
    const url = 'https://api.copper.co/v1/people';
    const headers = {
        'Authorization': 'ApiKey YOUR_API_KEY',
        'X-Timestamp': Date.now().toString(),
        'X-Signature': 'GENERATED_SIGNATURE',
        'Content-Type': 'application/json'
    };
    const data = {
        name: 'John Doe',
        email: 'john.doe@example.com'
    };

    try {
        const response = await axios.post(url, data, { headers });
        console.log('Person created:', response.data);
    } catch (error) {
        console.error('Error creating person:', error.response.data);
    }
};

createPerson();
Replace YOUR_API_KEY and GENERATED_SIGNATURE with your actual API key and generated signature. This code sends a POST request to create a new person with the specified name and email.
Updating an Existing Person Record in Copper
To update an existing person record, modify the request to include the person's ID and the fields you wish to update:
const updatePerson = async (personId) => {
    const url = `https://api.copper.co/v1/people/${personId}`;
    const headers = {
        'Authorization': 'ApiKey YOUR_API_KEY',
        'X-Timestamp': Date.now().toString(),
        'X-Signature': 'GENERATED_SIGNATURE',
        'Content-Type': 'application/json'
    };
    const data = {
        email: 'new.email@example.com'
    };

    try {
        const response = await axios.put(url, data, { headers });
        console.log('Person updated:', response.data);
    } catch (error) {
        console.error('Error updating person:', error.response.data);
    }
};

updatePerson('PERSON_ID');
Replace PERSON_ID with the ID of the person you want to update. This code sends a PUT request to update the person's email address.
Handling API Response and Errors
After making an API call, it's crucial to handle the response and any potential errors. The above examples include try and catch blocks to manage successful responses and errors. Always log the response or error for debugging and verification purposes.
Verifying API Call Success in Copper Dashboard
After executing the API calls, verify the changes in your Copper dashboard. Newly created or updated records should reflect the changes made through the API. This ensures that your integration is functioning correctly.
Conclusion and Best Practices for Copper API Integration
Integrating with the Copper API to manage people records can significantly enhance your CRM capabilities by automating data management tasks. By following the steps outlined in this guide, you can efficiently create and update people records using JavaScript, ensuring your CRM data remains accurate and up-to-date.
Best Practices for Secure and Efficient Copper API Usage
- Secure API Keys: Always store your API keys and secrets securely. Avoid hardcoding them in your source code and consider using environment variables.
- Handle Rate Limits: Be mindful of Copper's API rate limits to prevent request throttling. Implement retry logic with exponential backoff to handle rate limit errors gracefully.
- Data Validation: Validate data before sending it to the API to ensure it meets Copper's requirements, reducing the risk of errors and failed requests.
- Error Handling: Implement robust error handling to manage API response errors effectively. Log errors for debugging and consider notifying your team of critical issues.
- Regular Updates: Keep your integration up-to-date with Copper's API changes by regularly reviewing their documentation and updating your code accordingly.
Enhance Your Integration Strategy with Endgrate
While integrating with Copper's API can be straightforward, managing multiple integrations across different platforms can become complex. Endgrate simplifies this process by providing a unified API endpoint that connects to multiple platforms, including Copper. By using Endgrate, you can streamline your integration strategy, reduce development time, and focus on your core product offerings.
Explore how Endgrate can enhance your integration experience by visiting Endgrate's website.
Read More
Ready to get started?
