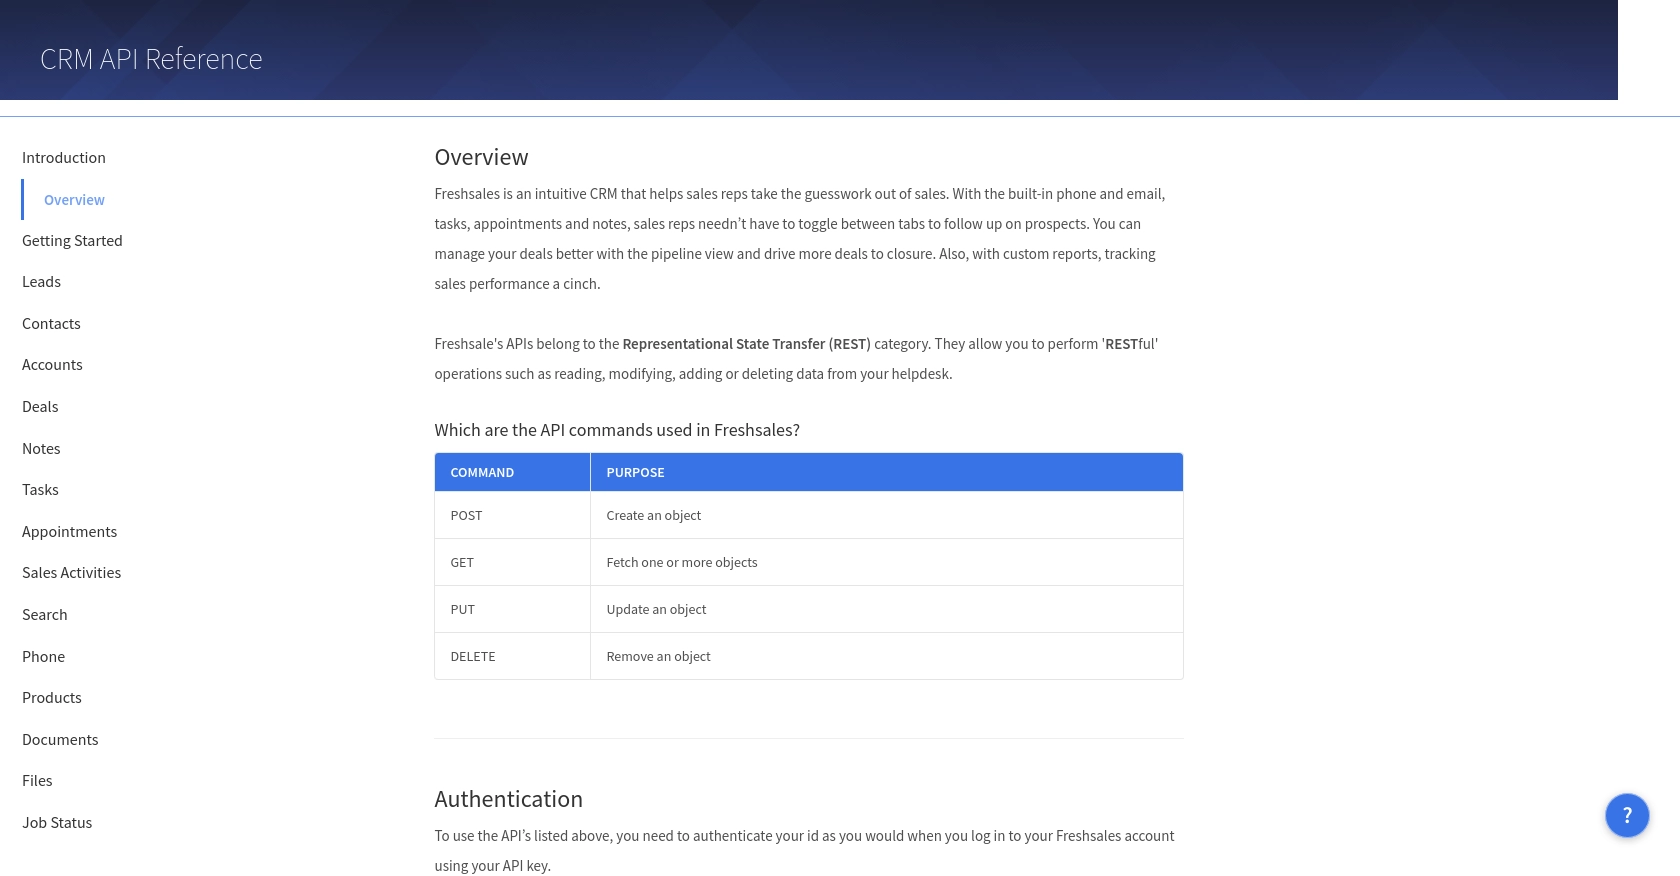
Using the Freshsales API to Get Accounts (with Javascript examples)

Introduction to Freshsales API Integration
Freshsales is a powerful customer relationship management (CRM) platform designed to help businesses manage their sales processes more effectively. It offers a wide range of features, including lead management, contact management, and sales pipeline tracking, all within an intuitive interface.
Integrating with the Freshsales API allows developers to access and manipulate CRM data programmatically, enabling automation and customization of sales workflows. For example, a developer might use the Freshsales API to retrieve account information, which can then be used to generate detailed sales reports or synchronize data with other business applications.
This article will guide you through the process of using JavaScript to interact with the Freshsales API, specifically focusing on retrieving account data. By the end of this tutorial, you'll have a clear understanding of how to set up your environment and make API calls to efficiently manage accounts within Freshsales.
Setting Up Your Freshsales Test/Sandbox Account
Before you can start interacting with the Freshsales API, you'll need to set up a test or sandbox account. This will allow you to safely experiment with API calls without affecting live data. Freshsales offers a free trial that you can use for this purpose.
Creating a Freshsales Account
To get started, visit the Freshsales website and sign up for a free trial. Follow the on-screen instructions to create your account. Once your account is set up, you'll have access to the Freshsales dashboard where you can manage your CRM data.
Generating API Key for Freshsales
Freshsales uses a custom authentication method that involves generating an API key. Follow these steps to obtain your API key:
- Log in to your Freshsales account.
- Navigate to the settings by clicking on your profile picture in the top right corner and selecting Settings.
- Under the API Settings section, find the option to generate an API key.
- Click on Generate API Key and copy the key provided. Store it securely as you'll need it to authenticate your API requests.
Configuring Your Freshsales App for API Access
Once you have your API key, you may need to configure your Freshsales app to ensure it has the necessary permissions to access account data:
- In the settings, navigate to API Permissions.
- Ensure that your app has the required permissions to read account data. This typically involves checking the appropriate boxes for account access.
With your Freshsales account set up and API key generated, you're ready to start making API calls to retrieve account data using JavaScript. In the next section, we'll walk through the process of making these calls and handling the responses.
sbb-itb-96038d7
Making API Calls to Retrieve Freshsales Accounts Using JavaScript
With your Freshsales account and API key ready, you can now proceed to make API calls to retrieve account data. This section will guide you through the process of setting up your JavaScript environment, writing the code to interact with the Freshsales API, and handling the responses effectively.
Setting Up Your JavaScript Environment for Freshsales API Integration
Before making API calls, ensure you have Node.js installed on your machine. Node.js allows you to run JavaScript code outside a web browser, making it ideal for server-side applications.
To check if Node.js is installed, run the following command in your terminal:
node -vIf Node.js is not installed, download and install it from the official Node.js website.
Next, create a new directory for your project and navigate into it:
mkdir freshsales-api-integration
cd freshsales-api-integration
Initialize a new Node.js project:
npm init -yInstall the Axios library, which will be used to make HTTP requests:
npm install axiosWriting JavaScript Code to Retrieve Freshsales Accounts
Create a new file named getAccounts.js and open it in your preferred code editor. Add the following code to interact with the Freshsales API:
const axios = require('axios');

// Replace 'Your_API_Key' with your actual Freshsales API key
const API_KEY = 'Your_API_Key';
const DOMAIN = 'yourdomain'; // Replace with your Freshsales domain

// Set the API endpoint
const endpoint = `https://${DOMAIN}.freshsales.io/api/accounts`;

// Configure the request headers
const headers = {
    'Authorization': `Token token=${API_KEY}`,
    'Content-Type': 'application/json'
};

// Make a GET request to the Freshsales API
axios.get(endpoint, { headers })
    .then(response => {
        // Handle successful response
        console.log('Accounts retrieved successfully:', response.data);
    })
    .catch(error => {
        // Handle errors
        console.error('Error retrieving accounts:', error.response ? error.response.data : error.message);
    });
Replace Your_API_Key with your Freshsales API key and yourdomain with your Freshsales domain.
Running the JavaScript Code and Verifying the API Response
To execute the code, run the following command in your terminal:
node getAccounts.jsIf the request is successful, you should see a list of accounts printed in the console. This confirms that your API call to Freshsales was successful.
In case of errors, check the error message for details. Common issues might include incorrect API keys, domain names, or network connectivity problems.
Handling Errors and Understanding Freshsales API Response Codes
When interacting with the Freshsales API, it's crucial to handle errors gracefully. The API may return various HTTP status codes indicating the result of your request:
- 200 OK: The request was successful, and the response contains the requested data.
- 401 Unauthorized: Authentication failed. Check your API key and domain.
- 404 Not Found: The requested resource could not be found. Verify the endpoint URL.
- 500 Internal Server Error: An error occurred on the server. Try again later.
By understanding these response codes, you can implement appropriate error-handling mechanisms in your application.
Conclusion and Best Practices for Freshsales API Integration
Integrating with the Freshsales API using JavaScript provides a powerful way to automate and enhance your CRM workflows. By following the steps outlined in this article, you can efficiently retrieve account data and integrate it with other business applications.
Best Practices for Secure and Efficient Freshsales API Usage
- Secure API Key Storage: Always store your API keys securely. Avoid hardcoding them in your source code. Use environment variables or secure vaults to manage sensitive information.
- Handle Rate Limiting: Be mindful of Freshsales API rate limits to avoid throttling. Implement retry logic with exponential backoff to manage API requests efficiently.
- Data Transformation and Standardization: Ensure that the data retrieved from Freshsales is transformed and standardized to fit your application's requirements. This will help maintain consistency across different systems.
Streamlining Integrations with Endgrate
While integrating with individual APIs like Freshsales can be rewarding, it can also be time-consuming and complex, especially when managing multiple integrations. Endgrate offers a unified API solution that simplifies the integration process by providing a single endpoint for multiple platforms, including Freshsales.
By leveraging Endgrate, you can save time and resources, allowing you to focus on your core product development. Whether you're building once for each use case or providing an intuitive integration experience for your customers, Endgrate can help streamline your integration efforts.
Explore how Endgrate can enhance your integration strategy by visiting Endgrate today.
Read More

Ready to get started?
