Using the Front API to Create Or Update Contacts in Javascript

Introduction to Front API for Contact Management
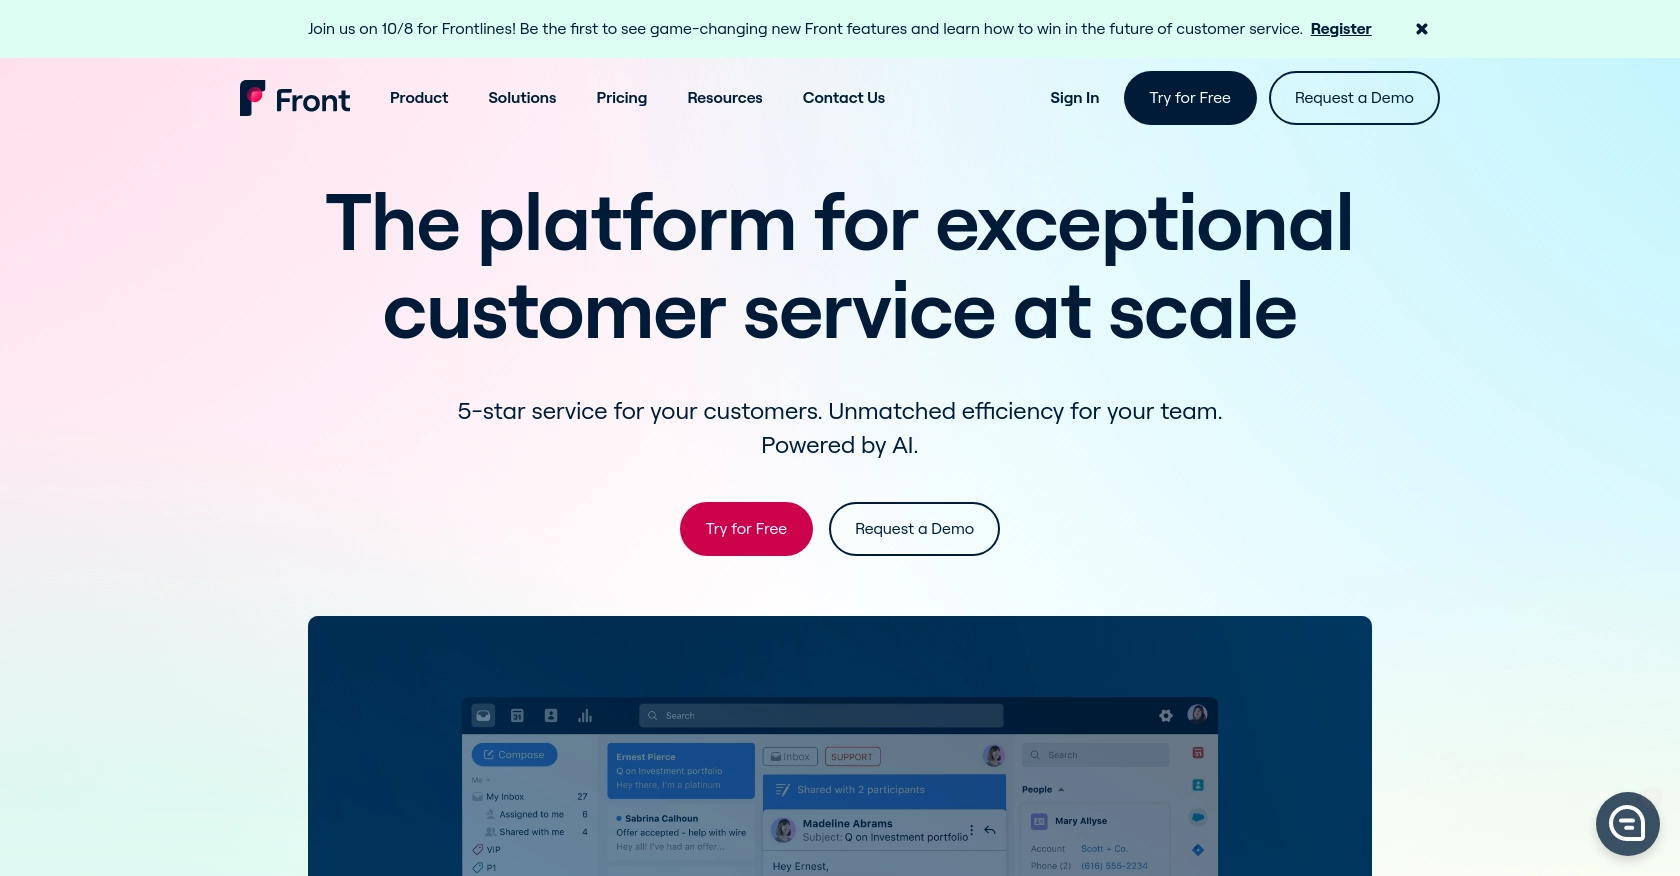
Front is a powerful communication platform that centralizes customer interactions across various channels, such as email, social media, and SMS. It provides businesses with a unified interface to manage conversations, ensuring seamless collaboration and efficient customer service.
For developers, integrating with Front's API offers the opportunity to automate and enhance contact management processes. By leveraging the Front API, you can create or update contact information programmatically, streamlining workflows and ensuring data consistency across platforms.
An example use case might involve syncing contact details from a CRM system to Front, allowing customer service teams to access up-to-date information without manual data entry. This integration not only saves time but also reduces the risk of errors, enhancing overall productivity.
Setting Up Your Front Developer Account for API Integration
Before you can start integrating with the Front API, you'll need to set up a developer account. This account provides access to a sandbox environment where you can safely test your API interactions without affecting live data.
Creating a Front Developer Account
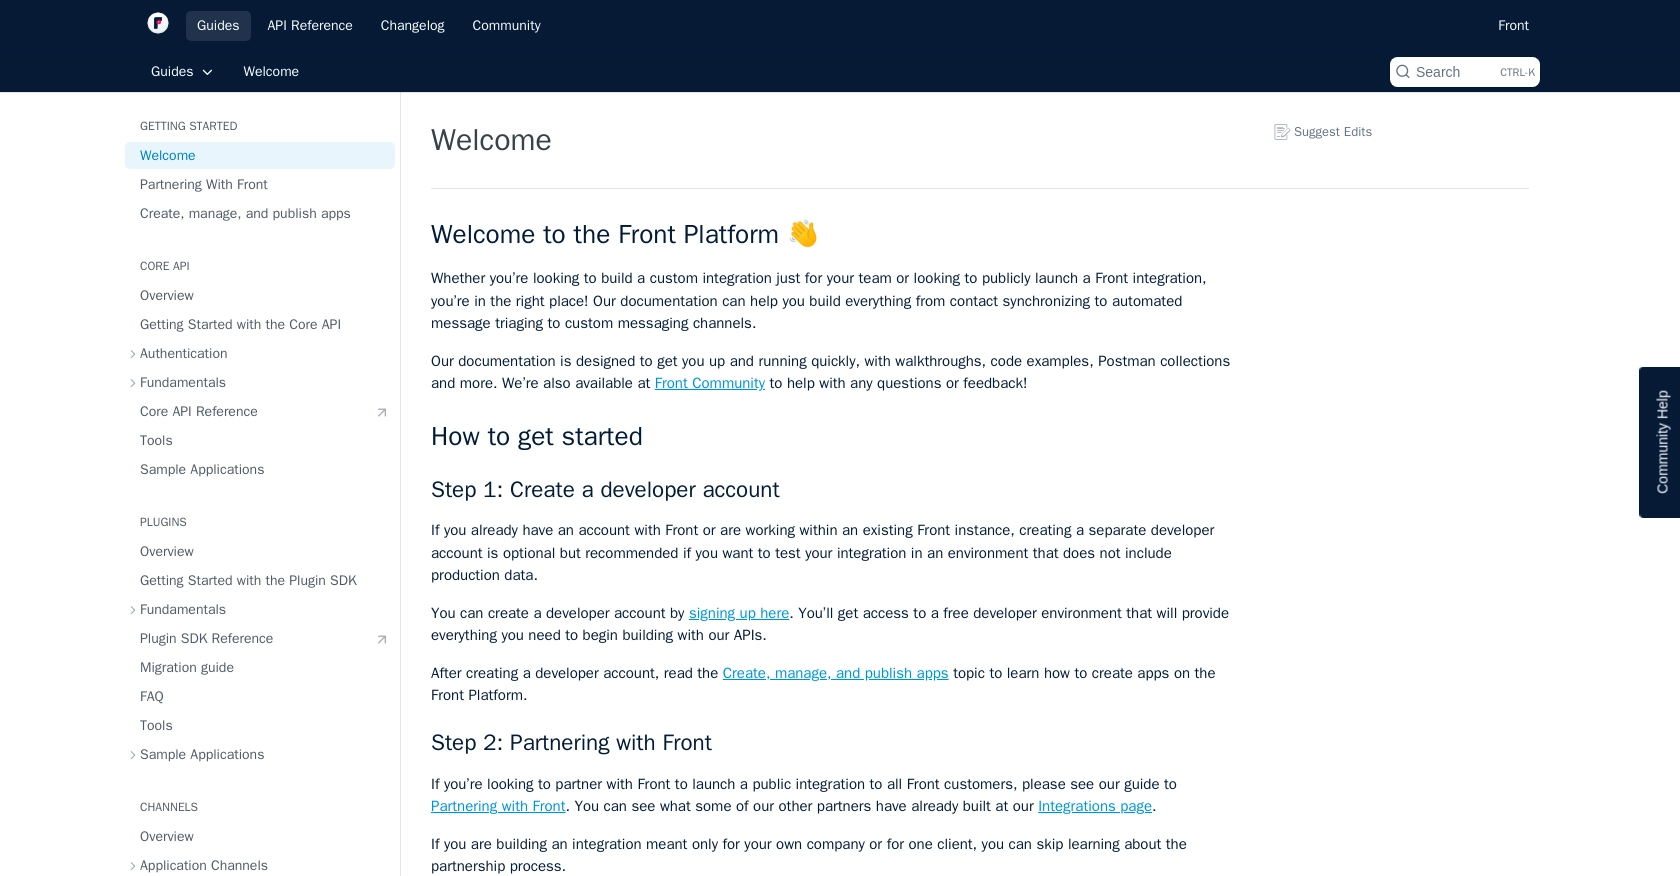
If you don't already have a Front account, you can sign up for a free developer account. This will give you access to a dedicated environment for testing and development purposes.
- Visit the Front Developer Portal.
- Click on the sign-up link to create a new developer account.
- Follow the on-screen instructions to complete the registration process.
Generating an API Token for Authentication
Front uses API tokens for authentication, allowing you to securely interact with their API. Here's how to generate an API token:
- Log in to your Front developer account.
- Navigate to the API settings section.
- Select the option to create a new API token.
- Choose the appropriate permissions for your token, ensuring it has access to contact management features.
- Save the generated token securely, as you'll need it for API requests.
For more detailed instructions, refer to the Front API documentation.

sbb-itb-96038d7
Making API Calls to Create or Update Contacts with Front API Using JavaScript
To interact with the Front API for creating or updating contacts, you'll need to use JavaScript to make HTTP requests. This section will guide you through the process, including setting up your environment and writing the necessary code.
Setting Up Your JavaScript Environment for Front API Integration
Before making API calls, ensure you have the following prerequisites:
- Node.js installed on your machine.
- A text editor or IDE for writing JavaScript code.
- The
axioslibrary for making HTTP requests. You can install it using npm:
npm install axiosCreating a Contact Using Front API in JavaScript
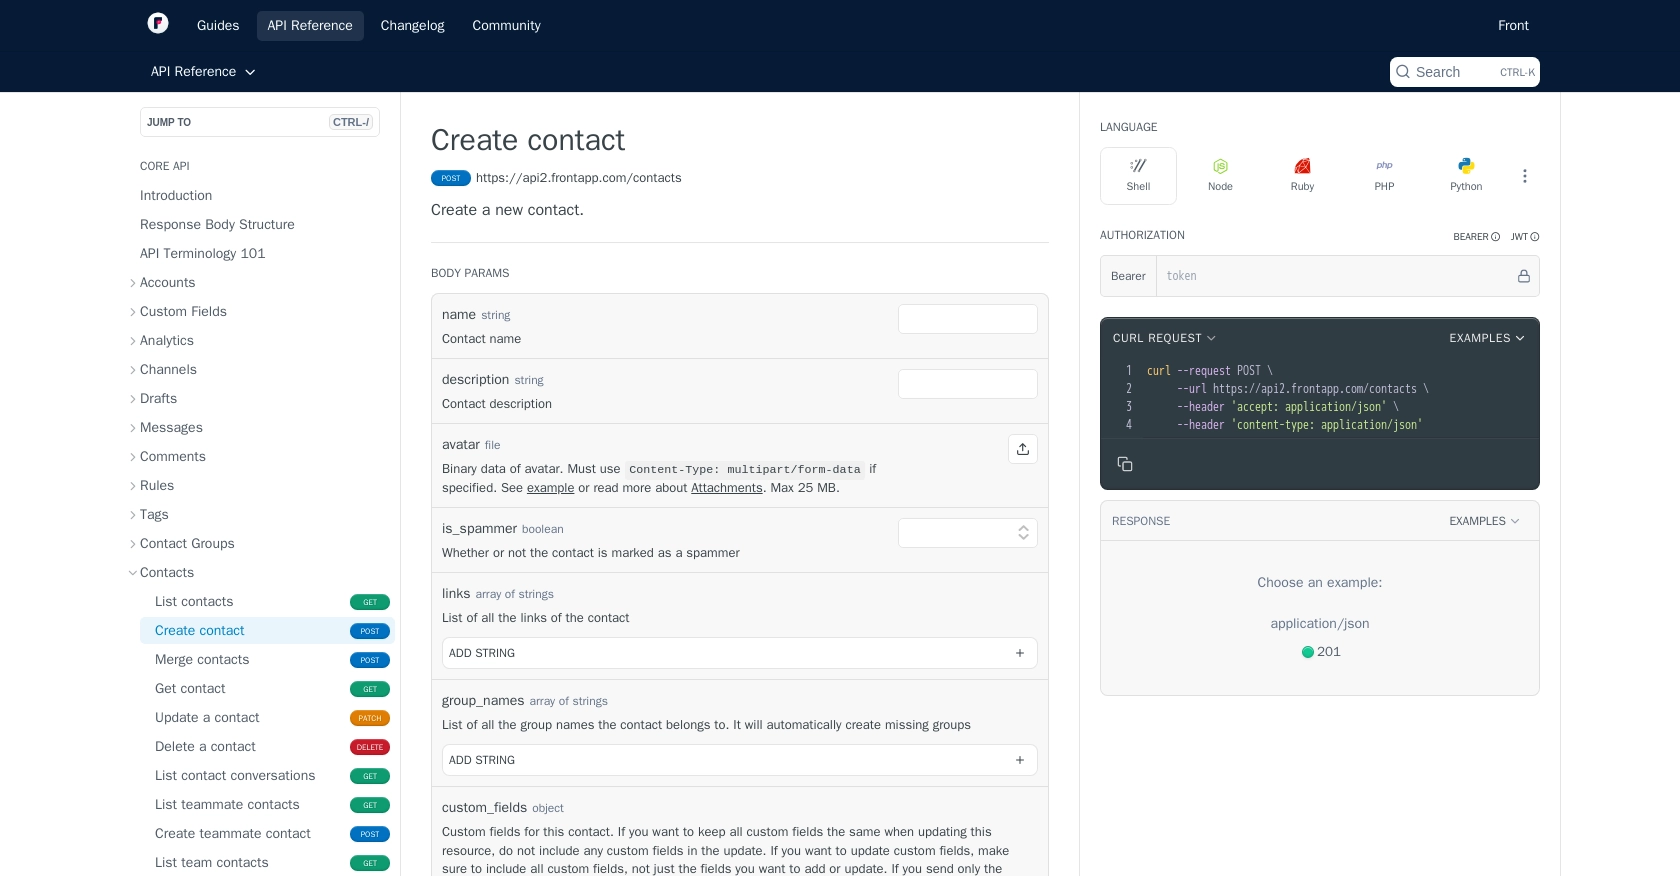
To create a contact in Front, you'll need to make a POST request to the API endpoint. Here's a sample code snippet:
const axios = require('axios');

const createContact = async () => {
    const url = 'https://api2.frontapp.com/contacts';
    const token = 'YOUR_API_TOKEN'; // Replace with your API token

    const contactData = {
        name: 'John Doe',
        description: 'Sample contact for demonstration purposes',
        handles: [
            {
                source: 'email',
                handle: 'john.doe@example.com'
            }
        ]
    };

    try {
        const response = await axios.post(url, contactData, {
            headers: {
                'Authorization': `Bearer ${token}`,
                'Content-Type': 'application/json'
            }
        });
        console.log('Contact created:', response.data);
    } catch (error) {
        console.error('Error creating contact:', error.response.data);
    }
};

createContact();
Replace YOUR_API_TOKEN with the API token you generated earlier. This code sends a POST request to create a new contact with the specified details.
Updating a Contact Using Front API in JavaScript
To update an existing contact, you'll need to make a PATCH request. Here's how you can do it:
const updateContact = async (contactId) => {
    const url = `https://api2.frontapp.com/contacts/${contactId}`;
    const token = 'YOUR_API_TOKEN'; // Replace with your API token

    const updateData = {
        description: 'Updated description for the contact'
    };

    try {
        const response = await axios.patch(url, updateData, {
            headers: {
                'Authorization': `Bearer ${token}`,
                'Content-Type': 'application/json'
            }
        });
        console.log('Contact updated:', response.status);
    } catch (error) {
        console.error('Error updating contact:', error.response.data);
    }
};

updateContact('contact_id_here');
Replace contact_id_here with the ID of the contact you wish to update. This code sends a PATCH request to update the contact's description.
Verifying API Requests and Handling Errors
After making API calls, verify the success of your requests by checking the response status and data. If a request fails, handle errors gracefully by logging the error details and taking appropriate action.
For more information on error codes and handling, refer to the Front API documentation.
Checking Results in Front Sandbox
To confirm that your API requests have succeeded, log in to your Front sandbox account and check the contacts section. You should see the newly created or updated contact details reflected there.

Conclusion: Best Practices for Front API Integration in JavaScript
Integrating with the Front API using JavaScript offers a powerful way to automate contact management and streamline workflows. By following best practices, you can ensure a robust and efficient integration process.
Securely Storing API Tokens and Credentials
Always store your API tokens securely. Avoid hardcoding them in your source code. Instead, use environment variables or secure vaults to manage sensitive information. This practice helps prevent unauthorized access and protects your data.
Handling Front API Rate Limits
Front API enforces rate limits to ensure platform stability. The standard rate limit is 50 requests per minute, but it can vary based on your plan. Monitor the X-RateLimit-Remaining header in API responses to manage your request rate effectively. If you exceed the limit, handle the 429 Too Many Requests error by implementing a retry mechanism with exponential backoff.
For more details, refer to the Front API rate limiting documentation.
Transforming and Standardizing Data Fields
Ensure data consistency by transforming and standardizing fields before sending them to the Front API. This practice minimizes errors and ensures that data is correctly formatted and aligned with Front's requirements.
Leveraging Endgrate for Seamless Integrations
Consider using Endgrate to simplify your integration process. With Endgrate, you can build once for each use case and connect to multiple platforms through a single API endpoint. This approach saves time and resources, allowing you to focus on your core product development.
Explore how Endgrate can enhance your integration experience by visiting Endgrate.
By following these best practices, you can create efficient and reliable integrations with the Front API, enhancing your application's capabilities and improving overall productivity.
Read More
- https://endgrate.com/provider/front
- https://dev.frontapp.com/docs/welcome
- https://dev.frontapp.com/docs/core-api-getting-started
- https://dev.frontapp.com/docs/oauth
- https://dev.frontapp.com/docs/rate-limiting
- https://dev.frontapp.com/docs/pagination
- https://dev.frontapp.com/reference/create-contact
- https://dev.frontapp.com/reference/update-a-contact
Ready to get started?
