Using the Gmail API to Send Messages (with Javascript examples)
Introduction to Gmail API for Sending Emails
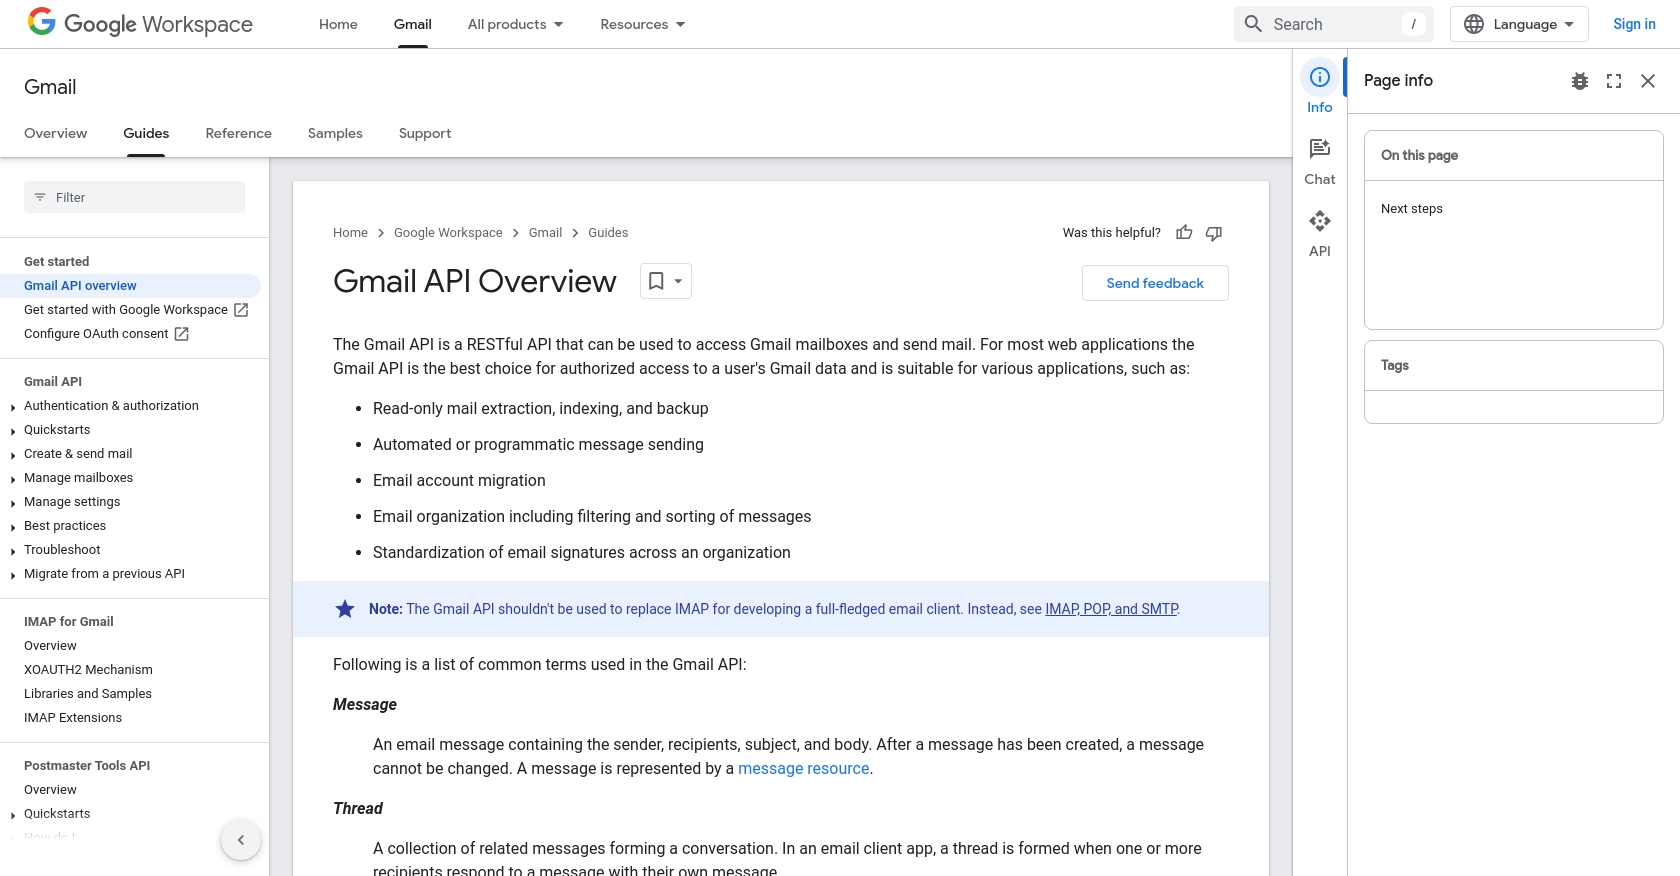
The Gmail API is a powerful tool that allows developers to access and interact with Gmail mailboxes programmatically. It provides a RESTful interface for sending emails, managing drafts, and organizing messages. This makes it an ideal choice for developers looking to automate email-related tasks within their applications.
Integrating with the Gmail API can significantly enhance the functionality of your application by enabling automated email sending. For example, a developer might use the Gmail API to send personalized email notifications to users based on specific triggers within a web application, thereby improving user engagement and communication efficiency.
This article will guide you through the process of using JavaScript to send emails via the Gmail API. You'll learn how to set up the necessary authentication, create email content, and execute API calls to send messages seamlessly.
Setting Up Your Gmail API Test Environment
Before you can start sending emails using the Gmail API, you'll need to set up a Google Cloud project and configure OAuth 2.0 authentication. This setup allows your application to securely access Gmail on behalf of users. Follow these steps to get started:
Create a Google Cloud Project for Gmail API Access
- Visit the Google Cloud Console and sign in with your Google account.
- Navigate to the IAM & Admin section and select Create a Project.
- Enter a descriptive name for your project and click Create.
Enable the Gmail API in Your Project
- In the Google Cloud Console, go to APIs & Services and select Library.
- Search for "Gmail API" and click on it.
- Click the Enable button to activate the API for your project.
Configure OAuth 2.0 Consent Screen for Gmail API
- In the Google Cloud Console, navigate to APIs & Services and select OAuth consent screen.
- Choose the user type that best suits your application and click Create.
- Fill out the required fields, such as application name and support email, then click Save and Continue.
Create OAuth 2.0 Credentials for Gmail API
- Go to APIs & Services and select Credentials.
- Click Create Credentials and choose OAuth client ID.
- Select Web application as the application type.
- Enter a name for your OAuth client and add your authorized redirect URIs.
- Click Create to generate your client ID and client secret.
Make sure to securely store your client ID and client secret, as you will need them to authenticate API requests.
For more detailed instructions, refer to the official Google documentation: Create a Google Cloud Project, Enable Google Workspace APIs, and Configure OAuth Consent.
sbb-itb-96038d7
Making API Calls to Send Emails with Gmail API Using JavaScript
Now that you have set up your Gmail API environment, it's time to dive into making actual API calls to send emails using JavaScript. This section will guide you through the necessary steps, including setting up your development environment, writing the code to create and send emails, and handling potential errors.
Setting Up Your JavaScript Environment for Gmail API
Before you start coding, ensure you have the following prerequisites installed on your machine:
- Node.js (version 14 or later)
- NPM (Node Package Manager)
Once you have these installed, create a new project directory and initialize it with the following command:
npm init -yNext, install the required dependencies:
npm install googleapis nodemailerWriting JavaScript Code to Send Emails Using Gmail API
With your environment set up, you can now write the JavaScript code to send emails. Create a new file named sendEmail.js and add the following code:
const { google } = require('googleapis');
const nodemailer = require('nodemailer');

// Load OAuth2 client credentials
const CLIENT_ID = 'Your_Client_ID';
const CLIENT_SECRET = 'Your_Client_Secret';
const REDIRECT_URI = 'Your_Redirect_URI';
const REFRESH_TOKEN = 'Your_Refresh_Token';

const oauth2Client = new google.auth.OAuth2(
  CLIENT_ID,
  CLIENT_SECRET,
  REDIRECT_URI
);

oauth2Client.setCredentials({ refresh_token: REFRESH_TOKEN });

async function sendEmail() {
  try {
    const accessToken = await oauth2Client.getAccessToken();

    const transport = nodemailer.createTransport({
      service: 'gmail',
      auth: {
        type: 'OAuth2',
        user: 'your-email@gmail.com',
        clientId: CLIENT_ID,
        clientSecret: CLIENT_SECRET,
        refreshToken: REFRESH_TOKEN,
        accessToken: accessToken.token,
      },
    });

    const mailOptions = {
      from: 'SENDER NAME <your-email@gmail.com>',
      to: 'recipient@example.com',
      subject: 'Test Email from Gmail API',
      text: 'Hello from Gmail API!',
      html: '<h1>Hello from Gmail API!</h1>',
    };

    const result = await transport.sendMail(mailOptions);
    console.log('Email sent successfully:', result);
  } catch (error) {
    console.error('Error sending email:', error);
  }
}

sendEmail();
Replace Your_Client_ID, Your_Client_Secret, Your_Redirect_URI, and Your_Refresh_Token with your actual credentials.
Running the JavaScript Code to Send Emails
To execute the code, run the following command in your terminal:
node sendEmail.jsIf everything is set up correctly, you should see a confirmation message indicating that the email was sent successfully.
Handling Errors and Verifying Email Delivery
When making API calls, it's crucial to handle potential errors gracefully. The code above includes a try-catch block to catch and log any errors that occur during the email sending process.
To verify that the email was sent, check the recipient's inbox. If the email does not appear, review the error messages in the console for troubleshooting.
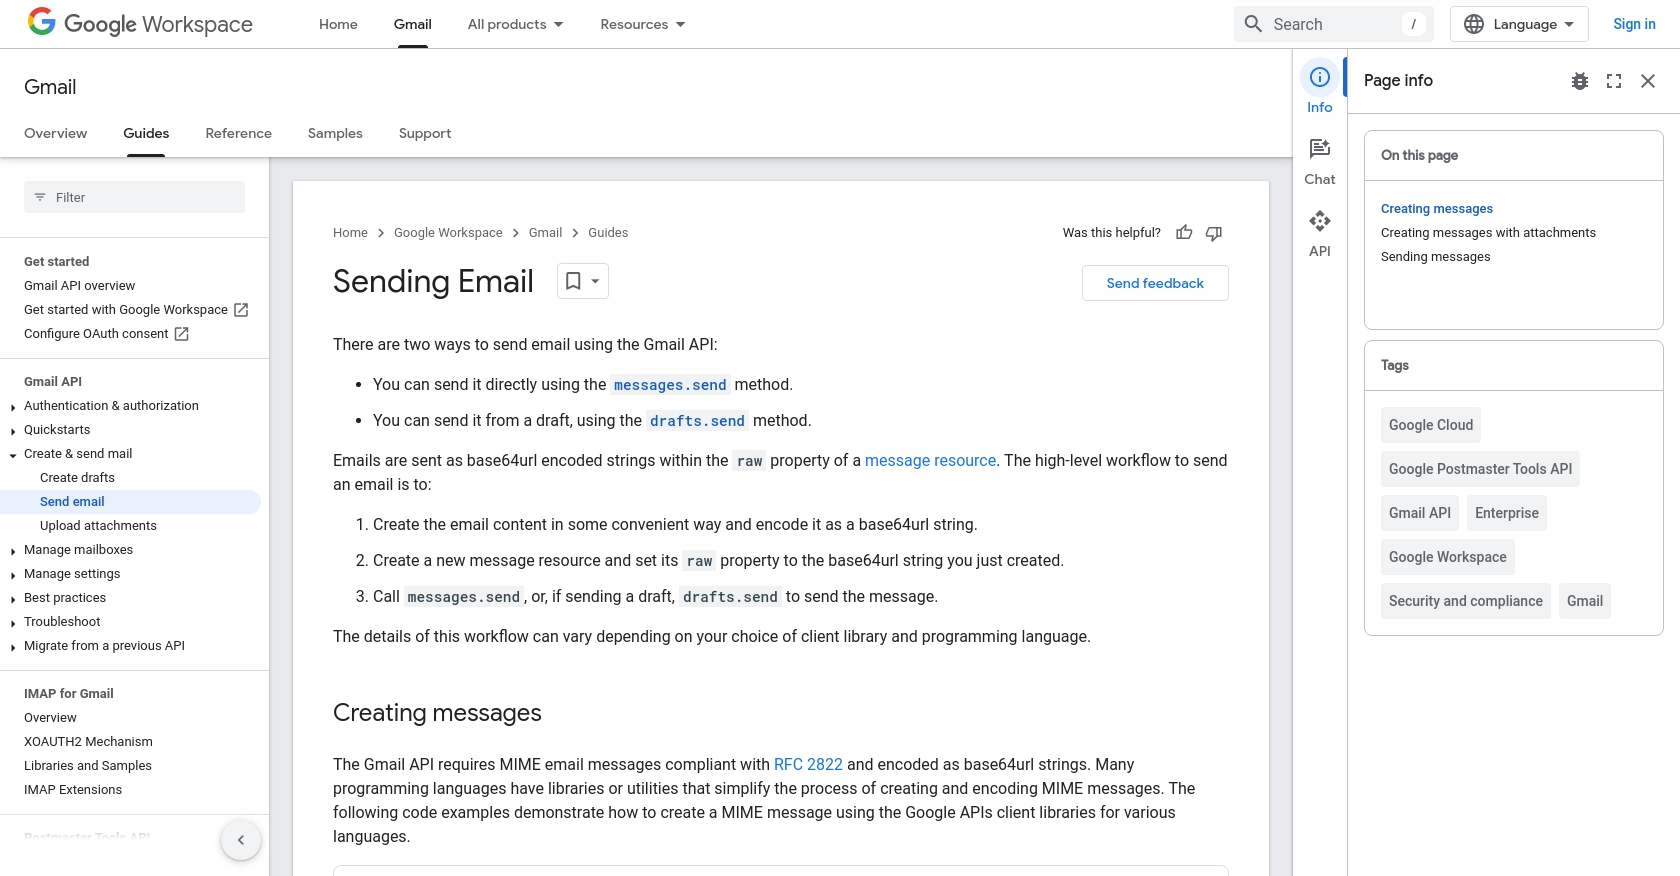
For more detailed information on error codes and handling, refer to the official Gmail API documentation: Sending Email with Gmail API.
Conclusion and Best Practices for Using Gmail API to Send Emails with JavaScript
Integrating the Gmail API into your applications can significantly enhance your ability to automate and manage email communications. By following the steps outlined in this article, you can efficiently set up your environment, authenticate using OAuth 2.0, and send emails programmatically using JavaScript.
Best Practices for Secure and Efficient Gmail API Integration
- Securely Store Credentials: Always keep your client ID, client secret, and refresh token secure. Avoid hardcoding them in your source code and consider using environment variables or a secure vault.
- Handle Rate Limiting: Be mindful of Gmail API's rate limits to avoid disruptions. Implement exponential backoff strategies to handle rate limit errors gracefully.
- Optimize Data Handling: When sending emails, ensure that your data is properly encoded and sanitized to prevent security vulnerabilities.
- Monitor API Usage: Regularly monitor your API usage in the Google Cloud Console to ensure compliance with usage limits and to identify any unusual activity.
Enhance Your Integration Capabilities with Endgrate
While integrating with the Gmail API can be straightforward, managing multiple integrations across different platforms can become complex and time-consuming. Endgrate offers a unified API solution that simplifies the integration process, allowing you to focus on your core product development.
With Endgrate, you can build once for each use case and leverage a single API endpoint to connect with multiple platforms, including Gmail. This not only saves time and resources but also provides an intuitive integration experience for your customers.
Explore how Endgrate can streamline your integration efforts by visiting Endgrate and discover the benefits of a unified integration platform.
Read More
- https://endgrate.com/provider/gmail
- https://developers.google.com/gmail/api/guides
- https://developers.google.com/gmail/api/auth/scopes
- https://developers.google.com/workspace/guides/create-project
- https://developers.google.com/workspace/guides/enable-apis
- https://developers.google.com/workspace/guides/configure-oauth-consent
- https://developers.google.com/workspace/guides/create-credentials
- https://developers.google.com/gmail/api/guides/sending

Ready to get started?
