Using the Xero API to Get Items (with PHP examples)

Introduction to Xero API Integration
Xero is a powerful cloud-based accounting software designed to simplify financial management for small to medium-sized businesses. It offers a wide range of features, including invoicing, bank reconciliation, inventory management, and financial reporting, making it a popular choice for businesses looking to streamline their accounting processes.
Integrating with Xero's API allows developers to access and manage financial data programmatically, enabling automation and enhanced functionality within their applications. For example, a developer might use the Xero API to retrieve a list of inventory items, which can then be used to update stock levels in an e-commerce platform, ensuring accurate and up-to-date inventory management.
Setting Up Your Xero Test/Sandbox Account for API Integration
Before you can start interacting with the Xero API, you'll need to set up a test or sandbox account. This will allow you to safely experiment with API calls without affecting live data. Xero provides a demo company that you can use for testing purposes.
Creating a Xero Account and Accessing the Demo Company
If you don't already have a Xero account, you'll need to sign up for one. Visit the Xero sign-up page and follow the instructions to create your account. Once your account is set up, you can access the demo company for testing.
- Log in to your Xero account.
- Click on your organization name in the top left corner.
- Select "My Xero" from the dropdown menu.
- Click on "Try the Demo Company" to access the sandbox environment.
Setting Up OAuth 2.0 Authentication for Xero API
Xero uses OAuth 2.0 for authentication, which requires you to create an app to obtain the necessary credentials. Follow these steps to set up OAuth 2.0:
- Navigate to the Xero Developer Portal.
- Click on "New App" and fill in the required details, such as the app name and company URL.
- Set the redirect URI to a valid endpoint where Xero will send the authorization code.
- Once the app is created, note down the Client ID and Client Secret, as you'll need these for authentication.
Authorizing Your App and Obtaining Access Tokens
With your app set up, you can now authorize it to access the Xero API:
- Direct users to the Xero authorization URL, including your Client ID and redirect URI.
- Upon successful login, Xero will redirect to your specified URI with an authorization code.
- Exchange this authorization code for an access token by making a POST request to Xero's token endpoint.
$client_id = 'Your_Client_ID';
$client_secret = 'Your_Client_Secret';
$redirect_uri = 'Your_Redirect_URI';
$authorization_code = 'Authorization_Code_From_Xero';

$ch = curl_init();

curl_setopt($ch, CURLOPT_URL, 'https://identity.xero.com/connect/token');
curl_setopt($ch, CURLOPT_RETURNTRANSFER, 1);
curl_setopt($ch, CURLOPT_POST, 1);
curl_setopt($ch, CURLOPT_POSTFIELDS, http_build_query([
    'grant_type' => 'authorization_code',
    'code' => $authorization_code,
    'redirect_uri' => $redirect_uri,
    'client_id' => $client_id,
    'client_secret' => $client_secret
]));

$response = curl_exec($ch);
curl_close($ch);

$token_data = json_decode($response, true);
$access_token = $token_data['access_token'];
Ensure you securely store the access token, as it will be used to authenticate your API requests. For more details on OAuth 2.0 authentication, refer to the Xero OAuth 2.0 documentation.

sbb-itb-96038d7
Making API Calls to Retrieve Items from Xero Using PHP
Now that you have set up your Xero account and obtained the necessary OAuth 2.0 credentials, you can proceed to make API calls to retrieve items from Xero. This section will guide you through the process of using PHP to interact with the Xero API and fetch inventory items.
Prerequisites for PHP and Xero API Integration
Before you begin, ensure that you have the following prerequisites installed on your development environment:
- PHP 7.4 or higher
- cURL extension for PHP
- Composer for managing dependencies
Additionally, you will need to install the Xero PHP SDK to simplify interactions with the Xero API. You can install it using Composer with the following command:
composer require calcinai/xero-php
Fetching Items from Xero API
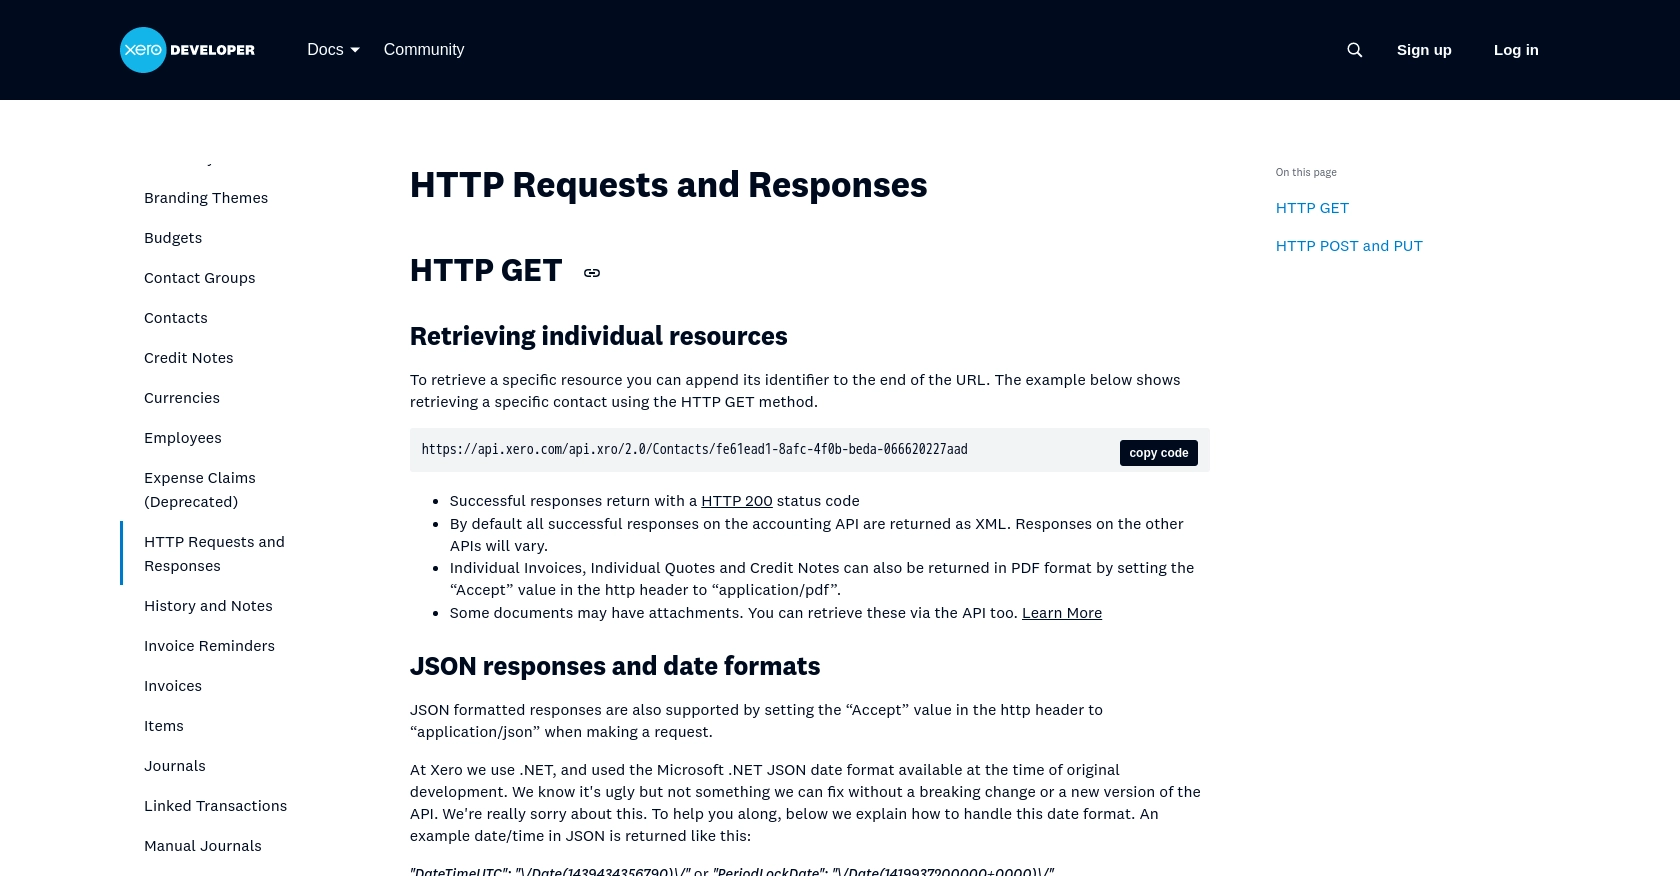
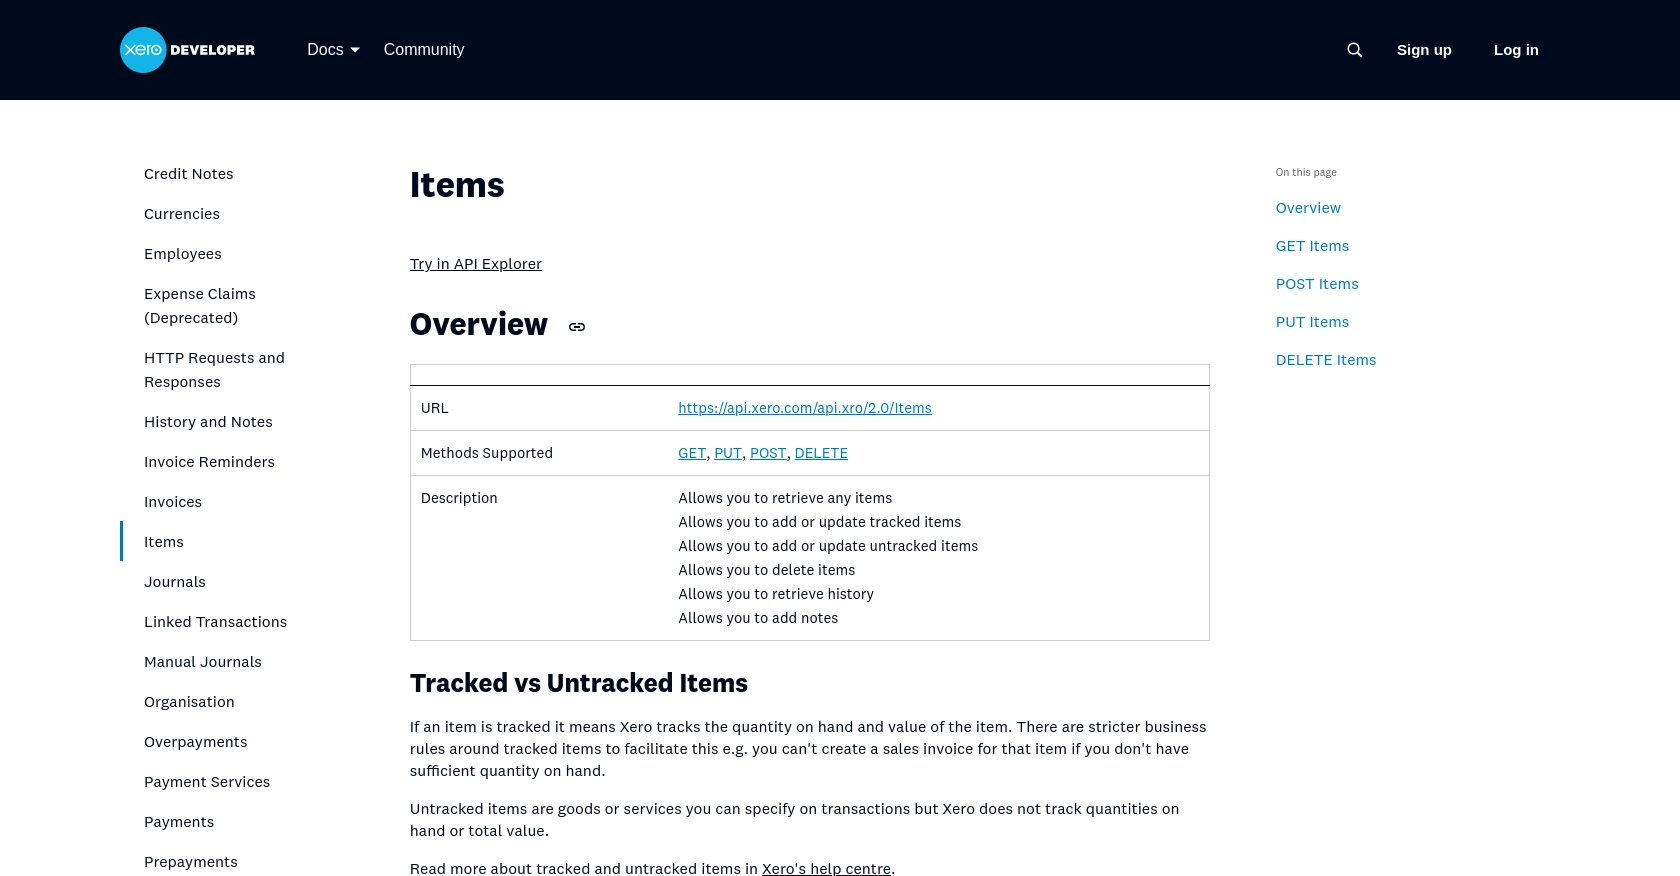
To retrieve items from Xero, you will need to make a GET request to the Xero Accounting API's items endpoint. Below is a sample PHP script demonstrating how to achieve this:
require 'vendor/autoload.php';

use XeroPHP\Application\PrivateApplication;

// Set up the Xero application with your credentials
$config = [
    'oauth' => [
        'callback'        => 'Your_Redirect_URI',
        'consumer_key'    => 'Your_Client_ID',
        'consumer_secret' => 'Your_Client_Secret',
        'rsa_private_key' => 'file://path/to/your/privatekey.pem',
    ],
];

$xero = new PrivateApplication($config);

try {
    // Fetch items from Xero
    $items = $xero->load('Accounting\\Item')->execute();

    // Display the retrieved items
    foreach ($items as $item) {
        echo 'Item Name: ' . $item->getName() . "\n";
        echo 'Item Code: ' . $item->getCode() . "\n";
        echo 'Item Description: ' . $item->getDescription() . "\n\n";
    }
} catch (Exception $e) {
    echo 'Error: ' . $e->getMessage();
}
In this script, we first include the Xero PHP SDK and configure the application with your OAuth credentials. We then use the load method to fetch items from the Xero API and iterate over the results to display item details.
Verifying API Call Success and Handling Errors
After running the script, you should see a list of items printed in your terminal. To verify the success of the API call, you can cross-check the output with the items listed in your Xero demo company.
In case of errors, the script will catch exceptions and display error messages. Common issues might include incorrect credentials or network problems. For detailed error codes and handling, refer to the Xero API documentation.

Conclusion and Best Practices for Xero API Integration
Integrating with the Xero API using PHP provides a powerful way to automate and enhance your financial management processes. By following the steps outlined in this guide, you can efficiently retrieve and manage inventory items, ensuring your application remains synchronized with your accounting data.
Best Practices for Secure and Efficient Xero API Usage
- Secure Storage of Credentials: Always store your OAuth credentials securely. Consider using environment variables or a secure vault to manage sensitive information like Client ID and Client Secret.
- Handle Rate Limiting: Xero imposes rate limits on API requests. Be sure to implement error handling for HTTP status codes related to rate limits and consider implementing exponential backoff strategies. For more details, refer to the Xero API rate limits documentation.
- Data Transformation: Ensure that data retrieved from Xero is transformed and standardized to fit your application's requirements. This will help maintain consistency and accuracy across different systems.
Streamline Your Integrations with Endgrate
While building integrations with Xero can be rewarding, it can also be time-consuming and complex, especially if you need to connect with multiple platforms. Endgrate offers a unified API solution that simplifies the integration process, allowing you to focus on your core product. By leveraging Endgrate, you can build once for each use case and enjoy an intuitive integration experience for your customers.
Explore how Endgrate can save you time and resources by visiting Endgrate's website and discover the benefits of outsourcing your integration needs.
Read More
- https://endgrate.com/provider/xero
- https://developer.xero.com/documentation/api/accounting/requests-and-responses
- https://developer.xero.com/documentation/guides/oauth2/limits/
- https://developer.xero.com/documentation/guides/oauth2/overview
- https://developer.xero.com/documentation/guides/oauth2/scopes
- https://developer.xero.com/documentation/guides/oauth2/auth-flow
- https://developer.xero.com/documentation/guides/oauth2/tenants
- https://developer.xero.com/documentation/api/accounting/items
Ready to get started?
