Using the Hubspot API to Create or Update Companies (with Javascript examples)
Introduction to HubSpot API for Company Management
HubSpot is a powerful CRM platform that offers a suite of tools to help businesses manage their marketing, sales, and customer service efforts. With its robust API, developers can seamlessly integrate HubSpot's capabilities into their own applications, enhancing functionality and improving user experience.
Connecting with the HubSpot API allows developers to efficiently manage company data, enabling tasks such as creating or updating company records. For example, a developer might use the HubSpot API to automatically update company information from an external database, ensuring that the CRM data remains accurate and up-to-date.
This article will guide you through using JavaScript to interact with the HubSpot API for creating or updating company records, providing practical examples and insights to streamline your integration process.
Setting Up Your HubSpot Developer Account for API Integration
Before you can start creating or updating companies using the HubSpot API, you'll need to set up a developer account and create a private app. This will allow you to authenticate your API requests securely using OAuth, ensuring that your integration is both safe and efficient.
Step-by-Step Guide to Creating a HubSpot Developer Account
-
Sign Up for a HubSpot Developer Account:
Visit the HubSpot Developer Portal and sign up for a free developer account. This account will give you access to HubSpot's API documentation and tools.
-
Create a Test Account:
Once your developer account is set up, create a test account to experiment with the API without affecting live data. This sandbox environment is ideal for testing your integration.
Creating a HubSpot Private App for OAuth Authentication
-
Access the Private Apps Section:
In your HubSpot account, navigate to Settings > Integrations > Private Apps. Here, you can create a new private app that will be used for API authentication.
-
Create a New Private App:
Click on Create a private app and fill in the necessary details such as the app name and description. This app will generate the OAuth tokens needed for API calls.
-
Configure Scopes:
Under the Scopes section, ensure you select the appropriate scopes for managing companies. This includes
crm.objects.companies.readandcrm.objects.companies.writeto allow reading and writing company data. -
Generate OAuth Tokens:
After configuring the app, click on Create app. You'll receive an access token, which you should store securely. This token will be used in the authorization header of your API requests.
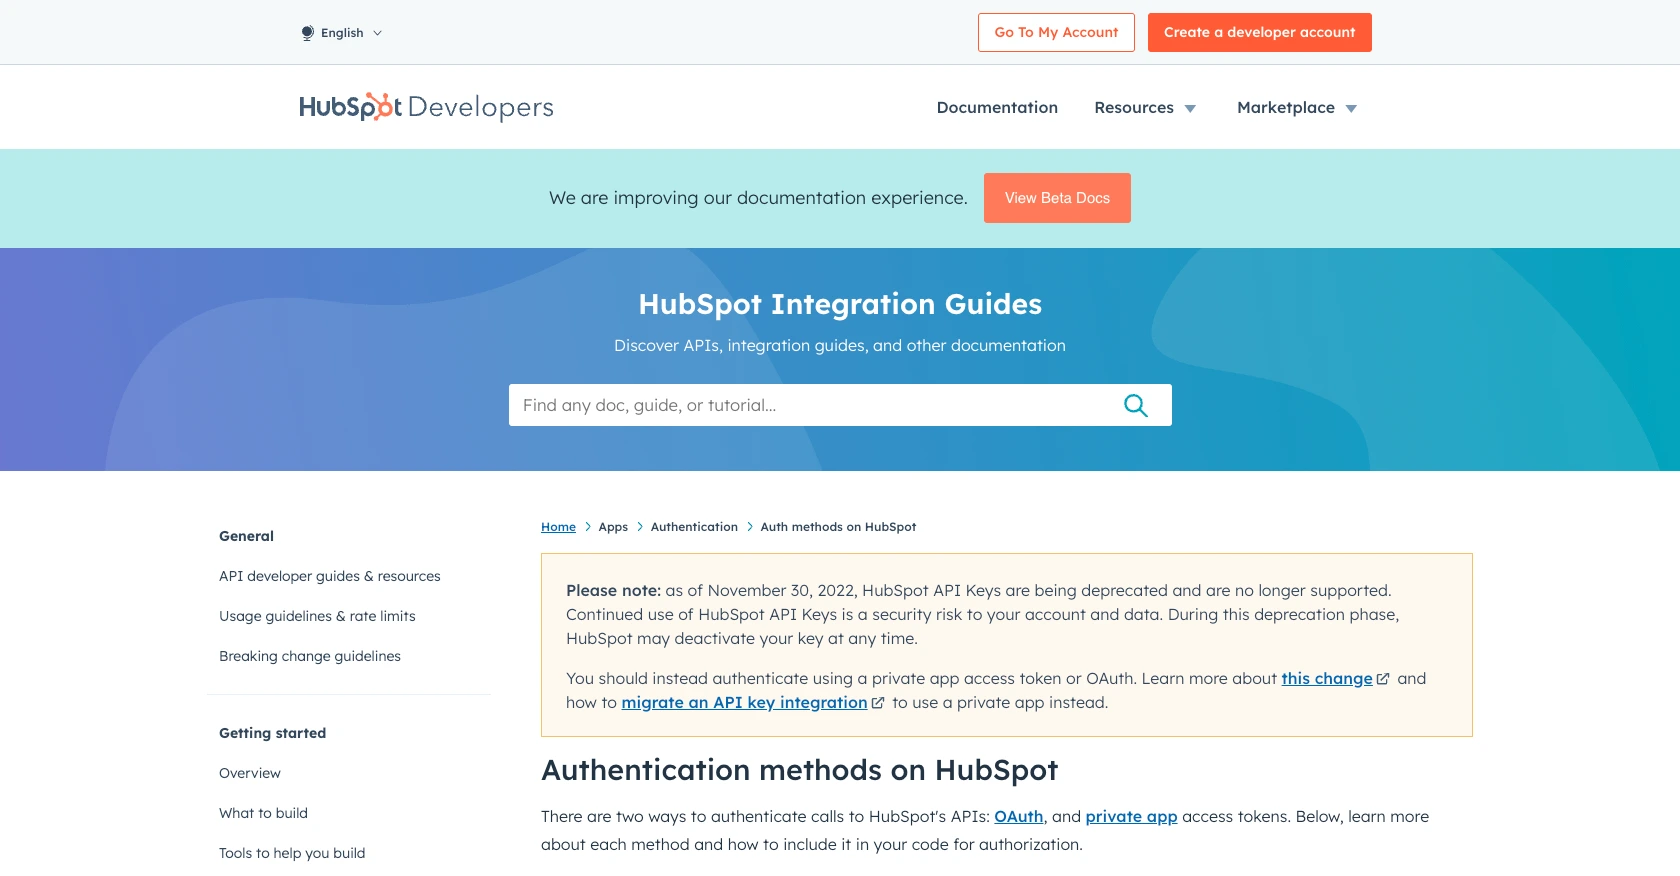
With your HubSpot developer account and private app set up, you're ready to start integrating with the HubSpot API using JavaScript. This setup ensures that your API interactions are secure and compliant with HubSpot's authentication protocols. For more details on OAuth authentication, refer to the HubSpot Authentication Documentation.
sbb-itb-96038d7
Executing HubSpot API Calls for Company Management Using JavaScript
To effectively manage company records in HubSpot using JavaScript, you'll need to make API calls to create or update company data. This section will guide you through the necessary steps, including setting up your environment, writing the code, and handling responses.
Setting Up Your JavaScript Environment for HubSpot API Integration
Before making API calls, ensure your development environment is ready. You'll need Node.js installed on your machine, along with the axios library for making HTTP requests.
-
Install Node.js:
Download and install Node.js from the official website. This will also install npm, the Node package manager.
-
Install Axios:
Open your terminal and run the following command to install Axios:
npm install axios
Writing JavaScript Code to Create or Update Companies in HubSpot
With your environment set up, you can now write JavaScript code to interact with the HubSpot API. Below is an example of how to create or update a company record.
const axios = require('axios');
// Set your HubSpot API endpoint and access token
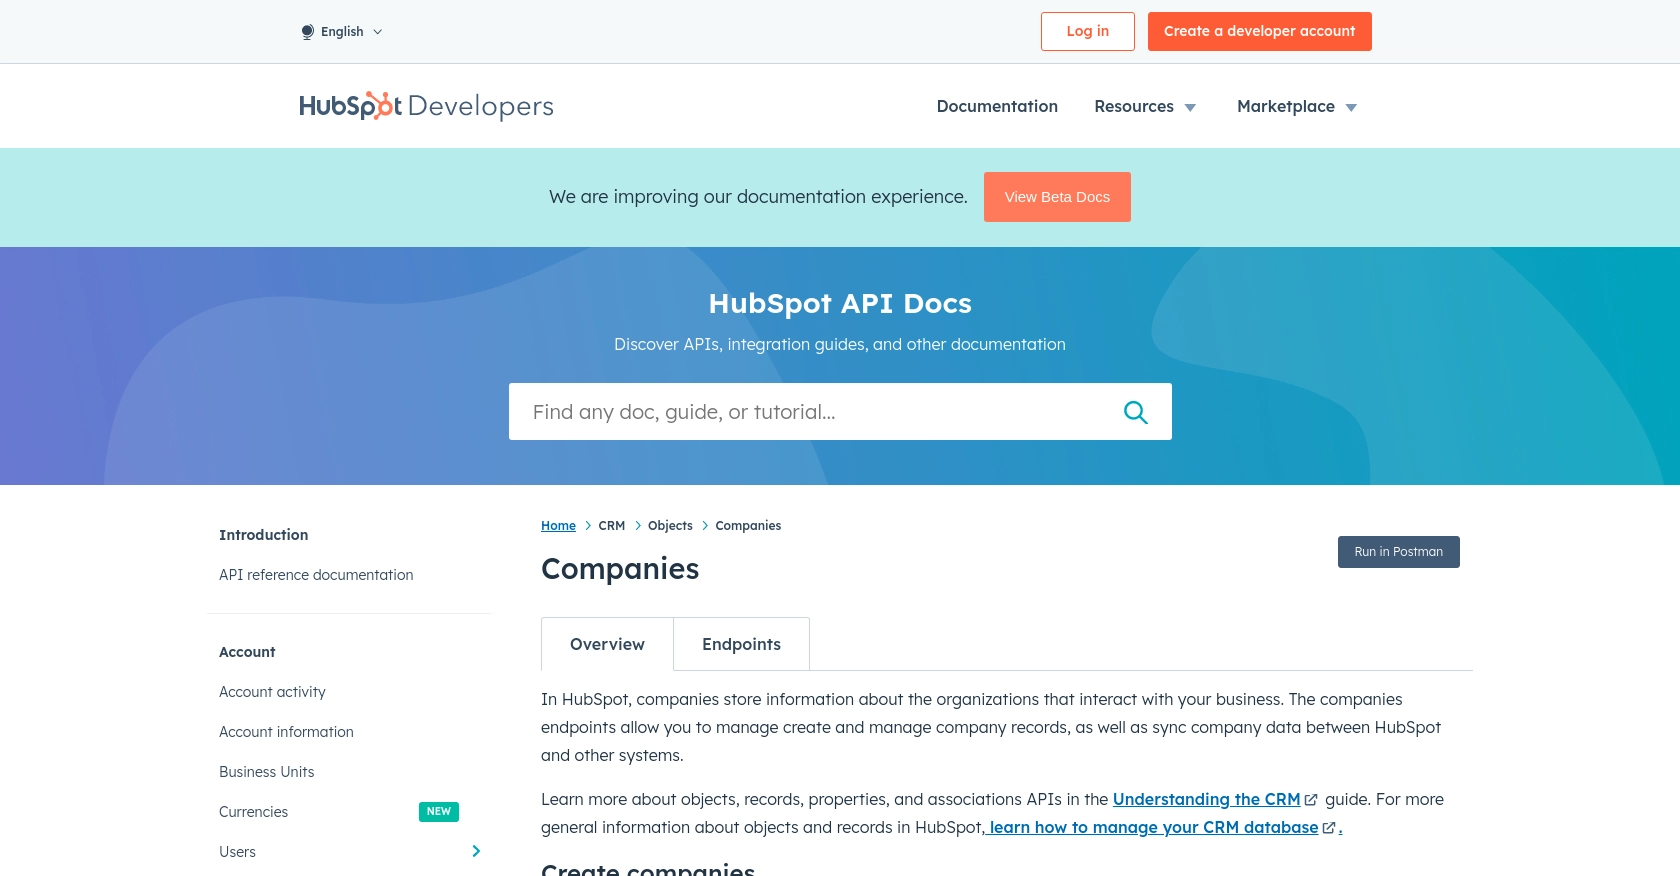
const endpoint = 'https://api.hubapi.com/crm/v3/objects/companies';
const accessToken = 'Your_Access_Token';
// Function to create or update a company
async function createOrUpdateCompany(companyData) {
try {
const response = await axios.post(endpoint, {
properties: companyData
}, {
headers: {
'Authorization': `Bearer ${accessToken}`,
'Content-Type': 'application/json'
}
});
console.log('Company created/updated successfully:', response.data);
} catch (error) {
console.error('Error creating/updating company:', error.response.data);
}
}
// Example company data
const companyData = {
name: 'Example Company',
domain: 'example.com',
city: 'New York',
industry: 'Technology'
};
// Call the function
createOrUpdateCompany(companyData);
Replace Your_Access_Token with the OAuth token generated from your HubSpot private app. The companyData object contains the properties you want to set for the company.
Verifying API Call Success and Handling Errors
After executing the API call, you should verify its success by checking the response data. If the call is successful, the response will contain the details of the created or updated company. In case of errors, handle them gracefully by logging the error message and details.
Common error codes include:
- 400 Bad Request: The request was invalid. Check your data and try again.
- 401 Unauthorized: The access token is missing or invalid. Ensure your token is correct.
- 429 Too Many Requests: You've hit the rate limit. Wait and retry the request later.
For more information on error handling and rate limits, refer to the HubSpot API Usage Guidelines.
Best Practices for Using HubSpot API with JavaScript
When integrating with the HubSpot API to manage company records using JavaScript, it's essential to follow best practices to ensure a secure and efficient implementation. Here are some key recommendations:
- Securely Store Access Tokens: Always store your OAuth access tokens securely. Avoid hardcoding them in your source code. Consider using environment variables or secure vaults to manage sensitive information.
- Handle Rate Limiting: HubSpot's API has rate limits to prevent abuse. For OAuth apps, the limit is 100 requests every 10 seconds per HubSpot account. Implement logic to handle 429 errors by retrying requests after a delay. For more details, refer to the HubSpot API Usage Guidelines.
- Validate API Responses: Always check the response status and data to ensure your API calls are successful. Implement error handling to manage different error codes gracefully.
- Optimize Data Management: When creating or updating companies, ensure that your data is accurate and standardized. Use consistent naming conventions and formats for properties to maintain data integrity.
Streamlining Integration with Endgrate
While integrating with HubSpot's API can be straightforward, managing multiple integrations can become complex and time-consuming. This is where Endgrate can significantly enhance your development process.
Endgrate provides a unified API endpoint that simplifies integration with various platforms, including HubSpot. By using Endgrate, you can:
- Save Time and Resources: Focus on your core product development while Endgrate handles the complexities of integration.
- Build Once, Use Everywhere: Develop a single integration for each use case and apply it across multiple platforms effortlessly.
- Enhance Customer Experience: Offer your customers a seamless and intuitive integration experience with minimal effort.
Explore how Endgrate can streamline your integration efforts by visiting Endgrate's website and discover the benefits of a unified integration solution.
Read More
- https://endgrate.com/provider/hubspot
- https://developers.hubspot.com/docs/api/overview
- https://developers.hubspot.com/docs/api/intro-to-auth
- https://developers.hubspot.com/docs/api/usage-details
- https://developers.hubspot.com/docs/api/scopes
- https://developers.hubspot.com/docs/api/crm/companies
- https://developers.hubspot.com/docs/api/crm/properties

Ready to get started?
