Using the Hubspot API to Get Users (with Javascript examples)
Introduction to HubSpot API Integration
HubSpot is a comprehensive CRM platform that offers a wide range of tools to help businesses manage their marketing, sales, and customer service efforts. Known for its user-friendly interface and robust features, HubSpot is a popular choice for companies looking to streamline their operations and enhance customer engagement.
Developers often seek to integrate with HubSpot's API to access and manage user data efficiently. By leveraging the HubSpot API, developers can automate tasks such as retrieving user information, updating user profiles, and syncing data with external systems. For example, a developer might use the HubSpot API to fetch user details and synchronize them with an external workforce management tool, ensuring that user data is consistent across platforms.
This article will guide you through the process of using JavaScript to interact with the HubSpot API, specifically focusing on retrieving user information. You'll learn how to set up your environment, authenticate requests using OAuth, and execute API calls to manage user data effectively.
Setting Up Your HubSpot Developer Account for API Integration
Before you can start interacting with the HubSpot API using JavaScript, you'll need to set up a HubSpot developer account. This account will allow you to create and manage apps that can access HubSpot's API, enabling you to test and develop integrations seamlessly.
Creating a HubSpot Developer Account
If you don't already have a HubSpot developer account, follow these steps to create one:
- Visit the HubSpot Developer Portal.
- Click on "Create a developer account" and follow the on-screen instructions to complete the registration process.
- Once your account is set up, log in to access the developer dashboard.
Creating a HubSpot App for OAuth Authentication
To authenticate API requests, you'll need to create a HubSpot app. This app will provide you with the necessary credentials, such as the client ID and client secret, to authorize API calls using OAuth.
- In your HubSpot developer account, navigate to the "Apps" section.
- Click on "Create an app" and fill in the required details, such as the app name and description.
- Under the "Auth" tab, configure the OAuth settings. You'll need to specify the redirect URL, which is the URL where users will be redirected after they authorize your app.
- Save your app to generate the client ID and client secret. Keep these credentials secure, as they are essential for authenticating your API requests.
Configuring OAuth Scopes for HubSpot API Access
To ensure your app has the necessary permissions to access user data, you'll need to configure the appropriate OAuth scopes:
- In your app settings, navigate to the "Scopes" section.
- Select the scopes that your app requires. For accessing user data, you may need scopes such as
crm.objects.contacts.readandcrm.objects.contacts.write. - Save the changes to update your app's permissions.
Generating an OAuth Access Token
With your app configured, you can now generate an OAuth access token to authenticate your API requests:
- Direct users to the authorization URL, which includes your client ID and requested scopes.
- After users authorize your app, they will be redirected to the specified redirect URL with an authorization code.
- Exchange the authorization code for an access token by making a POST request to HubSpot's token endpoint, including your client ID, client secret, and redirect URL.
- Store the access token securely, as it will be used to authenticate your API calls.
For more detailed information on OAuth authentication, refer to the HubSpot Authentication Documentation.
sbb-itb-96038d7
Executing HubSpot API Calls with JavaScript
To interact with the HubSpot API using JavaScript, you'll need to set up your environment and ensure you have the necessary tools and libraries installed. This section will guide you through making API calls to retrieve user information from HubSpot.
Setting Up Your JavaScript Environment for HubSpot API
Before making API calls, ensure you have Node.js installed on your machine. Node.js allows you to run JavaScript code outside of a browser, making it ideal for server-side applications.
- Download and install Node.js from the official website.
- Initialize a new Node.js project by running
npm init -yin your terminal. - Install the Axios library, which simplifies making HTTP requests:
npm install axios.
Making a GET Request to Retrieve HubSpot Users
With your environment set up, you can now write a script to fetch user data from HubSpot. The following example demonstrates how to make a GET request to the HubSpot API using Axios.
const axios = require('axios');

// Set the API endpoint and headers
const endpoint = 'https://api.hubapi.com/crm/v3/objects/users';
const headers = {
    'Authorization': 'Bearer YOUR_ACCESS_TOKEN'
};

// Make a GET request to the API
axios.get(endpoint, { headers })
    .then(response => {
        // Parse and display user data
        const users = response.data.results;
        users.forEach(user => {
            console.log(`ID: ${user.id}, Created At: ${user.createdAt}`);
        });
    })
    .catch(error => {
        console.error('Error fetching users:', error.response.data);
    });
Replace YOUR_ACCESS_TOKEN with the OAuth access token you generated earlier. This script sends a GET request to the HubSpot API to retrieve user information and logs the user IDs and creation dates to the console.
Handling API Response and Errors
After executing the API call, it's crucial to handle the response and any potential errors. The example above includes a catch block to log errors, which can help you diagnose issues such as authentication failures or rate limit exceedances.
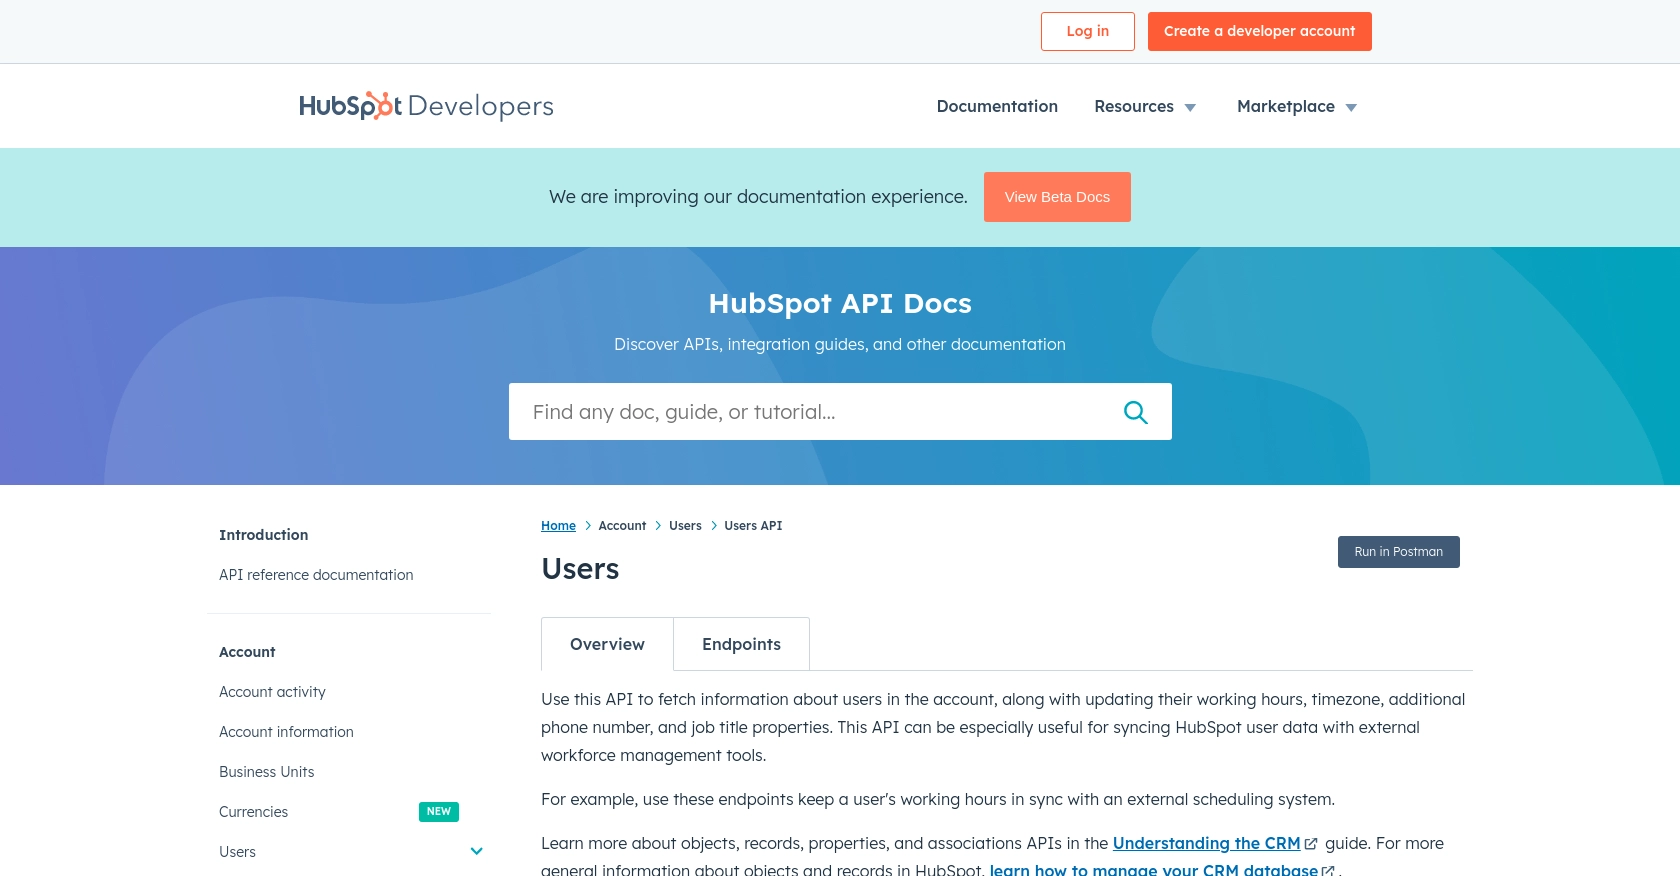
For more detailed error handling, refer to the HubSpot Users API documentation.
Verifying API Call Success in HubSpot
To ensure your API call was successful, you can verify the retrieved data by checking the user information in your HubSpot account. Navigate to the Users section in your HubSpot dashboard to confirm the data matches the API response.
By following these steps, you can effectively use JavaScript to interact with the HubSpot API, enabling seamless integration and data management within your applications.
Best Practices for HubSpot API Integration
When integrating with the HubSpot API, it's essential to follow best practices to ensure security, efficiency, and maintainability. Here are some key considerations:
- Secure Storage of Credentials: Always store your OAuth tokens securely. Avoid hardcoding them in your source code. Use environment variables or secure vaults to manage sensitive information.
- Handle Rate Limiting: HubSpot's API has rate limits to ensure fair usage. For OAuth apps, the limit is 100 requests every 10 seconds per account. Implement retry logic with exponential backoff to handle 429 errors gracefully. For more details, refer to the HubSpot API Usage Guidelines.
- Data Transformation and Standardization: Ensure that data retrieved from HubSpot is transformed and standardized to match your application's data structures. This will help maintain consistency across different systems.
Leveraging Endgrate for Seamless HubSpot Integrations
While building custom integrations can be rewarding, it can also be time-consuming and complex. Endgrate offers a streamlined solution for managing multiple integrations, including HubSpot, through a single API endpoint.
By using Endgrate, you can:
- Save Time and Resources: Focus on your core product development while outsourcing integration complexities to Endgrate.
- Build Once, Deploy Anywhere: Create a single integration that works across multiple platforms, reducing redundancy and maintenance efforts.
- Enhance Customer Experience: Provide your users with a seamless and intuitive integration experience, boosting satisfaction and engagement.
Explore how Endgrate can simplify your integration needs by visiting Endgrate's website.
Read More

Ready to get started?
