Using the Salesflare API to Create or Update Accounts in Python

Introduction to Salesflare API
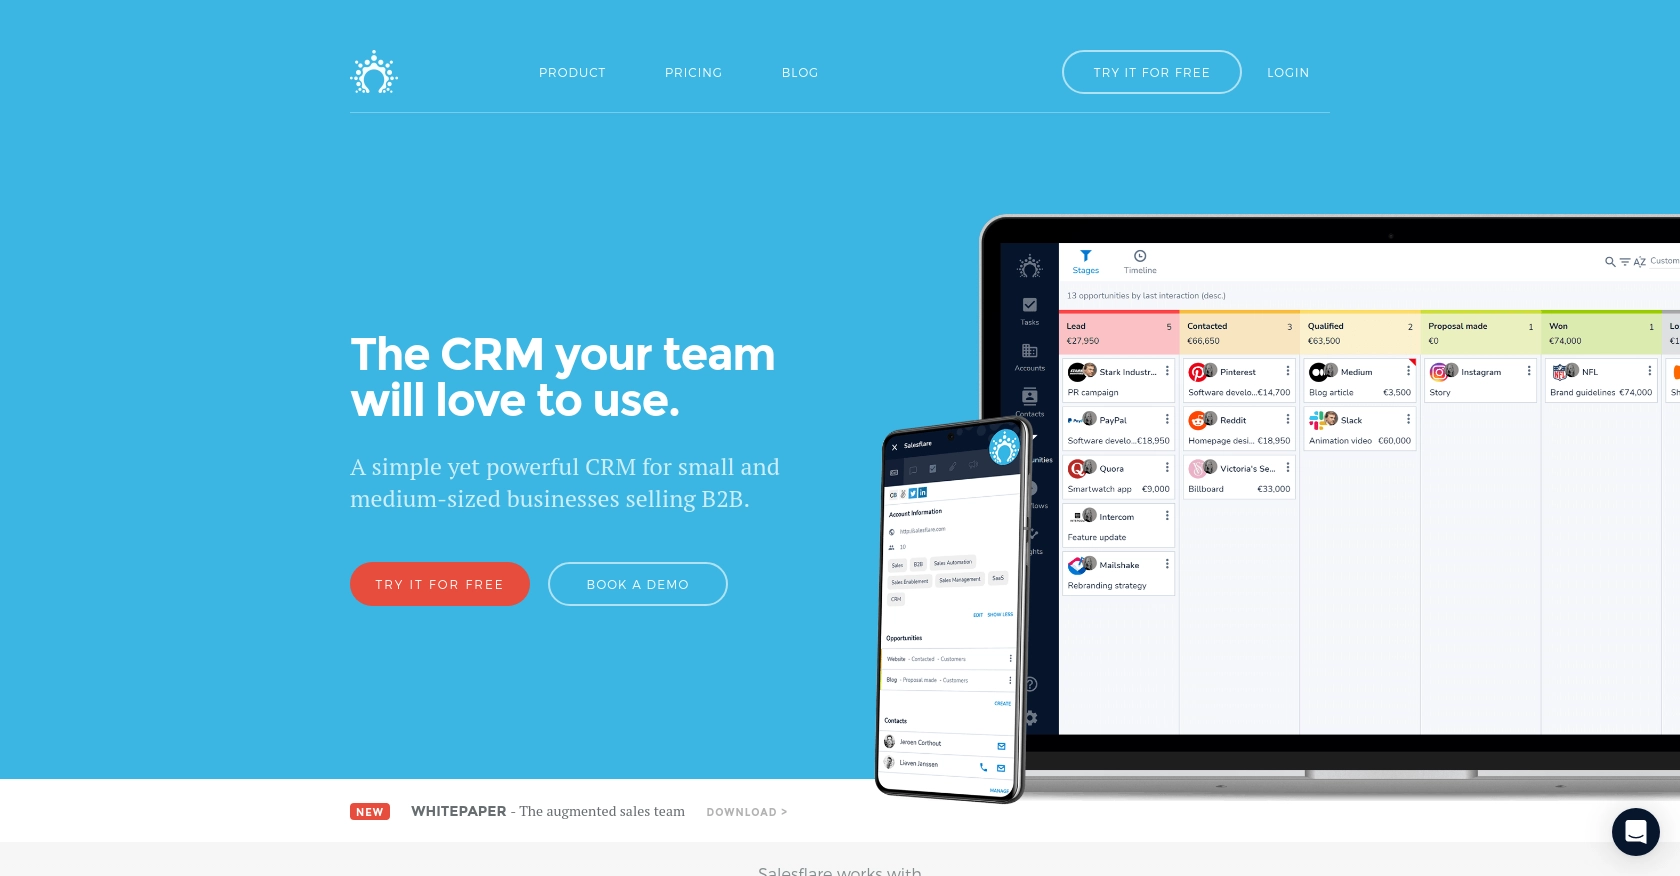
Salesflare is a powerful CRM platform designed to simplify sales processes for small and medium-sized businesses. It offers an intuitive interface and a range of features that help sales teams manage leads, track customer interactions, and automate follow-ups.
Integrating with the Salesflare API allows developers to enhance their applications by automating CRM tasks such as creating or updating account information. For example, a developer might use the Salesflare API to automatically update account details when a customer makes a purchase, ensuring that the sales team always has the most current information.
Setting Up Your Salesflare Test Account for API Integration
Before you can start integrating with the Salesflare API, you'll need to set up a test account. This will allow you to safely experiment with API calls without affecting live data.
Creating a Salesflare Account
If you don't already have a Salesflare account, you can sign up for a free trial on the Salesflare website. This trial will give you access to all the features you need to test the API integration.
- Visit the Salesflare website and click on the "Try for Free" button.
- Follow the on-screen instructions to create your account.
- Once your account is set up, log in to access the Salesflare dashboard.
Generating Your Salesflare API Key
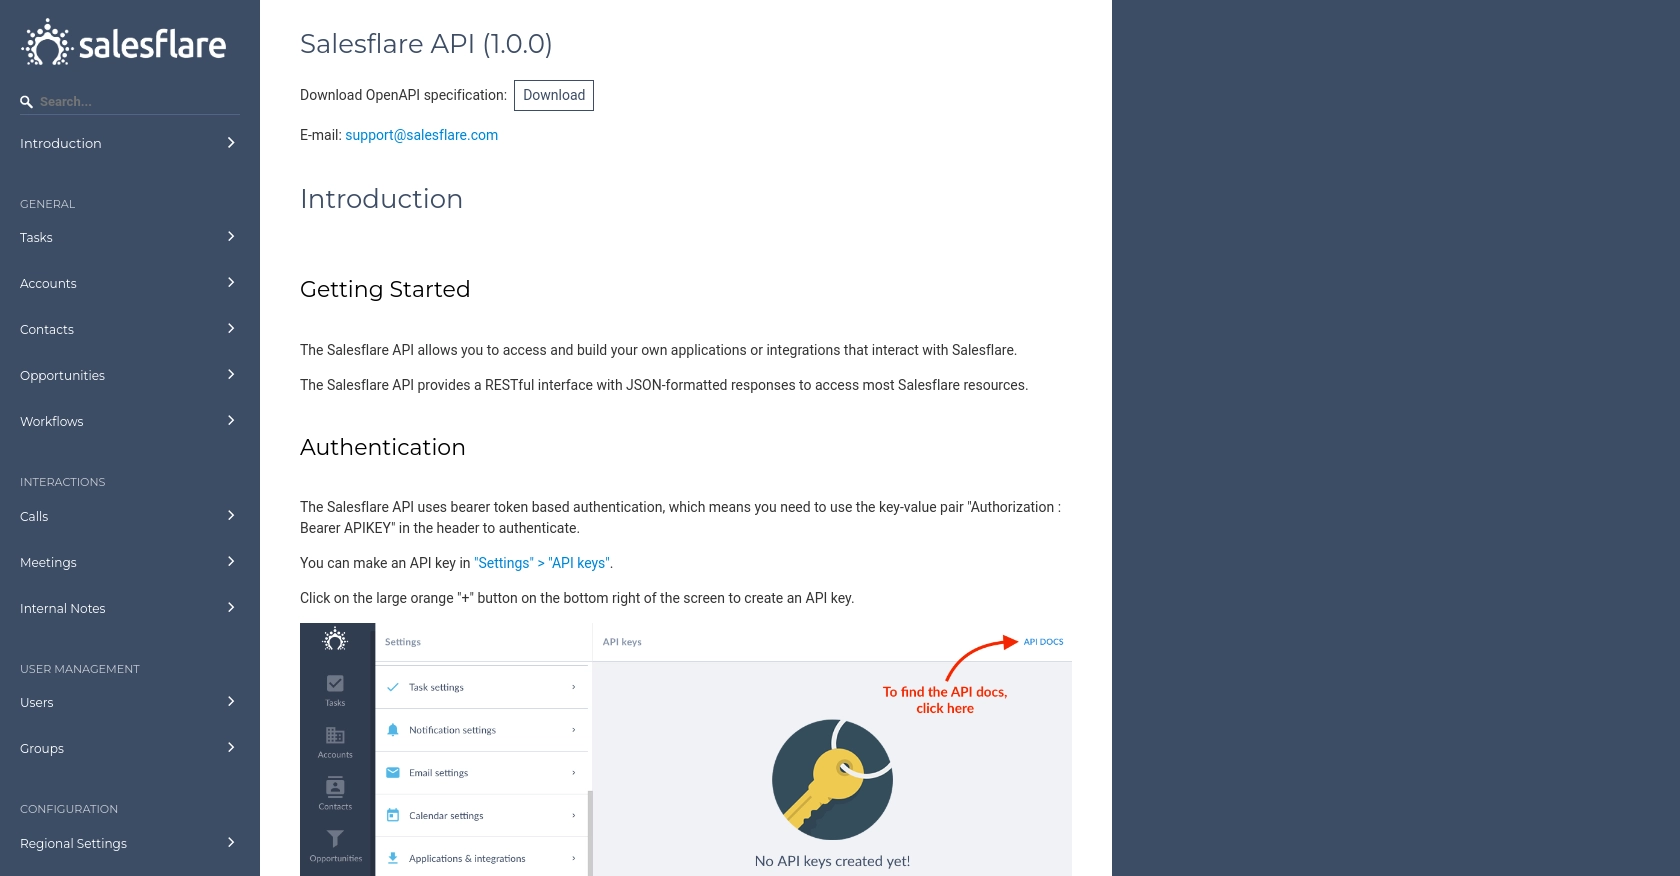
Salesflare uses API key-based authentication to secure API requests. Follow these steps to generate your API key:
- Log in to your Salesflare account and navigate to the settings page.
- Find the "API Keys" section and click on "Generate New API Key."
- Copy the generated API key and store it securely, as you'll need it to authenticate your API calls.
Configuring Your Environment for API Testing
With your API key ready, you can now configure your development environment to interact with the Salesflare API:
- Ensure you have Python installed on your machine. We recommend using Python 3.11.1 or later.
- Install the necessary dependencies using pip:
pip install requestsYou're now ready to start making API calls to Salesflare. In the next section, we'll walk through the process of creating or updating accounts using Python.

sbb-itb-96038d7
Making API Calls to Salesflare for Account Management in Python
To interact with the Salesflare API for creating or updating accounts, you'll need to set up your Python environment and write the necessary code to make API requests. This section will guide you through the process, ensuring you can efficiently manage account data using Python.
Setting Up Your Python Environment for Salesflare API Integration
Before making API calls, ensure your Python environment is properly configured:
- Verify that Python 3.11.1 or later is installed on your machine.
- Install the
requestslibrary, which is essential for making HTTP requests:
pip install requestsCreating or Updating Accounts with Salesflare API
With your environment ready, you can now write a Python script to create or update accounts in Salesflare. Follow these steps:
import requests

# Define the API endpoint for creating or updating accounts
url = "https://api.salesflare.com/accounts"

# Set the request headers, including your API key
headers = {
    "Content-Type": "application/json",
    "Authorization": "Bearer Your_API_Key"
}

# Define the account data you want to create or update
account_data = {
    "name": "Example Company",
    "email": "contact@example.com",
    "phone": "+1234567890"
}

# Make a POST request to the Salesflare API
response = requests.post(url, json=account_data, headers=headers)

# Check the response status code to verify success
if response.status_code == 200:
    print("Account created or updated successfully.")
else:
    print(f"Failed to create or update account. Status code: {response.status_code}")
Replace Your_API_Key with the API key you generated earlier. This script sends a POST request to the Salesflare API to create or update an account with the specified data.
Verifying API Call Success and Handling Errors
After running the script, check the response status code to ensure the request was successful. A status code of 200 indicates success. If the request fails, the status code will help diagnose the issue.
Common error codes include:
- 400 Bad Request: The request was malformed. Check your JSON data.
- 401 Unauthorized: Authentication failed. Verify your API key.
- 404 Not Found: The endpoint URL is incorrect.
Refer to the Salesflare API documentation for more details on error handling.
Conclusion: Best Practices for Using Salesflare API in Python
Integrating with the Salesflare API can significantly enhance your application's CRM capabilities, allowing for seamless account management. To ensure a smooth integration process, consider the following best practices:
Securely Storing Salesflare API Credentials
Always store your API keys securely. Avoid hardcoding them in your scripts. Instead, use environment variables or secure vaults to manage sensitive information.
Handling Salesflare API Rate Limits
Be mindful of any rate limits imposed by the Salesflare API. Implement logic to handle rate limiting gracefully, such as retry mechanisms with exponential backoff. Check the Salesflare API documentation for specific rate limit details.
Transforming and Standardizing Data Fields
Ensure that data fields are consistently formatted before sending them to the Salesflare API. This includes standardizing phone numbers, email addresses, and other contact information to prevent errors and maintain data integrity.
Utilizing Endgrate for Streamlined Integrations
For developers looking to simplify their integration processes, consider using Endgrate. By leveraging Endgrate's unified API, you can save time and resources, allowing you to focus on your core product while outsourcing complex integrations. Endgrate provides an intuitive experience, enabling you to build once for each use case and connect with multiple platforms effortlessly.
By following these best practices, you can ensure a robust and efficient integration with the Salesflare API, enhancing your application's functionality and providing a better experience for your users.
Read More
Ready to get started?
