Using the Insightly API to Create Leads (with PHP examples)
Introduction to Insightly CRM and API Integration
Insightly is a powerful CRM platform designed to help businesses manage their customer relationships and streamline their sales processes. With features like project management, contact management, and workflow automation, Insightly is a popular choice for businesses looking to enhance their operational efficiency.
Integrating with Insightly's API allows developers to automate and extend the functionality of their CRM systems. For example, by using the Insightly API, developers can create leads programmatically, enabling seamless integration with other business applications and enhancing lead management processes.
This article will guide you through using PHP to interact with the Insightly API, specifically focusing on creating leads. By following this tutorial, you'll learn how to efficiently manage leads within the Insightly platform using PHP.
Setting Up Your Insightly Test Account for API Integration
Before you can start creating leads using the Insightly API, you'll need to set up a test account. This will allow you to safely experiment with the API without affecting your live data. Insightly provides a straightforward way to access their API through an API key, which simplifies the authentication process.
Creating an Insightly Account
If you don't already have an Insightly account, you can sign up for a free trial on the Insightly website. Follow the instructions to create your account, and once completed, log in to access the Insightly dashboard.
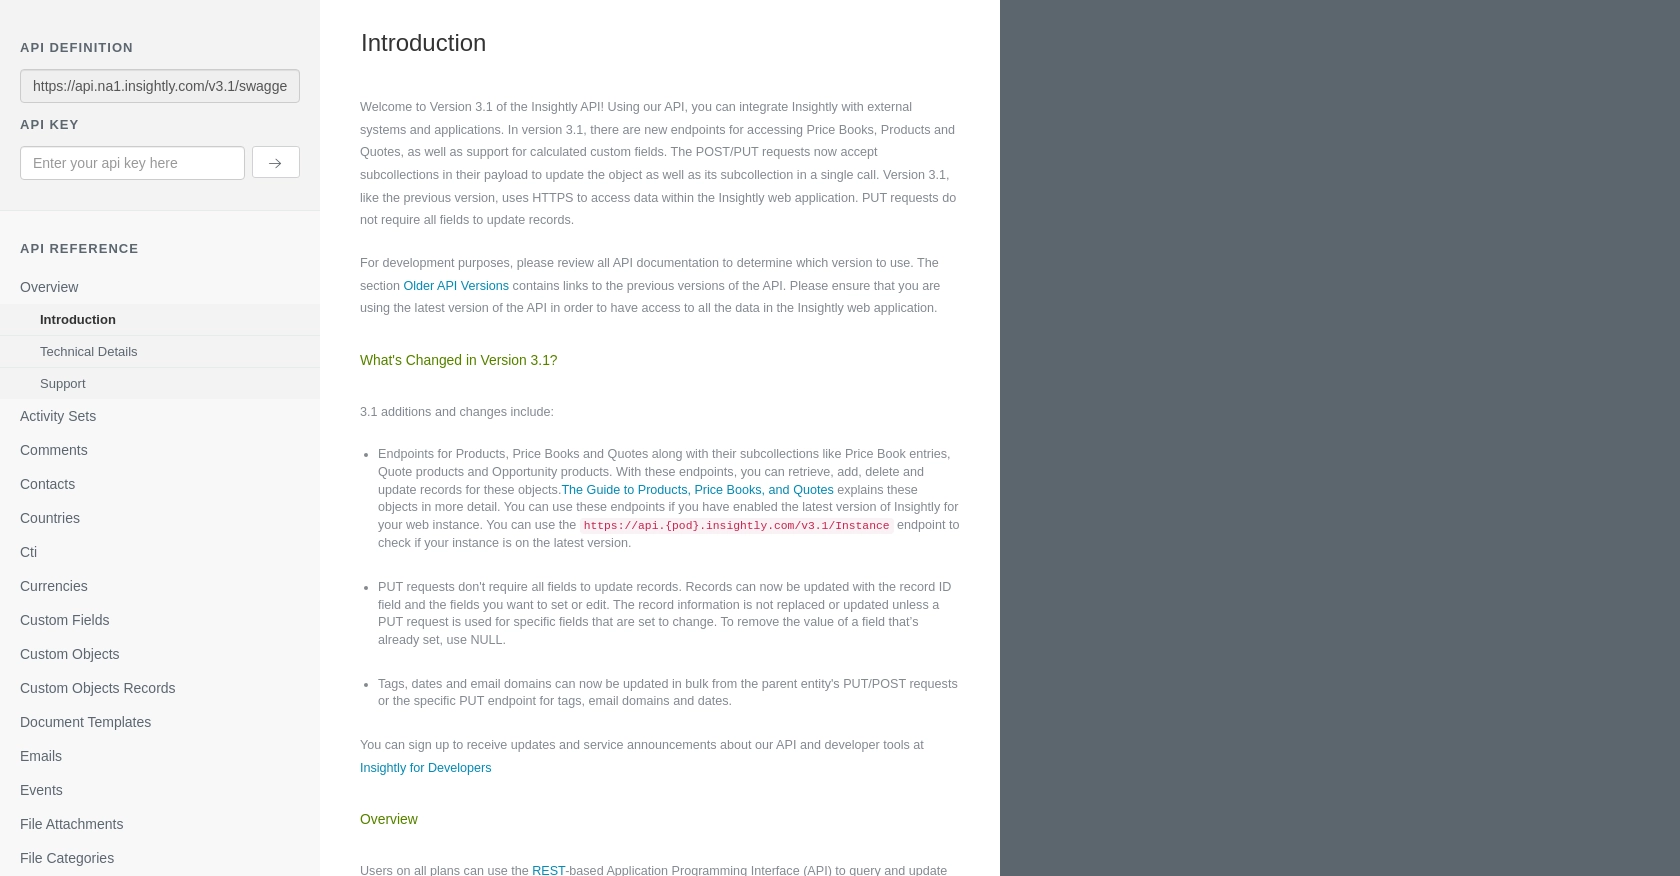
Finding Your Insightly API Key
To interact with the Insightly API, you'll need an API key. This key acts as your unique identifier and is required for authentication. Follow these steps to locate your API key:
- Log in to your Insightly account.
- Click on your profile icon in the upper right corner and select User Settings.
- Navigate to the API Key section.
- Copy the API key provided. This key will be used in your API requests.
For more detailed instructions, you can refer to the Insightly support article.
Configuring Your API Key for Use
Insightly uses HTTP Basic authentication, which requires your API key to be Base64 encoded. However, when testing in a sandbox environment, you can use the API key directly without encoding. Ensure you have the correct API URL, which typically follows this format:
https://api.{pod}.insightly.com/v3.1/
Replace {pod} with your specific instance, which can be found in your user settings.
Testing API Requests in the Sandbox
Once you have your API key, you can start testing API requests. Insightly's sandbox environment allows you to make API calls without affecting your live data. Use tools like Postman to test your requests and ensure they are functioning correctly.
For further details on setting up and testing API requests, refer to the Insightly API documentation.
sbb-itb-96038d7
Making API Calls to Create Leads in Insightly Using PHP
To create leads in Insightly using PHP, you'll need to make HTTP requests to the Insightly API. This section will guide you through setting up your PHP environment, writing the necessary code, and handling responses and errors effectively.
Setting Up Your PHP Environment for Insightly API Integration
Before you start coding, ensure you have the following prerequisites installed on your machine:
- PHP 7.4 or higher
- cURL extension for PHP
You can verify your PHP version and installed extensions by running the following command in your terminal:
php -v
Ensure cURL is enabled by checking your php.ini file or using the command:
php -m | grep curl
Writing PHP Code to Create Leads in Insightly
Now that your environment is ready, let's write the PHP code to create a lead in Insightly. Create a new PHP file named create_insightly_lead.php and add the following code:
<?php
// Insightly API endpoint for creating leads
$apiUrl = 'https://api.na1.insightly.com/v3.1/Leads';

// Your Insightly API key
$apiKey = 'Your_API_Key';

// Lead data to be created
$leadData = [
    'FIRST_NAME' => 'John',
    'LAST_NAME' => 'Doe',
    'EMAIL' => 'john.doe@example.com',
    'LEAD_STATUS' => 'Open'
];

// Initialize cURL session
$ch = curl_init($apiUrl);

// Set cURL options
curl_setopt($ch, CURLOPT_HTTPHEADER, [
    'Content-Type: application/json',
    'Authorization: Basic ' . base64_encode($apiKey . ':')
]);
curl_setopt($ch, CURLOPT_POST, true);
curl_setopt($ch, CURLOPT_POSTFIELDS, json_encode($leadData));
curl_setopt($ch, CURLOPT_RETURNTRANSFER, true);

// Execute cURL request
$response = curl_exec($ch);

// Check for errors
if (curl_errno($ch)) {
    echo 'Error:' . curl_error($ch);
} else {
    // Decode and display the response
    $responseData = json_decode($response, true);
    echo 'Lead Created Successfully: ' . print_r($responseData, true);
}

// Close cURL session
curl_close($ch);
?>
Replace Your_API_Key with your actual Insightly API key. This script initializes a cURL session, sets the necessary headers for authentication, and sends a POST request with the lead data.
Handling API Responses and Errors
After executing the API call, it's crucial to handle the responses and potential errors. The code above checks for cURL errors and displays the response data. If the request is successful, you should see the details of the newly created lead.
For error handling, refer to the Insightly API documentation for specific error codes and their meanings. Common HTTP status codes include:
- 200 OK: The request was successful.
- 400 Bad Request: The request was invalid or cannot be served.
- 401 Unauthorized: Authentication failed or user does not have permissions.
- 429 Too Many Requests: Rate limit exceeded. Refer to the Insightly API documentation for rate limiting details.
Verifying Lead Creation in Insightly
To verify that the lead was created successfully, log in to your Insightly account and navigate to the Leads section. You should see the new lead listed with the details provided in your API request.
By following these steps, you can efficiently create leads in Insightly using PHP, enhancing your CRM integration capabilities.
Conclusion and Best Practices for Using Insightly API with PHP
Integrating Insightly's API into your PHP applications can significantly enhance your CRM capabilities by automating lead management and other CRM processes. By following the steps outlined in this article, you can efficiently create leads in Insightly using PHP, ensuring a seamless integration experience.
Best Practices for Secure and Efficient Insightly API Integration
- Secure API Key Storage: Always store your API keys securely. Consider using environment variables or a secure vault to prevent unauthorized access.
- Handle Rate Limiting: Be mindful of Insightly's rate limits. Implement logic to handle HTTP status code 429 by retrying requests after a delay. For more details, refer to the Insightly API documentation.
- Data Validation and Error Handling: Validate data before sending it to the API and handle errors gracefully. Check for common HTTP status codes and implement appropriate error messages or retries.
- Optimize API Calls: Use pagination and filtering to optimize API calls and reduce the amount of data transferred, especially when dealing with large datasets.
Enhancing Your Integration Strategy with Endgrate
While integrating with Insightly's API directly can be powerful, managing multiple integrations can become complex. This is where Endgrate can be a valuable asset. By providing a unified API endpoint for various platforms, Endgrate allows you to streamline your integration processes, saving time and resources.
With Endgrate, you can focus on your core product while outsourcing the complexities of integration management. Build once for each use case and enjoy an intuitive integration experience for your customers.
Explore how Endgrate can simplify your integration strategy and enhance your CRM capabilities today.
Read More

Ready to get started?
