Using the Insightly API to Create or Update Organizations (with Javascript examples)

Introduction to Insightly CRM and API Integration
Insightly is a powerful CRM platform that offers a comprehensive suite of tools to help businesses manage customer relationships, projects, and sales processes. With its user-friendly interface and robust features, Insightly is a popular choice for organizations looking to streamline their operations and improve customer engagement.
Developers may want to integrate with Insightly's API to automate and enhance business processes. For example, using the Insightly API, a developer can create or update organization records directly from an external application, ensuring that all customer data is synchronized and up-to-date across platforms.
This article will guide you through using JavaScript to interact with the Insightly API, focusing on creating or updating organizations. By following this tutorial, you'll be able to efficiently manage organization data within Insightly, leveraging its API capabilities to enhance your business operations.
Setting Up Your Insightly Test Account for API Integration
Before you can start using the Insightly API to create or update organizations, you'll need to set up a test account. This will allow you to safely experiment with API calls without affecting your live data.
Creating an Insightly Account
If you don't already have an Insightly account, you can sign up for a free trial on the Insightly website. Follow the instructions to create your account and log in to the Insightly dashboard.
Finding Your Insightly API Key
To interact with the Insightly API, you'll need an API key, which acts as a unique identifier for your account. Follow these steps to obtain your API key:
- Log in to your Insightly account.
- Click on your user profile in the upper right corner and select User Settings.
- Navigate to the API Key and URL section.
- Copy the API key provided. This key will be used to authenticate your API requests.
For more detailed instructions, refer to the Insightly support article.
Understanding Insightly API Authentication
Insightly uses HTTP Basic authentication, which requires your API key to be included as the Base64-encoded username, leaving the password blank. This ensures that your API calls are securely authenticated.
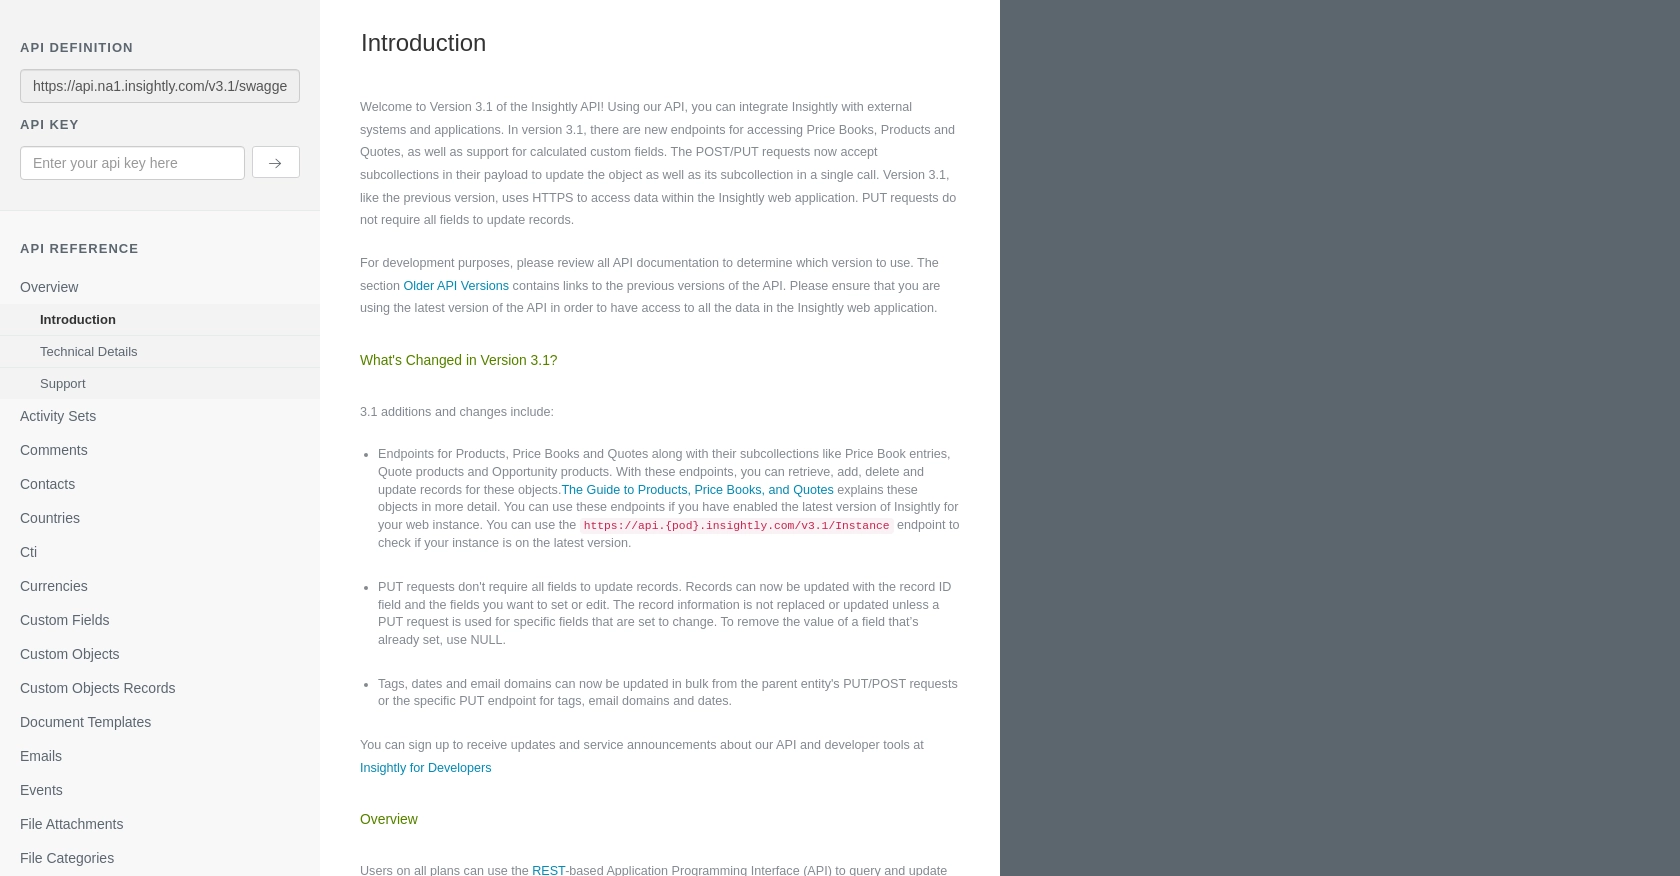
For testing purposes, you can paste your API key directly into the API key field without Base64 encoding when using the sandbox environment. More details can be found in the Insightly API documentation.
Configuring Your Development Environment
To start making API calls, ensure your development environment is set up with the necessary tools. For JavaScript, you'll need:
- A modern web browser or a tool like Postman for testing API requests.
- A code editor to write and test your JavaScript code.
With your Insightly account and API key ready, you're all set to begin integrating with the Insightly API to manage organization data effectively.

sbb-itb-96038d7
Making API Calls to Insightly for Creating or Updating Organizations with JavaScript
To interact with the Insightly API using JavaScript, you'll need to set up your environment and write code to make HTTP requests. This section will guide you through the process of creating or updating organization records in Insightly using JavaScript.
Setting Up Your JavaScript Environment for Insightly API Integration
Before making API calls, ensure you have a modern JavaScript environment. You can use Node.js or a browser-based environment. You'll also need the axios library to simplify HTTP requests. Install it using npm:
npm install axiosCreating an Organization in Insightly Using JavaScript
To create a new organization in Insightly, you'll need to make a POST request to the appropriate endpoint. Here's an example of how to do this using JavaScript and the axios library:
const axios = require('axios');

const apiKey = 'Your_API_Key';
const baseUrl = 'https://api.na1.insightly.com/v3.1/Organizations';

const createOrganization = async () => {
  try {
    const response = await axios.post(baseUrl, {
      ORGANISATION_NAME: 'New Organization',
      // Add other fields as needed
    }, {
      headers: {
        'Authorization': `Basic ${Buffer.from(apiKey).toString('base64')}`,
        'Content-Type': 'application/json'
      }
    });
    console.log('Organization Created:', response.data);
  } catch (error) {
    console.error('Error Creating Organization:', error.response.data);
  }
};

createOrganization();
Replace Your_API_Key with your actual API key. This code sends a POST request to create a new organization. If successful, it logs the created organization's details.
Updating an Existing Organization in Insightly Using JavaScript
To update an existing organization, you'll need its ID and make a PUT request. Here's how you can do it:
const updateOrganization = async (organizationId) => {
  try {
    const response = await axios.put(`${baseUrl}/${organizationId}`, {
      ORGANISATION_NAME: 'Updated Organization Name',
      // Add other fields to update
    }, {
      headers: {
        'Authorization': `Basic ${Buffer.from(apiKey).toString('base64')}`,
        'Content-Type': 'application/json'
      }
    });
    console.log('Organization Updated:', response.data);
  } catch (error) {
    console.error('Error Updating Organization:', error.response.data);
  }
};

updateOrganization(123456); // Replace with actual organization ID
This code updates the organization with the specified ID. Ensure you replace 123456 with the actual ID of the organization you wish to update.
Handling API Responses and Errors with Insightly
When making API calls, it's crucial to handle responses and errors effectively. Insightly's API will return status codes and messages that you can use to determine the success of your requests. For instance, a status code of 200 indicates success, while 400 or 500 series codes indicate errors.
Always check the response data and handle errors gracefully to ensure your application can recover or inform the user of any issues.
Verifying API Call Success in Insightly
After creating or updating an organization, verify the changes by checking your Insightly account. The new or updated organization should appear in your organization list. If not, review the error messages and ensure your API key and request payload are correct.
For more detailed error handling and rate limit information, refer to the Insightly API documentation.
Conclusion and Best Practices for Insightly API Integration
Integrating with the Insightly API using JavaScript allows developers to efficiently manage organization data, enhancing business operations by automating data synchronization and updates. By following the steps outlined in this guide, you can create and update organization records seamlessly.
Best Practices for Secure and Efficient API Usage
- Secure API Key Storage: Always store your API key securely, using environment variables or secure vaults, to prevent unauthorized access.
- Handle Rate Limits: Be mindful of Insightly's rate limits, which allow a maximum of 10 requests per second and vary daily based on your plan. Implement retry logic to handle HTTP 429 errors gracefully. For more details, refer to the Insightly API documentation.
- Data Standardization: Ensure data consistency by standardizing fields and formats when creating or updating records.
- Error Handling: Implement robust error handling to manage API response codes effectively, ensuring your application can recover from failures.
Enhancing Integration Capabilities with Endgrate
For developers looking to streamline multiple integrations, consider using Endgrate. With Endgrate, you can save time and resources by outsourcing integrations, allowing you to focus on your core product. Build once for each use case and enjoy an intuitive integration experience for your customers. Visit Endgrate to learn more about how it can simplify your integration processes.
Read More
Ready to get started?
