Using the VTiger API to Create Records in Javascript
Introduction to VTiger CRM Integration
VTiger CRM is a powerful customer relationship management platform that offers a wide range of features to help businesses manage their customer interactions, sales, and marketing efforts. With its robust set of tools, VTiger CRM is a popular choice for organizations looking to streamline their operations and improve customer engagement.
Integrating with VTiger's API allows developers to automate and enhance CRM functionalities, such as creating and managing records programmatically. For example, a developer might use the VTiger API to automatically create new contact records from a web form submission, ensuring that customer data is captured accurately and efficiently.
Setting Up Your VTiger Test/Sandbox Account for API Integration
Before you can start using the VTiger API to create records, you'll need to set up a test or sandbox account. This allows you to safely experiment with API calls without affecting live data. VTiger offers a free trial that you can use to access their CRM features and test your integrations.
Creating a VTiger Account
To begin, visit the VTiger website and sign up for a free trial account. Follow the on-screen instructions to complete the registration process. Once your account is created, you'll have access to the VTiger CRM dashboard.
Generating API Access Credentials
VTiger uses HTTP Basic Authentication for API access, which requires a username and an access key. Follow these steps to obtain your credentials:
- Log in to your VTiger account and navigate to the "My Preferences" section.
- Locate the "Access Key" information. This is a unique token generated for your user account.
- Make a note of your username and access key, as you'll need these for API authentication.
Configuring API Access in VTiger
To ensure your API requests are successful, you need to configure the necessary permissions:
- Navigate to the "Settings" section in your VTiger dashboard.
- Under "Users & Access Control," ensure that your user role has the necessary permissions to create records in the desired modules.
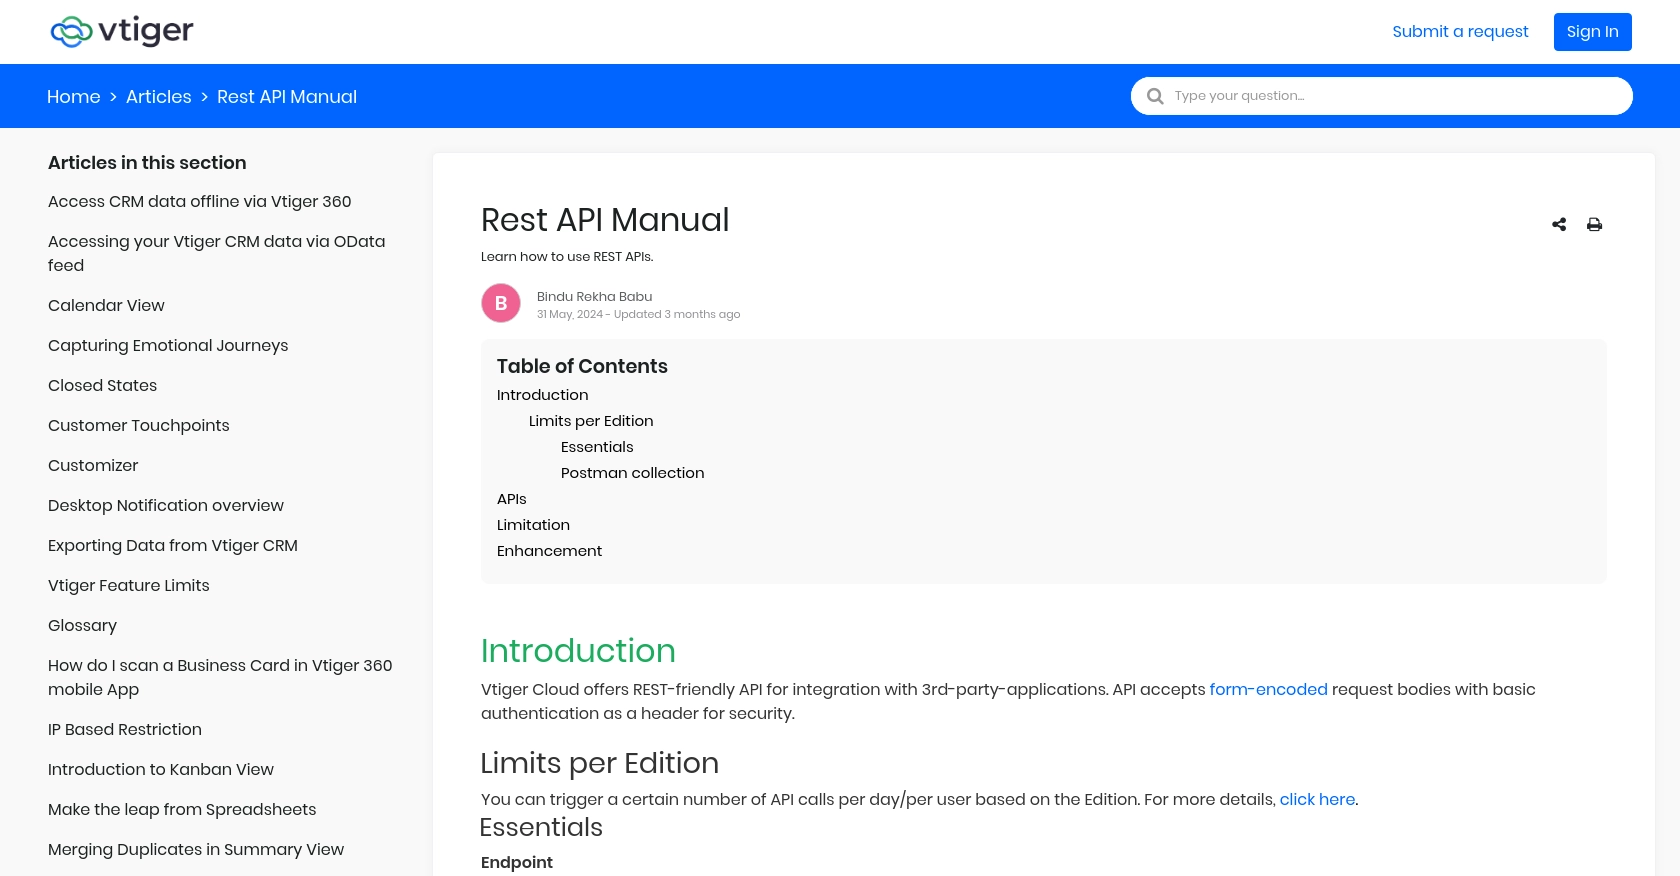
Understanding VTiger API Limits
VTiger imposes limits on the number of API calls you can make per day, depending on your account edition. Be sure to review these limits to avoid exceeding them during your testing phase. For more details, refer to the VTiger API documentation.
With your test account and API credentials set up, you're ready to start making API calls to create records in VTiger using JavaScript.
sbb-itb-96038d7
Making API Calls to Create Records in VTiger Using JavaScript
To create records in VTiger using JavaScript, you'll need to interact with the VTiger API. This section will guide you through the process of setting up your JavaScript environment, making the API call, and handling the response.
Setting Up Your JavaScript Environment for VTiger API Integration
Before making API calls, ensure you have a suitable JavaScript environment. You can use Node.js or a browser-based environment. For this guide, we'll use Node.js.
- Ensure you have Node.js installed. You can download it from the official Node.js website.
- Initialize a new Node.js project and install the
axioslibrary to handle HTTP requests:
npm init -y
npm install axios
Writing JavaScript Code to Create Records in VTiger
Now, let's write the JavaScript code to create a record in VTiger. We'll use the axios library to make HTTP POST requests to the VTiger API.
const axios = require('axios');

// VTiger API endpoint and credentials
const VTIGER_DOMAIN = 'your_instance.odx.vtiger.com';
const USERNAME = 'your_username';
const ACCESS_KEY = 'your_access_key';

// Function to create a record in VTiger
async function createRecord(moduleName, data) {
    const url = `https://${VTIGER_DOMAIN}/restapi/v1/vtiger/default/create`;
    const auth = Buffer.from(`${USERNAME}:${ACCESS_KEY}`).toString('base64');

    try {
        const response = await axios.post(url, {
            elementType: moduleName,
            element: JSON.stringify(data)
        }, {
            headers: {
                'Authorization': `Basic ${auth}`,
                'Content-Type': 'application/json'
            }
        });

        if (response.data.success) {
            console.log('Record created successfully:', response.data.result);
        } else {
            console.error('Failed to create record:', response.data.error);
        }
    } catch (error) {
        console.error('Error making API call:', error);
    }
}

// Example usage
const newContact = {
    firstname: 'John',
    lastname: 'Doe',
    email: 'john.doe@example.com'
};

createRecord('Contacts', newContact);
Verifying Successful Record Creation in VTiger
After running the script, you should verify that the record was created successfully in your VTiger sandbox account:
- Log in to your VTiger account and navigate to the module where you created the record (e.g., Contacts).
- Check for the new record with the details you provided in the script.
Handling Errors and API Response Codes in VTiger
When making API calls, it's essential to handle potential errors and understand the response codes:
- HTTP 200: Indicates successful execution of the API call.
- HTTP 400: Indicates a failure in execution. Check the error message for details.
- HTTP 500: Suggests a server error. Retry the request or contact support if the issue persists.
For more detailed error handling, refer to the VTiger API documentation.
Conclusion and Best Practices for VTiger API Integration
Integrating with the VTiger API using JavaScript can significantly enhance your CRM capabilities by automating record creation and management. By following the steps outlined in this guide, you can efficiently set up your environment, authenticate API requests, and handle responses effectively.
Best Practices for Secure and Efficient VTiger API Usage
- Secure Storage of Credentials: Always store your VTiger API credentials securely. Consider using environment variables or secure vaults to prevent unauthorized access.
- Handle Rate Limiting: Be mindful of VTiger's API rate limits to avoid disruptions. Implement retry logic with exponential backoff to manage rate-limited responses gracefully.
- Data Standardization: Ensure that the data you send to VTiger is standardized and validated to prevent errors and maintain data integrity.
Enhancing Your Integration Strategy with Endgrate
While integrating with VTiger's API can be straightforward, managing multiple integrations can become complex. Endgrate offers a unified API solution that simplifies integration management across various platforms, including VTiger.
By leveraging Endgrate, you can save time and resources, allowing you to focus on your core product development. Build once for each use case and enjoy an intuitive integration experience for your customers. Visit Endgrate to learn more about how it can streamline your integration processes.
Read More

Ready to get started?
