Using the Intercom API to Create Or Update Companies in Javascript

Introduction to Intercom API for Company Management
Intercom is a powerful customer communication platform that enables businesses to engage with their customers through personalized messaging and support. It offers a suite of tools for customer engagement, including live chat, email marketing, and customer data management.
For developers, integrating with the Intercom API provides the ability to manage customer data efficiently. One common use case is creating or updating company records within Intercom. This can be particularly useful for B2B SaaS products that need to keep their customer data synchronized across multiple platforms.
By leveraging the Intercom API, developers can automate the process of adding new companies or updating existing ones, ensuring that customer information is always up-to-date. This integration can enhance customer relationship management and streamline business operations.
Setting Up Your Intercom Developer Account for API Integration
Before you can start integrating with the Intercom API, you'll need to set up a developer account. This will allow you to create an app and obtain the necessary credentials for authentication.
Creating an Intercom Developer Account
If you don't already have an Intercom account, you can sign up for a free developer account. This account will give you access to the Developer Hub, where you can manage your apps and integrations.
- Visit the Intercom Developer Hub and sign up for a free account.
- Once your account is created, log in to access the Developer Hub.
Setting Up OAuth for Intercom API Authentication
Intercom uses OAuth for authentication, which allows your app to access user data securely. Follow these steps to set up OAuth:
- In the Developer Hub, create a new app by navigating to the "Apps" section and clicking "Create App."
- Fill in the required details for your app, such as the name and description.
- Enable OAuth by checking the "Use OAuth" option on the Authentication page.
- Specify your Redirect URLs. These URLs are where users will be redirected after authorizing your app. Ensure they use HTTPS.
- Define the necessary permissions for your app. For creating or updating companies, ensure you have the "Read and write users and companies" scope selected.
For more detailed information on setting up OAuth, refer to the Intercom OAuth documentation.
Obtaining Your Client ID and Client Secret
After setting up OAuth, you'll receive a Client ID and Client Secret. These credentials are essential for authenticating your API requests.
- Navigate to the "Basic Information" page of your app in the Developer Hub.
- Copy your Client ID and Client Secret and store them securely. You'll need these for the authorization process.
Testing in a Sandbox Environment
Intercom provides a development workspace where you can test your integrations without affecting live data. This is ideal for ensuring your API calls work as expected before deploying to production.
- Create a development workspace in the Developer Hub.
- Use this workspace to test your API interactions, such as creating or updating companies.
By following these steps, you'll be ready to start integrating with the Intercom API and managing company data programmatically.
sbb-itb-96038d7
Making API Calls to Intercom for Creating or Updating Companies Using JavaScript
To interact with the Intercom API for creating or updating company records, you'll need to use JavaScript. This section will guide you through the process of setting up your environment, making the API call, and handling responses effectively.
Setting Up Your JavaScript Environment for Intercom API Integration
Before you begin, ensure you have Node.js installed on your machine. Node.js provides a runtime environment for executing JavaScript code outside a browser. You can download it from the official Node.js website.
Additionally, you'll need to install the Axios library, which simplifies making HTTP requests in JavaScript. Run the following command in your terminal to install Axios:
npm install axiosCreating or Updating Companies with Intercom API Using JavaScript
With your environment set up, you can now proceed to create or update companies in Intercom using the API. Below is a sample code snippet demonstrating how to achieve this:
const axios = require('axios');
// Set your Intercom API credentials
const accessToken = 'YOUR_ACCESS_TOKEN';
// Define the company data
const companyData = {
company_id: 'unique_company_id',
name: 'Example Company',
remote_created_at: 1663597223,
custom_attributes: {
industry: 'Software',
monthly_spend: 500
}
};
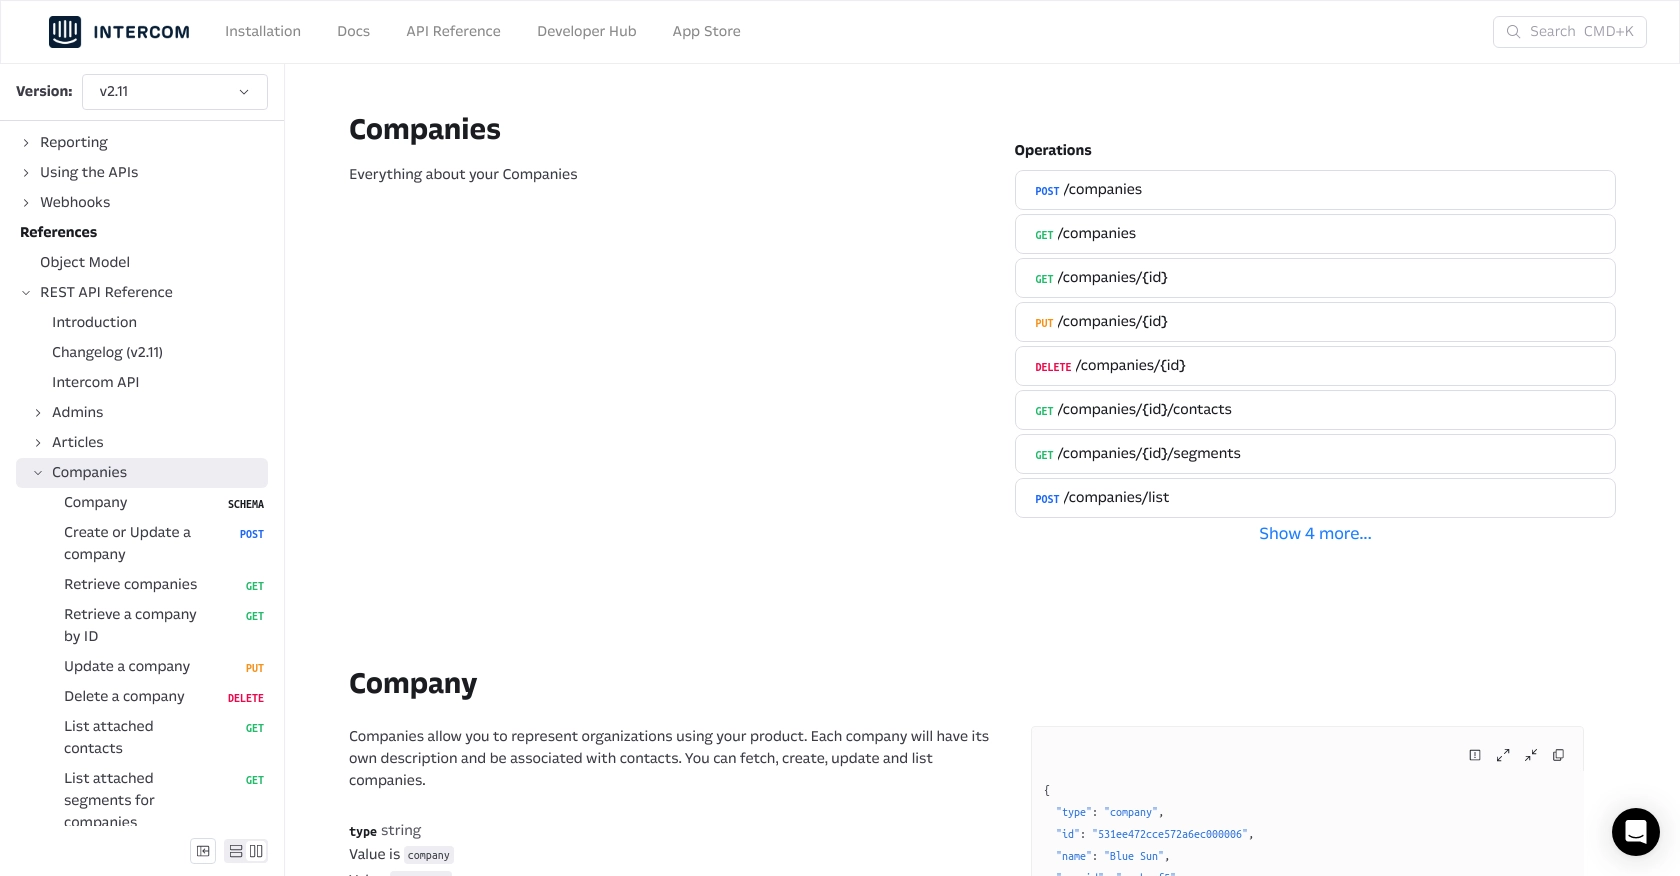
// Make the API request to create or update a company
axios.post('https://api.intercom.io/companies', companyData, {
headers: {
'Authorization': `Bearer ${accessToken}`,
'Content-Type': 'application/json',
'Intercom-Version': '2.11'
}
})
.then(response => {
console.log('Company created/updated successfully:', response.data);
})
.catch(error => {
console.error('Error creating/updating company:', error.response.data);
});
Replace YOUR_ACCESS_TOKEN with the access token obtained during the OAuth setup. The company_id is a unique identifier for the company, and the custom_attributes can be customized to store additional data about the company.
Verifying Successful API Requests and Handling Errors
After executing the API call, you can verify the success of the operation by checking the response data. A successful request will return the company details, confirming that the company was created or updated in Intercom.
In case of errors, the catch block will log the error details. Common error codes include:
- 400 Bad Request: The request was invalid or cannot be otherwise served.
- 401 Unauthorized: Authentication failed or user does not have permissions for the requested operation.
- 404 Not Found: The requested resource could not be found.
For more information on error handling, refer to the Intercom API documentation.
Conclusion and Best Practices for Intercom API Integration
Integrating with the Intercom API to manage company data can significantly enhance your ability to maintain accurate and up-to-date customer information. By automating the creation and updating of company records, you streamline operations and improve customer relationship management.
Best Practices for Secure and Efficient Intercom API Usage
- Secure Storage of Credentials: Always store your Client ID, Client Secret, and Access Tokens securely. Consider using environment variables or a secure vault to protect these sensitive credentials.
- Handle Rate Limiting: Be aware of Intercom's rate limits to avoid service disruptions. Implement retry logic with exponential backoff to manage API call limits effectively.
- Data Standardization: Ensure that data fields such as company names and custom attributes are standardized across platforms to maintain consistency and accuracy.
Enhancing Integration Capabilities with Endgrate
For developers seeking to simplify and expand their integration capabilities, consider leveraging Endgrate. With Endgrate, you can streamline your integration processes, allowing you to focus on your core product development. Endgrate offers a unified API endpoint that connects to multiple platforms, including Intercom, providing an intuitive integration experience for your customers.
By using Endgrate, you can build once for each use case and avoid the complexity of managing multiple integrations. Save time and resources by outsourcing your integration needs and ensuring a seamless experience for your users.
Explore how Endgrate can transform your integration strategy by visiting Endgrate today.
Read More

Ready to get started?
