Using the Notion API to Create Records (with PHP examples)
Introduction to Notion API Integration
Notion is a versatile all-in-one workspace that allows teams to organize tasks, manage projects, and store information in a highly customizable environment. Its flexibility and user-friendly interface make it a popular choice for businesses looking to streamline their workflows.
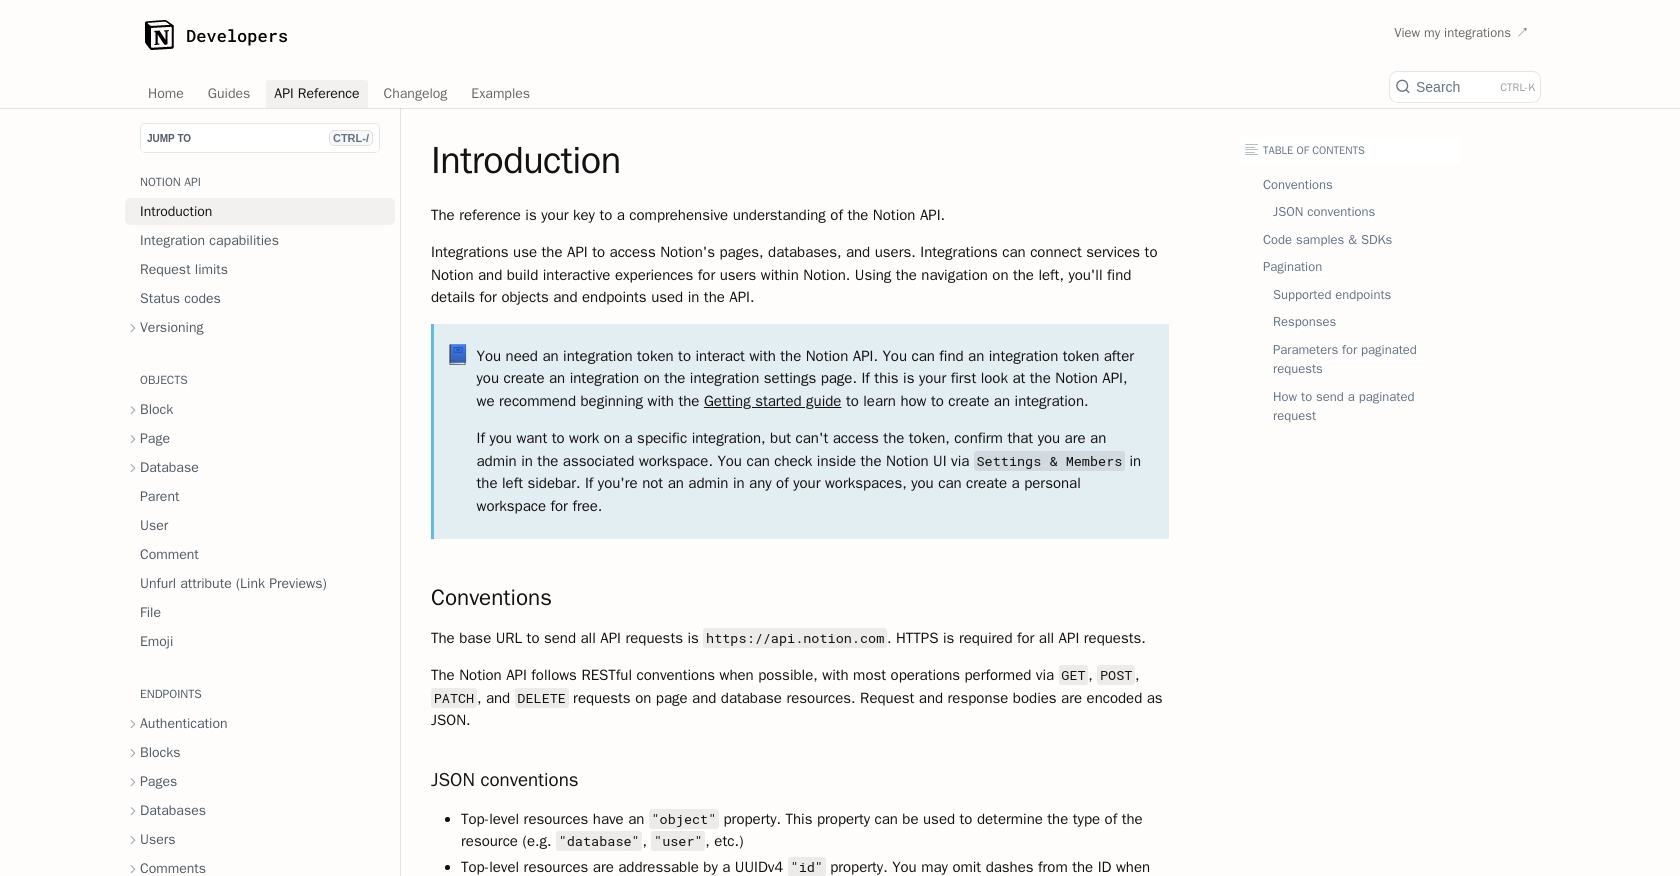
Integrating with the Notion API enables developers to programmatically interact with Notion workspaces, allowing for seamless automation and data management. For example, you can create records in a Notion database directly from an external application, enhancing productivity and ensuring data consistency across platforms.
This article will guide you through using the Notion API to create records using PHP, providing step-by-step instructions and practical examples to help you get started with your integration.
Setting Up Your Notion Test/Sandbox Account for API Integration
Before you begin integrating with the Notion API, you'll need to set up a test or sandbox account. This allows you to safely experiment with API requests without affecting your live data. Notion provides a straightforward way to create an integration and obtain the necessary credentials for API access.
Creating a Notion Account
If you don't already have a Notion account, you can sign up for free on the Notion website. Once registered, you'll have access to a personal workspace where you can test your integrations.
Setting Up a Notion Integration
To interact with the Notion API, you need to create an integration. Follow these steps to set up your integration:
- Navigate to the My integrations page in your Notion account settings.
- Click on New integration to create a new integration.
- Fill in the required details, such as the integration name, and select the appropriate permissions for your integration.
- Once created, you'll receive an integration token. This token is crucial for authenticating your API requests.
Obtaining OAuth Credentials
The Notion API uses OAuth 2.0 for authentication. Here's how to set up OAuth credentials:
- In your integration settings, note down the Client ID and Client Secret.
- Set up a Redirect URI where users will be redirected after authorizing your integration.
- Ensure you securely store these credentials, as they are required for the OAuth flow.
Sharing Notion Pages with Your Integration
To allow your integration to access specific pages or databases, you must share them with the integration:
- Open the page or database in your Notion workspace.
- Click on the Share button and select Add connections.
- Search for your integration and add it to the list of connections.
Once you've completed these steps, your Notion test account is ready for API interactions. You can now proceed to make API calls using the credentials and integration token you've obtained.
sbb-itb-96038d7
Making API Calls to Create Records in Notion Using PHP
To interact with the Notion API and create records, you'll need to use PHP to send HTTP requests. This section will guide you through setting up your PHP environment, installing necessary dependencies, and executing API calls to create records in a Notion database.
Setting Up Your PHP Environment for Notion API Integration
Ensure you have PHP installed on your machine. You can verify this by running php -v in your terminal. If PHP is not installed, download and install it from the official PHP website.
Next, you'll need to install the guzzlehttp/guzzle library, which simplifies sending HTTP requests in PHP. Use Composer to install it:
composer require guzzlehttp/guzzle
Creating a Record in Notion Using PHP
Now that your environment is set up, you can create a PHP script to interact with the Notion API. Below is a step-by-step guide to creating a record in a Notion database:
- Create a new PHP file, e.g.,
create_notion_record.php. - Include the Guzzle library and set up your API request:
require 'vendor/autoload.php';

use GuzzleHttp\Client;

$client = new Client();
$token = 'YOUR_INTEGRATION_TOKEN';
$databaseId = 'YOUR_DATABASE_ID';

$response = $client->post('https://api.notion.com/v1/pages', [
    'headers' => [
        'Authorization' => 'Bearer ' . $token,
        'Content-Type' => 'application/json',
        'Notion-Version' => '2022-06-28',
    ],
    'json' => [
        'parent' => ['database_id' => $databaseId],
        'properties' => [
            'Name' => [
                'title' => [
                    ['text' => ['content' => 'New Record Title']]
                ]
            ],
            // Add other properties as needed
        ]
    ]
]);

$data = json_decode($response->getBody(), true);
echo 'Record created with ID: ' . $data['id'];
Replace YOUR_INTEGRATION_TOKEN and YOUR_DATABASE_ID with your actual Notion integration token and database ID. This script sends a POST request to the Notion API to create a new page (record) in the specified database.
Verifying the API Request and Handling Errors
After running your script, check your Notion workspace to verify that the new record has been created in the database. If the request fails, the Notion API will return an error code. Here are some common error codes and their meanings:
- 400 Bad Request: The request was invalid. Check your JSON structure and required fields.
- 401 Unauthorized: The token is invalid. Ensure your integration token is correct.
- 403 Forbidden: The integration lacks necessary permissions. Verify that your integration has the correct access rights.
- 429 Too Many Requests: You've hit the rate limit. Wait and try again later.
For more detailed error information, refer to the Notion API status codes documentation.
By following these steps, you can successfully create records in Notion using PHP, enhancing your application's integration capabilities with Notion's powerful API.
Best Practices for Notion API Integration Using PHP
Successfully integrating with the Notion API using PHP opens up numerous possibilities for automating workflows and enhancing productivity. To ensure a robust and secure integration, consider the following best practices:
- Secure Storage of Credentials: Always store your OAuth credentials, such as the client ID, client secret, and integration token, securely. Use environment variables or a secret management tool to prevent unauthorized access.
- Handle Rate Limiting Gracefully: The Notion API enforces a rate limit of three requests per second. Implement error handling for HTTP 429 responses and use the
Retry-Afterheader to manage request retries efficiently. For more details, refer to the Notion API request limits documentation. - Data Transformation and Standardization: Ensure that data fields are consistent and standardized when creating or updating records in Notion. This helps maintain data integrity and simplifies data management across platforms.
- Error Handling and Logging: Implement comprehensive error handling to capture and log API errors. This will aid in troubleshooting and ensure a smoother integration experience.
Enhance Your Integration Experience with Endgrate
While integrating with the Notion API using PHP provides powerful capabilities, managing multiple integrations can become complex and time-consuming. Endgrate simplifies this process by offering a unified API endpoint that connects to various platforms, including Notion.
With Endgrate, you can:
- Save Time and Resources: Focus on your core product by outsourcing integrations to Endgrate, reducing development time and costs.
- Streamline Integration Management: Build once for each use case and leverage Endgrate's intuitive platform to manage multiple integrations effortlessly.
- Enhance Customer Experience: Provide your customers with a seamless and consistent integration experience across different platforms.
Explore how Endgrate can transform your integration strategy by visiting Endgrate's website and discover the benefits of a unified integration solution.
Read More
- https://endgrate.com/provider/Notion
- https://developers.notion.com/reference/intro
- https://developers.notion.com/docs/getting-started
- https://developers.notion.com/docs/authorization
- https://developers.notion.com/reference/request-limits
- https://developers.notion.com/reference/status-codes
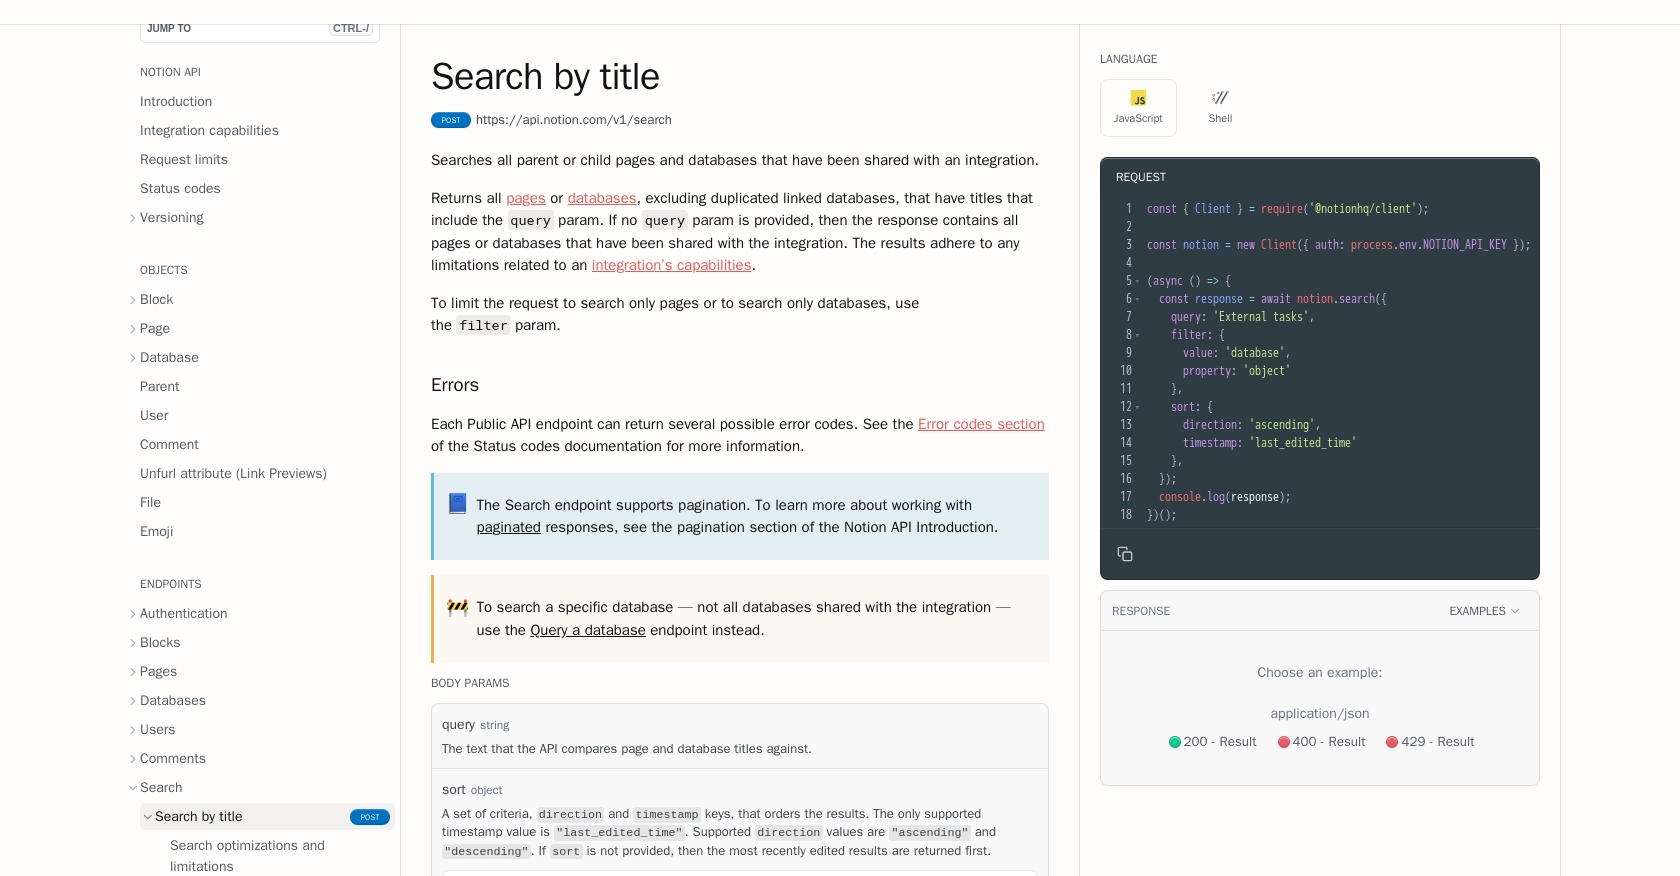
- https://developers.notion.com/reference/post-search
- https://developers.notion.com/reference/post-page

Ready to get started?
