Using the Intercom API to Get Contacts (with Javascript examples)

Introduction to Intercom API Integration
Intercom is a powerful customer communication platform that enables businesses to engage with their customers through messaging, email, and more. It provides a suite of tools for customer support, marketing, and sales, making it a versatile choice for businesses looking to enhance their customer interaction strategies.
Integrating with Intercom's API allows developers to access and manage customer data efficiently. For example, you can retrieve contact information to personalize customer interactions or automate support processes. This integration can streamline workflows and improve customer satisfaction by ensuring timely and relevant communication.
Setting Up Your Intercom Test/Sandbox Account
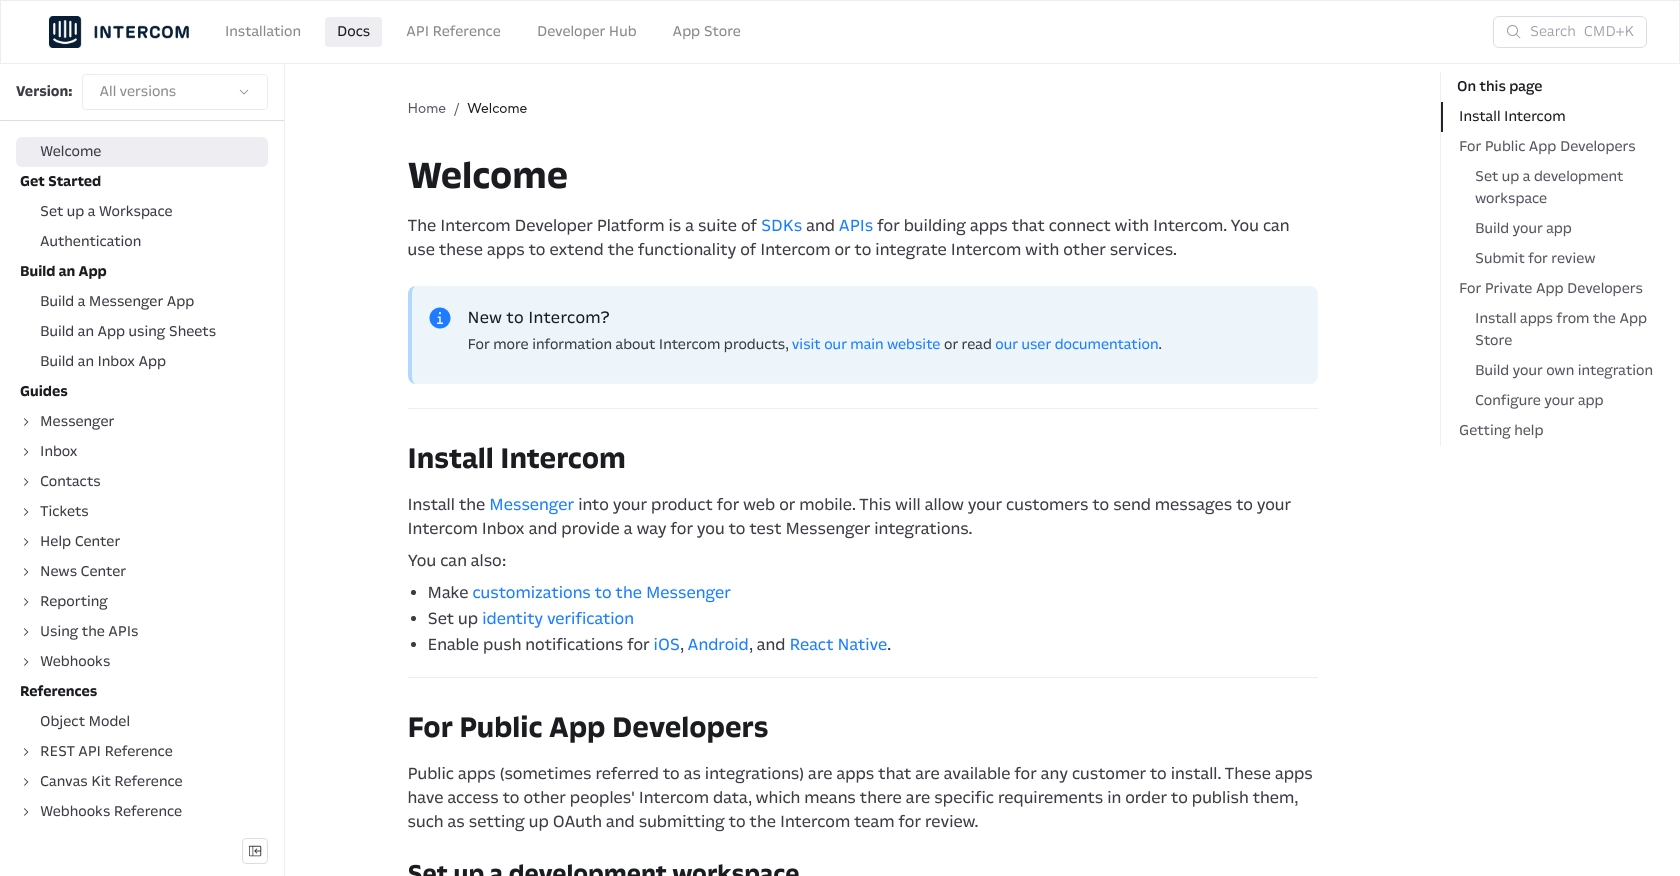
Before you can start integrating with the Intercom API, you'll need to set up a test or sandbox account. This will allow you to safely experiment with the API without affecting your live data. Intercom provides a development workspace for this purpose.
Creating an Intercom Development Workspace
To begin, you'll need to create a development workspace on Intercom. This is a free account that gives you access to the Developer Hub, where you can configure your app and set up OAuth authentication.
- Visit the Intercom Developer Hub and sign up for a development workspace.
- Once your account is created, navigate to the Developer Hub to manage your apps and integrations.
Configuring OAuth for Intercom API Access
Intercom uses OAuth for authentication, which allows your app to access user data securely. Follow these steps to set up OAuth:
- In the Developer Hub, create a new app and select the option to use OAuth.
- Provide the necessary information, including redirect URLs. Ensure these URLs use HTTPS as required by Intercom.
- Select the permissions your app needs. For accessing contacts, ensure you have the appropriate scopes checked.
- Save your changes and note down the client_id and client_secret provided by Intercom.
For more details on setting up OAuth, refer to the Intercom OAuth documentation.
Generating an Access Token
Once OAuth is configured, you can generate an access token to authenticate API requests:
- Direct users to the authorization URL provided by Intercom, including your client_id and a unique state parameter.
- After users authorize your app, they will be redirected to your specified URL with an authorization code.
- Exchange this code for an access token by making a POST request to Intercom's token endpoint.
// Example JavaScript code to exchange authorization code for access token
const axios = require('axios');

async function getAccessToken(code) {
    const response = await axios.post('https://api.intercom.io/auth/eagle/token', {
        code: code,
        client_id: 'YOUR_CLIENT_ID',
        client_secret: 'YOUR_CLIENT_SECRET'
    });
    return response.data.access_token;
}
With the access token, you can now make authorized requests to the Intercom API. For more information on using the token, check the Intercom API documentation.
sbb-itb-96038d7
Making API Calls to Retrieve Contacts from Intercom Using JavaScript
To interact with the Intercom API and retrieve contact information, you'll need to use JavaScript. This section will guide you through the process of making API calls, including setting up your environment and handling responses.
Setting Up Your JavaScript Environment for Intercom API
Before making API calls, ensure you have Node.js installed on your machine. You will also need the axios library to handle HTTP requests. If you haven't installed it yet, you can do so using npm:
npm install axios
Example Code to Retrieve Contacts from Intercom
Once your environment is ready, you can use the following JavaScript code to fetch contacts from Intercom:
const axios = require('axios');
async function getContacts(accessToken) {
try {
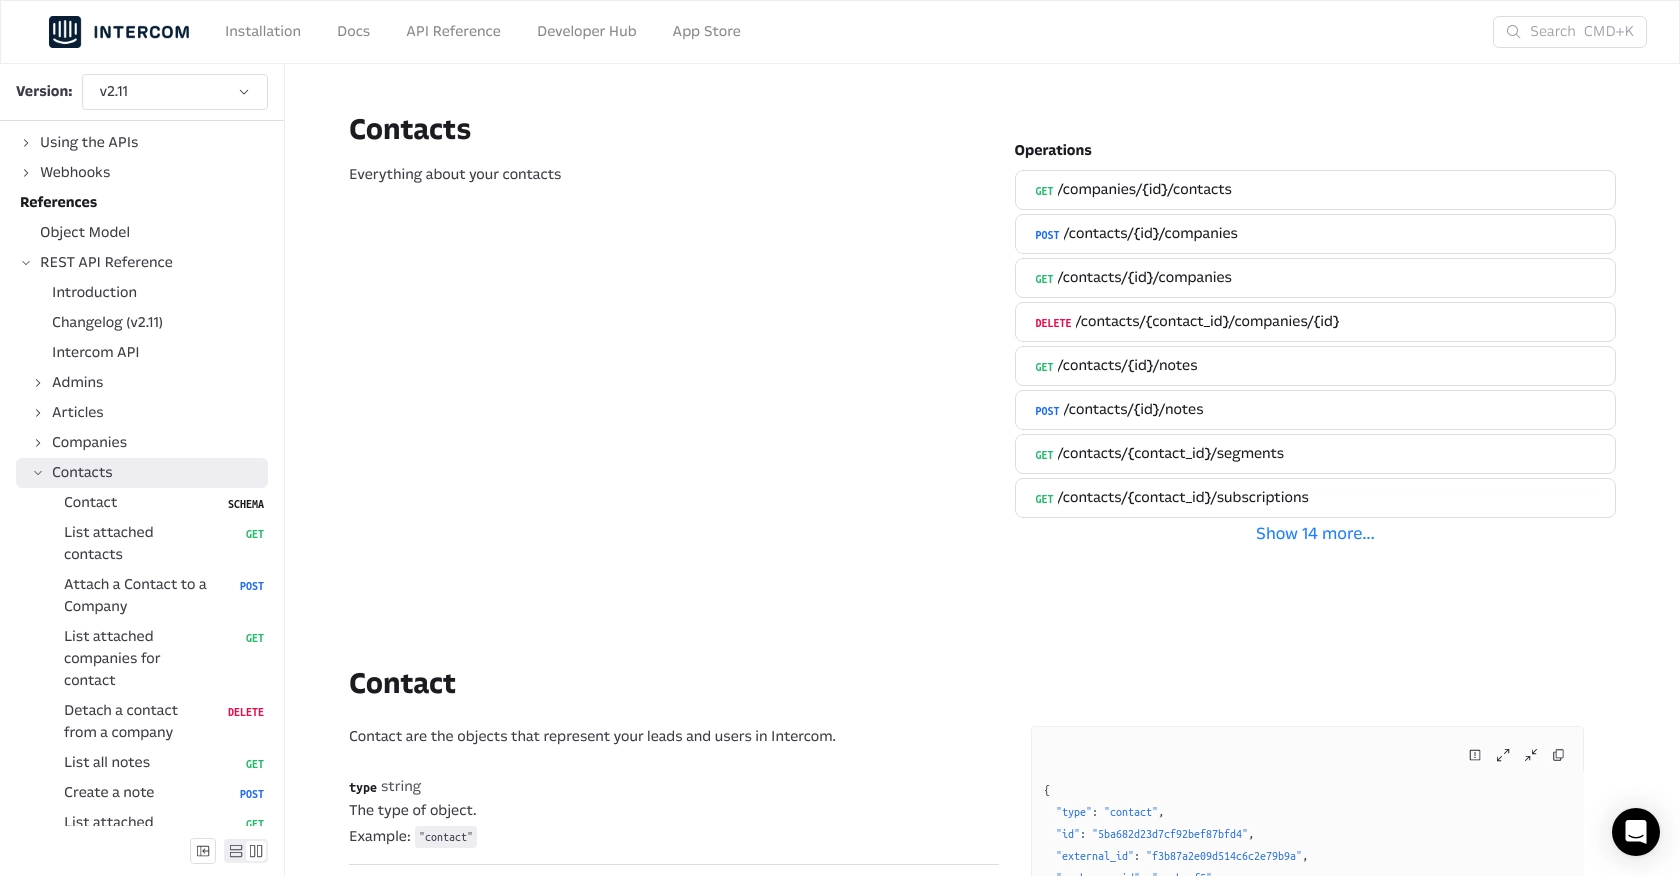
const response = await axios.get('https://api.intercom.io/contacts', {
headers: {
'Authorization': `Bearer ${accessToken}`,
'Intercom-Version': '2.11'
}
});
return response.data;
} catch (error) {
console.error('Error fetching contacts:', error.response.data);
}
}
// Example usage
const accessToken = 'YOUR_ACCESS_TOKEN';
getContacts(accessToken).then(data => console.log(data));
Replace YOUR_ACCESS_TOKEN with the access token you obtained during the OAuth setup. This code sends a GET request to the Intercom API to retrieve a list of contacts.
Understanding the API Response and Handling Errors
The response from the Intercom API will include a list of contact objects. You can iterate over this list to access individual contact details. If the request fails, the error handling block will log the error details to the console.
To verify the request's success, check the response data for the expected contacts. You can also cross-reference this with your Intercom development workspace to ensure the data matches.
Handling Common Errors and Status Codes
When making API calls, you may encounter various HTTP status codes. Here are some common ones:
- 200 OK: The request was successful, and the contacts were retrieved.
- 401 Unauthorized: The access token is invalid or expired. Ensure your token is correct and hasn't expired.
- 404 Not Found: The requested resource could not be found. Check the endpoint URL.
For more detailed error handling, refer to the Intercom API documentation.
Conclusion and Best Practices for Using Intercom API with JavaScript
Integrating with the Intercom API using JavaScript can significantly enhance your ability to manage customer interactions and data. By following the steps outlined in this guide, you can efficiently retrieve and handle contact information, streamlining your customer engagement processes.
Best Practices for Secure and Efficient Intercom API Integration
- Securely Store Credentials: Always store your client credentials and access tokens securely. Avoid hardcoding them in your source code. Consider using environment variables or a secure vault.
- Handle Rate Limiting: Be mindful of Intercom's rate limits to prevent API request failures. Implement retry logic with exponential backoff to handle rate limit errors gracefully.
- Data Standardization: Ensure that the data retrieved from Intercom is standardized and transformed as needed to fit your application's data model.
- Monitor API Usage: Regularly monitor your API usage and error logs to identify and resolve issues promptly.
Streamlining Integrations with Endgrate
While integrating with Intercom is powerful, managing multiple integrations can be complex and time-consuming. Endgrate offers a unified API solution that simplifies this process by allowing you to connect with multiple platforms through a single endpoint.
By leveraging Endgrate, you can save time and resources, focusing on your core product development while ensuring a seamless integration experience for your customers. Visit Endgrate to learn more about how it can enhance your integration strategy.
Read More

Ready to get started?
