Using the Klaviyo API to Create or Update Profiles (with PHP examples)
Introduction to Klaviyo API for Profile Management
Klaviyo is a powerful email and SMS marketing platform that leverages data science to deliver personalized customer experiences at scale. With its robust API, developers can seamlessly integrate Klaviyo into their applications to manage customer profiles, track events, and automate marketing workflows.
Connecting with Klaviyo's API allows developers to create or update customer profiles efficiently, enabling businesses to maintain accurate and up-to-date customer data. For example, a developer might use the Klaviyo API to automatically update customer profiles with new purchase information from an e-commerce platform, ensuring that marketing campaigns are always targeting the right audience.
This article will guide you through using PHP to interact with the Klaviyo API for creating or updating profiles, providing practical examples and best practices for seamless integration.
Setting Up Your Klaviyo Test Account and Obtaining API Credentials
Before you can start integrating with the Klaviyo API, you need to set up a test account and obtain the necessary API credentials. This will allow you to authenticate your requests and interact with Klaviyo's API securely.
Creating a Klaviyo Test Account
If you don't already have a Klaviyo account, you can sign up for a free account on the Klaviyo website. This will give you access to the platform's features and allow you to test API interactions without affecting live data.
- Visit the Klaviyo website and click on "Sign Up".
- Follow the on-screen instructions to create your account.
- Once your account is set up, log in to access the Klaviyo dashboard.
Generating Klaviyo API Credentials
To interact with the Klaviyo API, you'll need to generate API credentials. Klaviyo uses API keys for authentication, which you can create from your account settings.
- Navigate to the "Account" section in the Klaviyo dashboard.
- Select "Settings" and then "API Keys" from the menu.
- Click on "Create API Key" to generate a new private API key.
- Copy the generated API key and store it securely, as it will be used to authenticate your API requests.
Ensure that you have the appropriate permissions set for your API key. You can manage scopes to restrict access and protect your data. For creating or updating profiles, ensure the profiles:write scope is enabled.
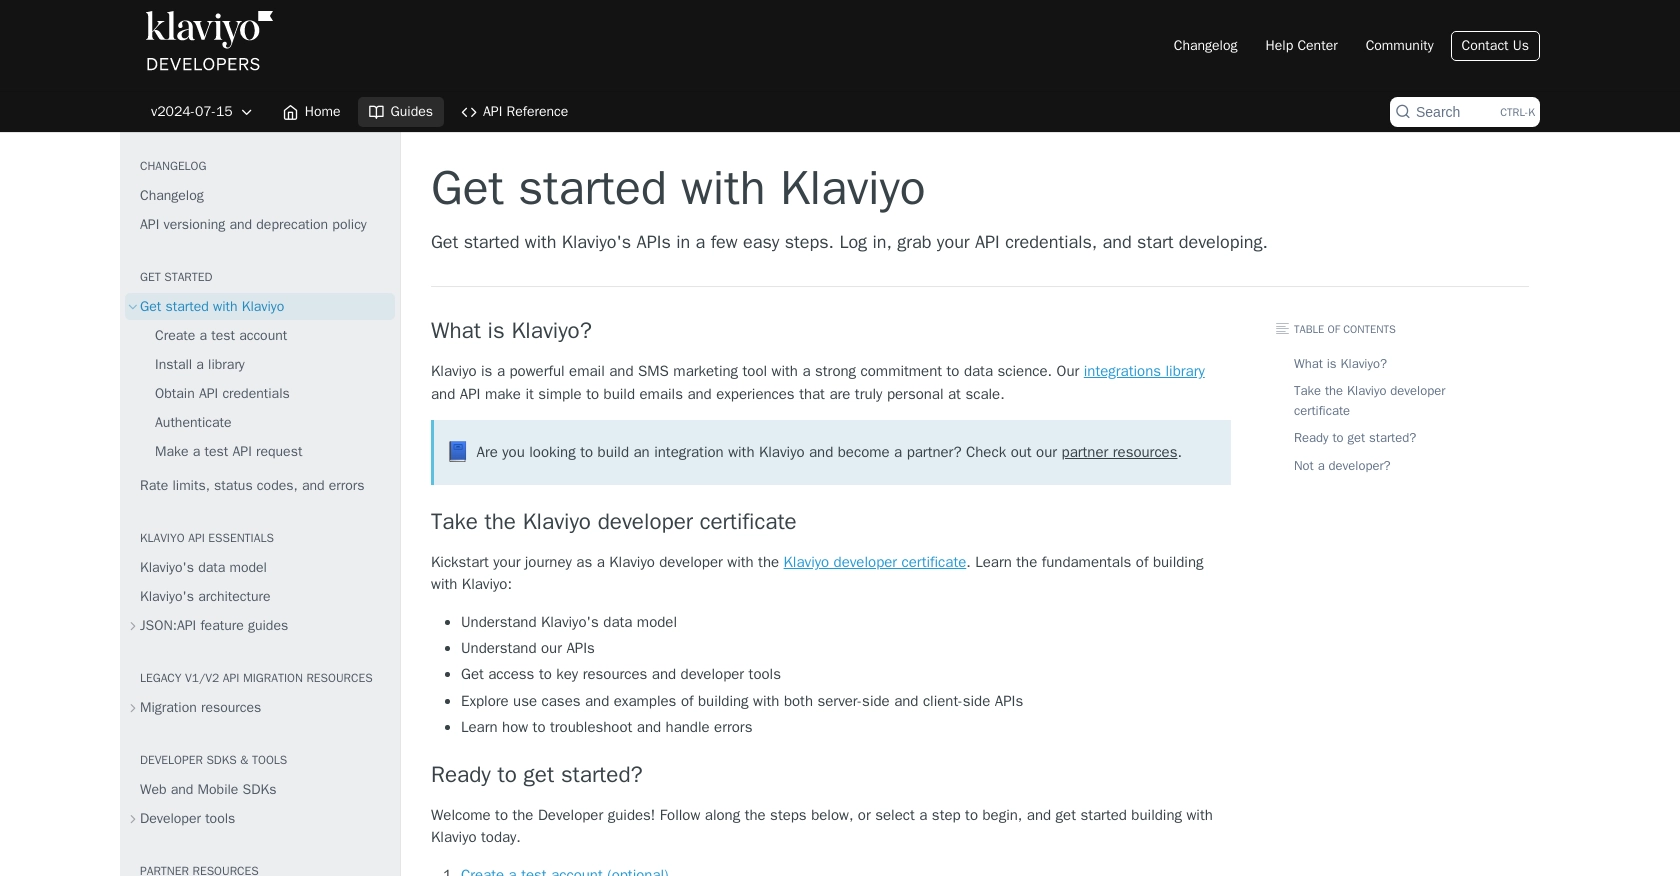
For more detailed instructions, refer to the official Klaviyo documentation on retrieving API credentials.
sbb-itb-96038d7
Making API Calls to Klaviyo for Profile Management Using PHP
To interact with the Klaviyo API for creating or updating profiles, you'll need to use PHP to make HTTP requests. This section will guide you through the process of setting up your PHP environment, writing the necessary code, and handling responses and errors effectively.
Setting Up Your PHP Environment for Klaviyo API Integration
Before you begin, ensure that you have PHP installed on your machine. You can download it from the official PHP website. Additionally, you'll need the cURL extension enabled to make HTTP requests.
- Verify your PHP installation by running
php -vin your terminal. - Ensure
cURLis enabled by checking yourphp.inifile or runningphp -m | grep curl.
Creating a New Profile with Klaviyo API Using PHP
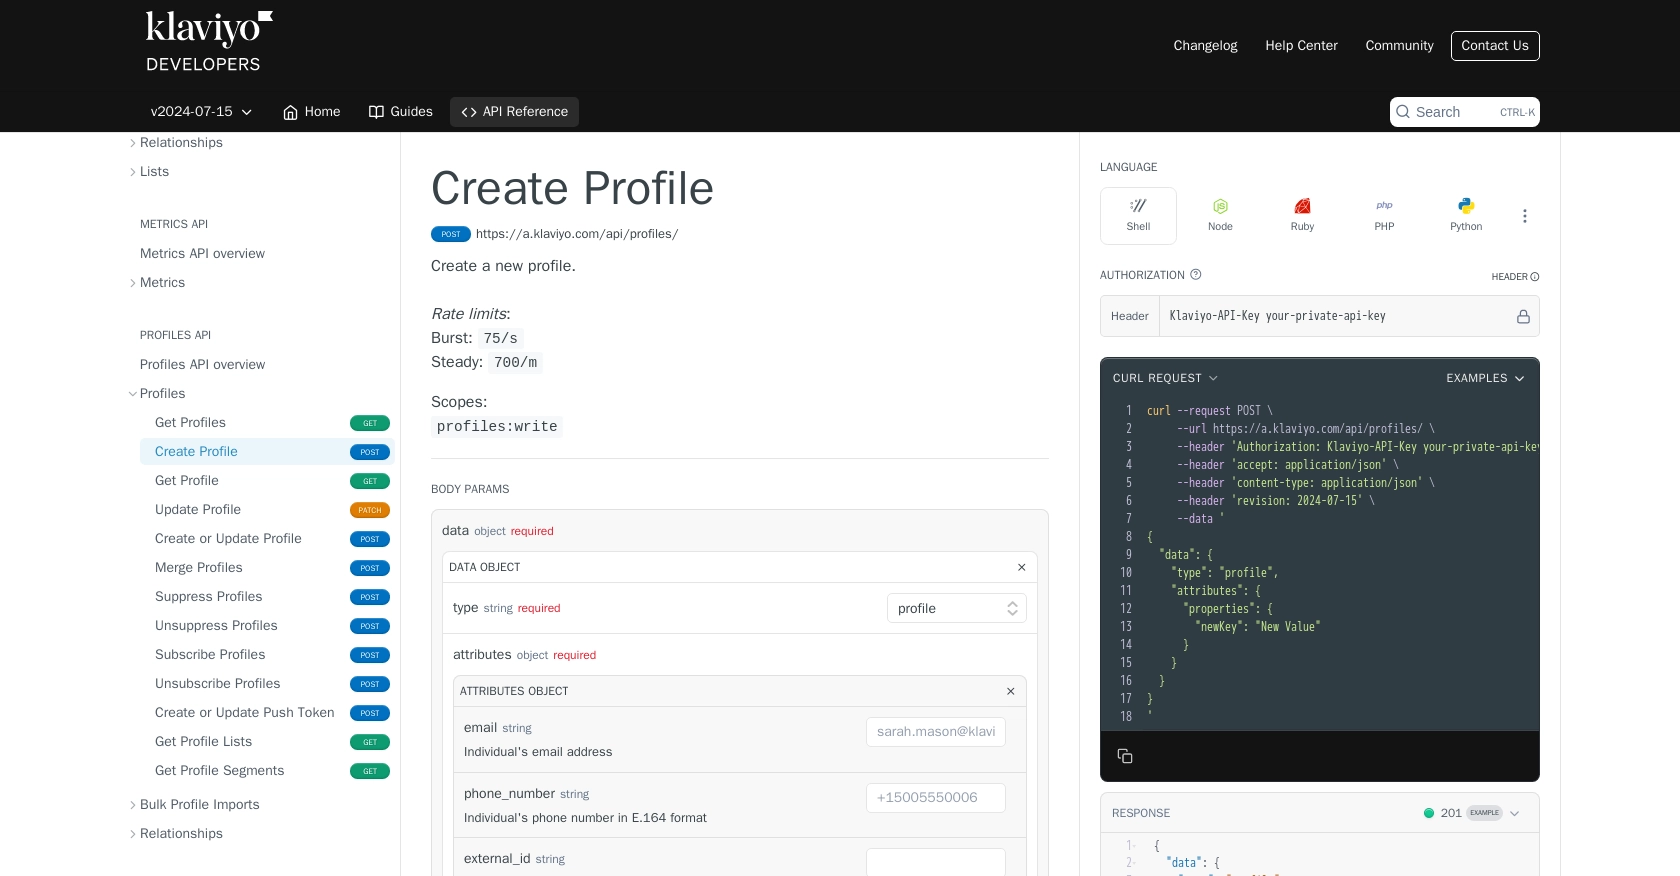
To create a new profile in Klaviyo, you'll need to send a POST request to the Klaviyo API endpoint. Below is a sample PHP script to accomplish this:
<?php
$apiKey = 'your-private-api-key';
$url = 'https://a.klaviyo.com/api/profiles/';

$data = [
    'data' => [
        'type' => 'profile',
        'attributes' => [
            'email' => 'example@example.com',
            'first_name' => 'John',
            'last_name' => 'Doe'
        ]
    ]
];

$options = [
    CURLOPT_URL => $url,
    CURLOPT_RETURNTRANSFER => true,
    CURLOPT_HTTPHEADER => [
        'Authorization: Klaviyo-API-Key ' . $apiKey,
        'Content-Type: application/json',
        'Accept: application/json'
    ],
    CURLOPT_POST => true,
    CURLOPT_POSTFIELDS => json_encode($data)
];

$ch = curl_init();
curl_setopt_array($ch, $options);
$response = curl_exec($ch);
curl_close($ch);

echo $response;
?>
Replace your-private-api-key with your actual API key. This script sends a POST request to create a new profile with the specified attributes.
Updating an Existing Profile with Klaviyo API Using PHP
To update an existing profile, you'll need to send a PATCH request to the Klaviyo API with the profile ID. Here's how you can do it:
<?php
$apiKey = 'your-private-api-key';
$profileId = 'profile-id';
$url = 'https://a.klaviyo.com/api/profiles/' . $profileId . '/';

$data = [
    'data' => [
        'type' => 'profile',
        'id' => $profileId,
        'attributes' => [
            'first_name' => 'Jane',
            'last_name' => 'Smith'
        ]
    ]
];

$options = [
    CURLOPT_URL => $url,
    CURLOPT_RETURNTRANSFER => true,
    CURLOPT_HTTPHEADER => [
        'Authorization: Klaviyo-API-Key ' . $apiKey,
        'Content-Type: application/json',
        'Accept: application/json'
    ],
    CURLOPT_CUSTOMREQUEST => 'PATCH',
    CURLOPT_POSTFIELDS => json_encode($data)
];

$ch = curl_init();
curl_setopt_array($ch, $options);
$response = curl_exec($ch);
curl_close($ch);

echo $response;
?>
Replace profile-id with the ID of the profile you wish to update. This script updates the profile's first and last name.
Handling API Responses and Errors
After making an API call, it's crucial to handle the response and any potential errors. Klaviyo's API uses standard HTTP status codes to indicate success or failure:
- 2xx: Success
- 4xx: Client error (e.g., invalid request)
- 5xx: Server error
For more information on error handling, refer to the Klaviyo documentation.
Implement error handling in your PHP script by checking the response code and taking appropriate action, such as logging errors or retrying requests.
Conclusion and Best Practices for Using Klaviyo API with PHP
Integrating with the Klaviyo API using PHP allows developers to efficiently manage customer profiles, ensuring that marketing efforts are always aligned with the most current data. By following the steps outlined in this guide, you can create and update profiles seamlessly, enhancing your application's functionality and user experience.
Best Practices for Secure and Efficient Klaviyo API Integration
- Secure API Keys: Always store your API keys securely and avoid exposing them in client-side code or public repositories.
- Handle Rate Limits: Be mindful of Klaviyo's rate limits, which are 75 requests per second and 700 requests per minute. Implement logic to handle HTTP 429 errors by using exponential backoff strategies. For more details, refer to the Klaviyo rate limits documentation.
- Data Validation: Ensure that the data being sent to the API is validated and sanitized to prevent errors and maintain data integrity.
- Error Handling: Implement robust error handling to manage different HTTP status codes effectively, logging errors for further analysis.
- Optimize API Calls: Minimize the number of API calls by batching updates where possible and only requesting necessary data fields.
Enhancing Your Integration with Endgrate
While integrating with Klaviyo's API directly is powerful, using a tool like Endgrate can further streamline the process. Endgrate offers a unified API endpoint that connects to multiple platforms, including Klaviyo, allowing you to manage integrations more efficiently. This means you can focus on your core product while Endgrate handles the complexities of integration.
Explore how Endgrate can save you time and resources by visiting Endgrate's website and discover how it can enhance your integration strategy.
Read More
- https://endgrate.com/provider/klaviyo
- https://developers.klaviyo.com/en/docs/get_started
- https://developers.klaviyo.com/en/docs/retrieve_api_credentials
- https://developers.klaviyo.com/en/docs/rate_limits_and_error_handling
- https://developers.klaviyo.com/en/reference/create_profile
- https://developers.klaviyo.com/en/reference/update_profile

Ready to get started?
