Using the Jira API to Get Users (with Javascript examples)
Introduction to Jira API Integration
Jira is a powerful project management tool developed by Atlassian, widely used for tracking and managing software development projects. It offers robust features for issue tracking, agile project management, and team collaboration, making it a popular choice among software development teams.
Integrating with the Jira API allows developers to automate and enhance their workflows by accessing Jira's extensive data and functionalities programmatically. For example, a developer might want to retrieve user information from Jira to synchronize user data across multiple platforms or to generate detailed reports on user activity within a project.
This article will guide you through the process of using JavaScript to interact with the Jira API, specifically focusing on retrieving user information. By the end of this tutorial, you'll be equipped with the knowledge to efficiently access and manage user data within Jira, streamlining your development processes.
Setting Up Your Jira Test/Sandbox Account for API Integration
Before diving into the Jira API integration, it's essential to set up a Jira test or sandbox account. This environment allows you to safely experiment with API calls without affecting live data. Jira offers a free trial that can be used for testing purposes.
Creating a Jira Account
If you don't have a Jira account, follow these steps to create one:
- Visit the Jira Software free trial page.
- Fill out the registration form with your details and submit it.
- Verify your email address by clicking the link sent to your inbox.
- Log in to your new Jira account.
Setting Up OAuth 2.0 for Jira API Access
Jira uses OAuth 2.0 for secure API access. Follow these steps to set up OAuth 2.0:
- Navigate to the Atlassian Developer Console and log in with your Jira credentials.
- Click on Create App to start a new application.
- Provide a name for your app and select OAuth 2.0 (3LO) as the authentication method.
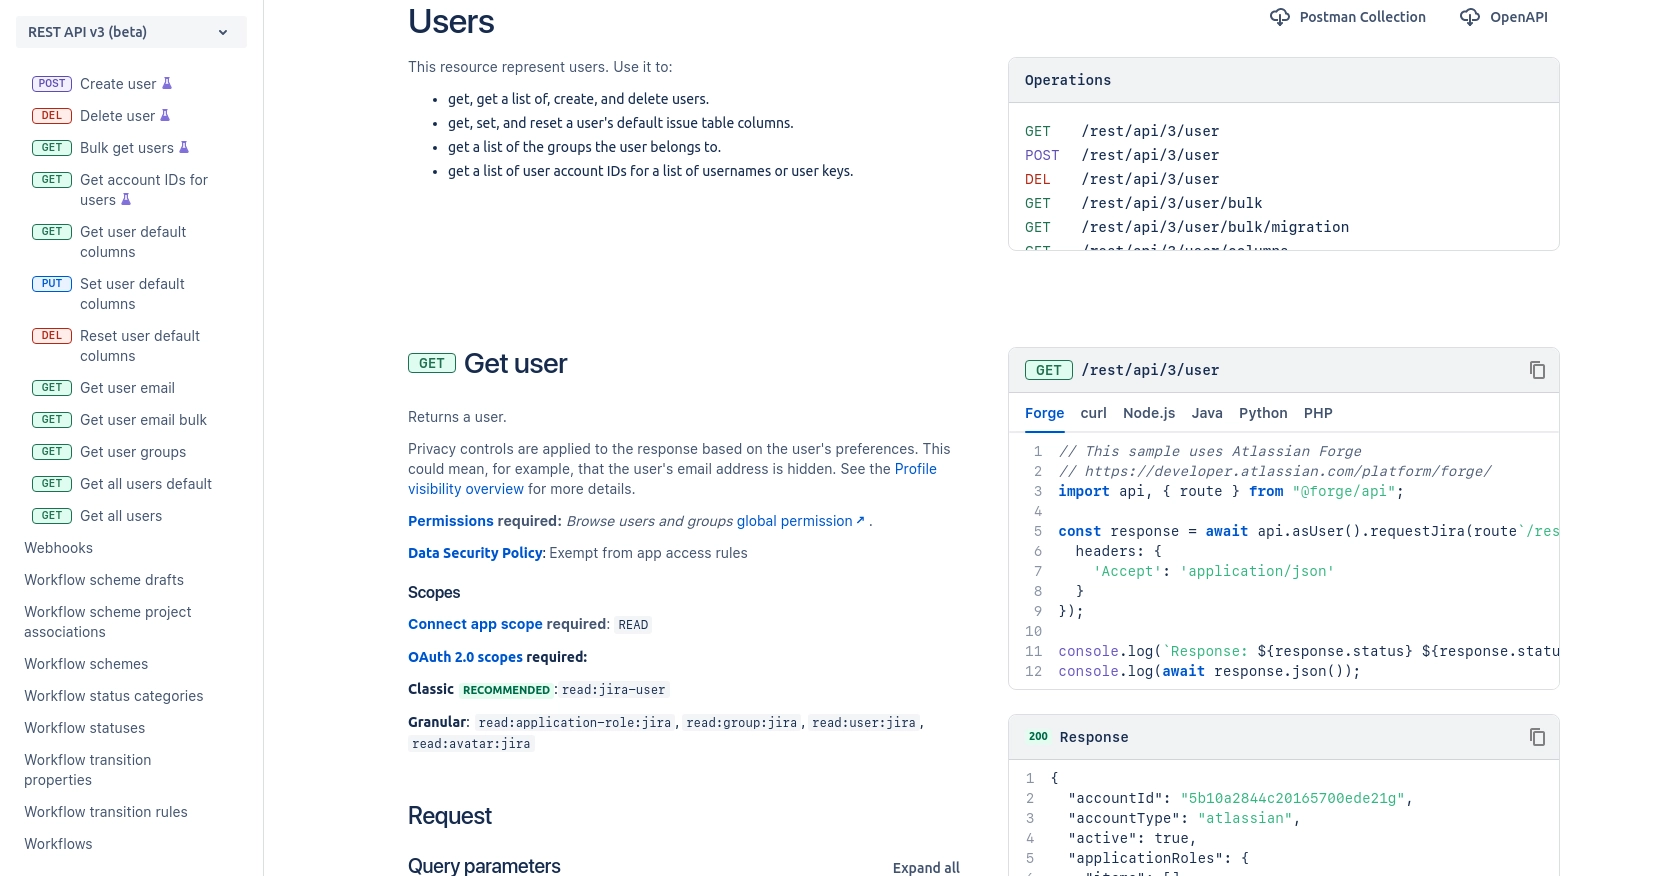
- Define the necessary scopes for your app. For retrieving user information, you will need the
read:user:jirascope. Refer to the Jira Software scopes documentation for more details. - Save your app configuration to generate the Client ID and Client Secret.
Generating Access Tokens
With your app set up, you can now generate access tokens to authenticate API requests:
- Use the Client ID and Client Secret to request an access token from the Jira authorization server.
- Follow the OAuth 2.0 authorization code flow to obtain the token. Detailed steps can be found in the Jira REST API documentation.
- Store the access token securely, as it will be used in the authorization header for API requests.
With your Jira test account and OAuth 2.0 authentication set up, you're ready to start making API calls to retrieve user information using JavaScript.
sbb-itb-96038d7
Making API Calls to Retrieve Jira Users with JavaScript
Now that you have your Jira test account and OAuth 2.0 authentication set up, it's time to make API calls to retrieve user information. This section will guide you through the process of using JavaScript to interact with the Jira API, focusing on retrieving user data.
JavaScript Prerequisites and Setup for Jira API Integration
Before you begin, ensure you have the following prerequisites:
- Node.js installed on your machine.
- A text editor or IDE for writing JavaScript code.
- The
axioslibrary for making HTTP requests. You can install it using the following command:
npm install axiosJavaScript Code to Retrieve Users from Jira API
Let's write a JavaScript script to retrieve user information from Jira using the axios library. Create a file named getJiraUsers.js and add the following code:
const axios = require('axios');

// Set the API endpoint and headers
const endpoint = 'https://your-domain.atlassian.net/rest/api/3/users/search';
const headers = {
    'Authorization': 'Bearer YOUR_ACCESS_TOKEN',
    'Accept': 'application/json'
};

// Function to get users
async function getUsers() {
    try {
        const response = await axios.get(endpoint, { headers });
        const users = response.data;

        // Output user information
        users.forEach(user => {
            console.log(`Name: ${user.displayName}, Email: ${user.emailAddress}`);
        });
    } catch (error) {
        console.error('Error fetching users:', error.response ? error.response.data : error.message);
    }
}

// Execute the function
getUsers();
Replace YOUR_ACCESS_TOKEN with the access token you obtained earlier. This script sets up the necessary headers and makes a GET request to the Jira API to retrieve user information.
Running the JavaScript Script and Verifying Output
To run the script, use the following command in your terminal:
node getJiraUsers.jsIf the request is successful, you should see a list of users with their names and email addresses printed in the console. If there are any errors, the script will output the error message for troubleshooting.
Handling Errors and Understanding Jira API Response Codes
When interacting with the Jira API, it's crucial to handle potential errors gracefully. Common HTTP response codes include:
- 200 OK: The request was successful, and the response contains the requested data.
- 401 Unauthorized: Authentication failed. Check your access token.
- 403 Forbidden: You do not have permission to access the requested resource.
- 404 Not Found: The requested resource does not exist.
Refer to the Jira API documentation for more details on response codes and error handling.
Best Practices for Using the Jira API in JavaScript
When working with the Jira API, it's essential to follow best practices to ensure efficient and secure integration. Here are some recommendations:
- Secure Storage of Credentials: Always store your OAuth tokens securely. Consider using environment variables or a secure vault to manage sensitive information.
- Rate Limiting Awareness: Be mindful of Jira's rate limits to avoid throttling. Implement retry logic with exponential backoff to handle rate limit responses gracefully.
- Data Transformation and Standardization: When retrieving user data, ensure that the data is transformed and standardized to fit your application's requirements.
- Error Handling: Implement comprehensive error handling to manage different HTTP response codes and provide meaningful feedback to users or logs for debugging.
Streamlining Jira Integrations with Endgrate
While integrating with the Jira API can enhance your development processes, managing multiple integrations can become complex and time-consuming. This is where Endgrate can be a game-changer.
Endgrate offers a unified API endpoint that connects to various platforms, including Jira. By using Endgrate, you can:
- Save Time and Resources: Outsource your integrations and focus on your core product development.
- Build Once, Use Everywhere: Develop a single integration for each use case and apply it across multiple platforms.
- Enhance Customer Experience: Provide your customers with a seamless and intuitive integration experience.
Explore how Endgrate can simplify your integration needs by visiting Endgrate today.
Read More

Ready to get started?
