Using the Lemlist API to Create or Update Leads (with Javascript examples)
Introduction to Lemlist API Integration
Lemlist is a powerful sales engagement platform that enables businesses to personalize and automate their email outreach campaigns. With its robust features, Lemlist helps sales teams increase their response rates and build meaningful relationships with prospects.
Integrating with the Lemlist API allows developers to efficiently manage leads by creating or updating them directly from their applications. For example, a developer might want to automatically update lead information in Lemlist whenever a prospect interacts with a marketing campaign, ensuring that the sales team always has the most up-to-date data.
This article will guide you through using the Lemlist API with JavaScript to create or update leads, providing you with practical examples and insights to streamline your sales processes.
Setting Up Your Lemlist Test or Sandbox Account
Before you can start using the Lemlist API to create or update leads, you'll need to set up a Lemlist account. This process is straightforward and will allow you to access the necessary API credentials to authenticate your requests.
Creating a Lemlist Account
If you don't already have a Lemlist account, you can sign up for a free trial on the Lemlist website. This will give you access to the platform's features and allow you to explore its capabilities.
- Visit the Lemlist website and click on the "Start Free Trial" button.
- Fill out the registration form with your details and follow the instructions to create your account.
- Once your account is set up, log in to access the Lemlist dashboard.
Generating Your Lemlist API Key
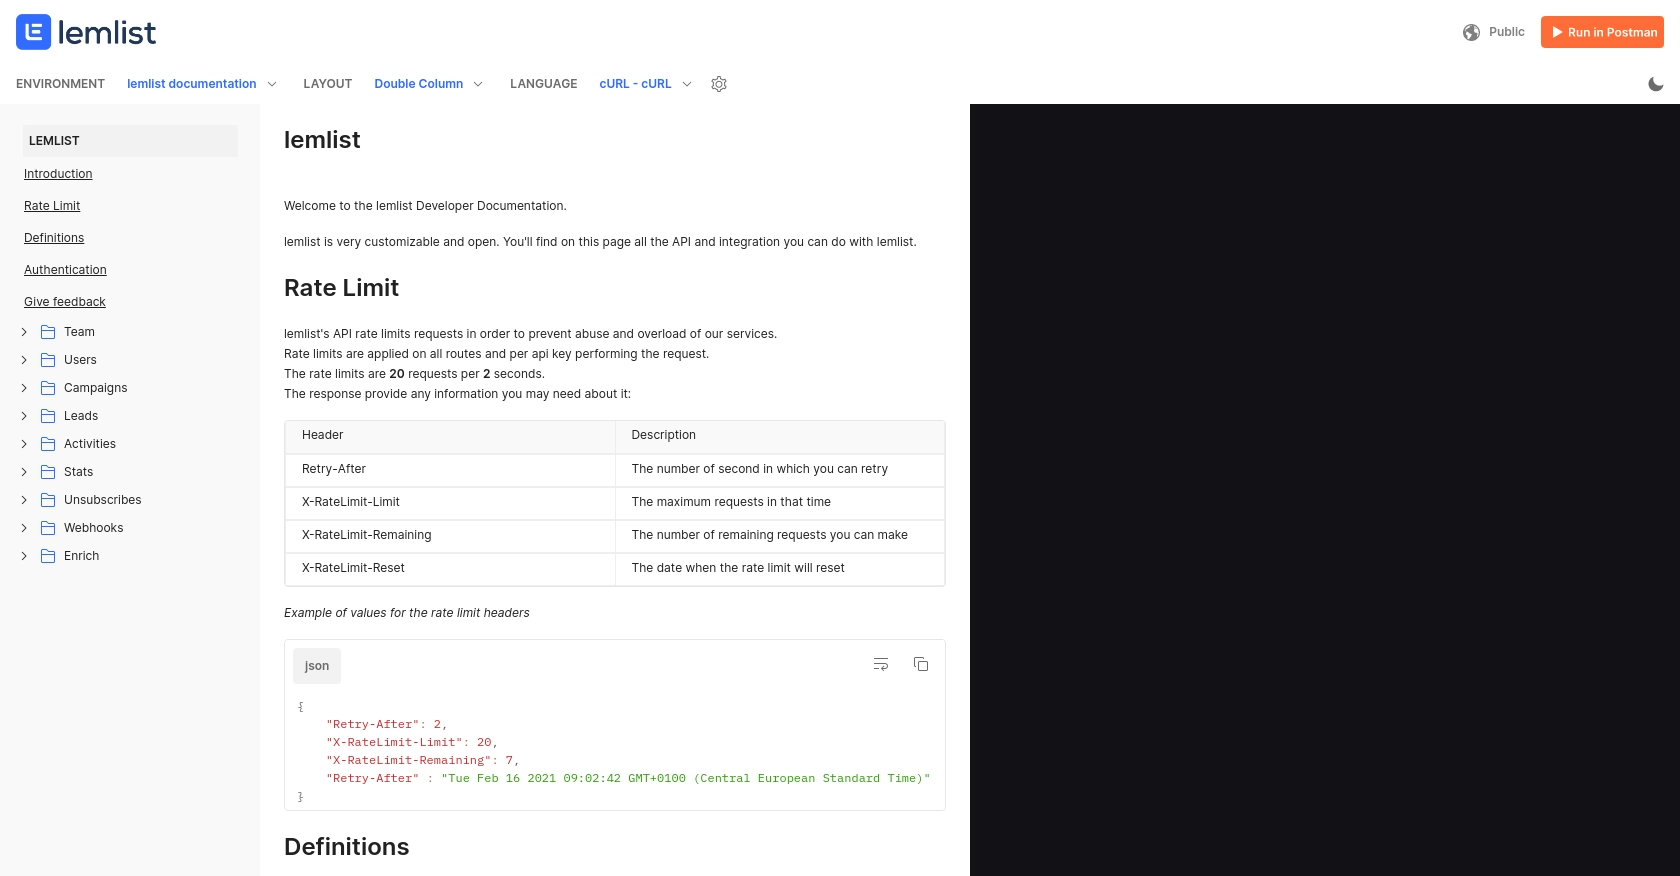
Lemlist uses API key-based authentication to secure its API requests. Follow these steps to generate your API key:
- Log in to your Lemlist account and navigate to the "Settings" section.
- Under "API & Integrations," find the option to generate a new API key.
- Click on "Generate API Key" and copy the key provided. Make sure to store it securely as you'll need it for API requests.
With your Lemlist account and API key ready, you're all set to start integrating with the Lemlist API. In the next section, we'll explore how to make API calls using JavaScript to create or update leads.
sbb-itb-96038d7
Making API Calls with JavaScript to Create or Update Leads in Lemlist
To interact with the Lemlist API using JavaScript, you'll need to ensure you have the right setup and dependencies. This section will guide you through the process of making API calls to create or update leads, complete with example code and expected outputs.
JavaScript Environment Setup for Lemlist API Integration
Before diving into the code, make sure you have Node.js installed on your machine. You can download it from the official Node.js website. Node.js comes with npm, which you'll use to manage dependencies.
- Ensure you have Node.js version 14 or higher.
- Install the Axios library for making HTTP requests by running the following command in your terminal:
npm install axiosCreating or Updating Leads with the Lemlist API
With your environment set up, you can now write the JavaScript code to interact with the Lemlist API. Below is an example of how to create or update a lead.
const axios = require('axios');

// Set the API endpoint and headers
const endpoint = 'https://api.lemlist.com/leads';
const apiKey = 'Your_API_Key'; // Replace with your actual API key

// Define the lead data
const leadData = {
    email: 'example@domain.com',
    firstName: 'John',
    lastName: 'Doe',
    company: 'Example Corp'
};

// Function to create or update a lead
async function createOrUpdateLead() {
    try {
        const response = await axios.post(endpoint, leadData, {
            headers: {
                'Authorization': `Bearer ${apiKey}`,
                'Content-Type': 'application/json'
            }
        });
        console.log('Lead created/updated successfully:', response.data);
    } catch (error) {
        console.error('Error creating/updating lead:', error.response ? error.response.data : error.message);
    }
}

// Execute the function
createOrUpdateLead();
In this code, we use Axios to send a POST request to the Lemlist API. The leadData object contains the information for the lead you want to create or update. Make sure to replace Your_API_Key with your actual API key.
Verifying Successful API Requests in Lemlist
After running the code, you should verify that the lead was created or updated successfully in your Lemlist account. Log in to the Lemlist dashboard and navigate to the leads section to check for the new or updated lead entry.
Handling Errors and Common Error Codes
When making API calls, it's crucial to handle potential errors gracefully. The example code above includes basic error handling, logging the error message if the request fails. Common error codes you might encounter include:
- 400 Bad Request: The request was invalid. Check the data being sent.
- 401 Unauthorized: The API key is missing or incorrect.
- 404 Not Found: The endpoint URL is incorrect.
For more detailed error information, refer to the Lemlist API documentation.
Conclusion and Best Practices for Lemlist API Integration
Integrating with the Lemlist API using JavaScript allows developers to efficiently manage leads, enhancing the sales process by ensuring that lead data is always current and accessible. By following the steps outlined in this article, you can create or update leads seamlessly, leveraging Lemlist's powerful sales engagement platform.
Best Practices for Secure and Efficient API Usage
- Secure API Key Storage: Always store your API keys securely, using environment variables or a secure vault, to prevent unauthorized access.
- Handle Rate Limiting: Be mindful of any rate limits imposed by Lemlist to avoid exceeding the allowed number of requests. Implement exponential backoff strategies if necessary.
- Data Standardization: Ensure that lead data is standardized before sending it to Lemlist to maintain consistency and accuracy across your systems.
- Error Handling: Implement robust error handling to manage API call failures gracefully, providing informative feedback to users or triggering retries when appropriate.
Streamlining Integrations with Endgrate
While integrating with Lemlist is a powerful way to enhance your sales processes, managing multiple integrations can be complex and time-consuming. Endgrate offers a unified API solution that simplifies this process, allowing you to focus on your core product while outsourcing integration management.
With Endgrate, you can build once for each use case and leverage a single API endpoint to connect with multiple platforms, including Lemlist. This not only saves time and resources but also provides an intuitive integration experience for your customers.
Explore how Endgrate can transform your integration strategy by visiting Endgrate and discover the benefits of a streamlined, efficient approach to API integrations.
Read More

Ready to get started?
