Using the Microsoft Dynamics 365 API to Create or Update Contact in Javascript

Introduction to Microsoft Dynamics 365 API
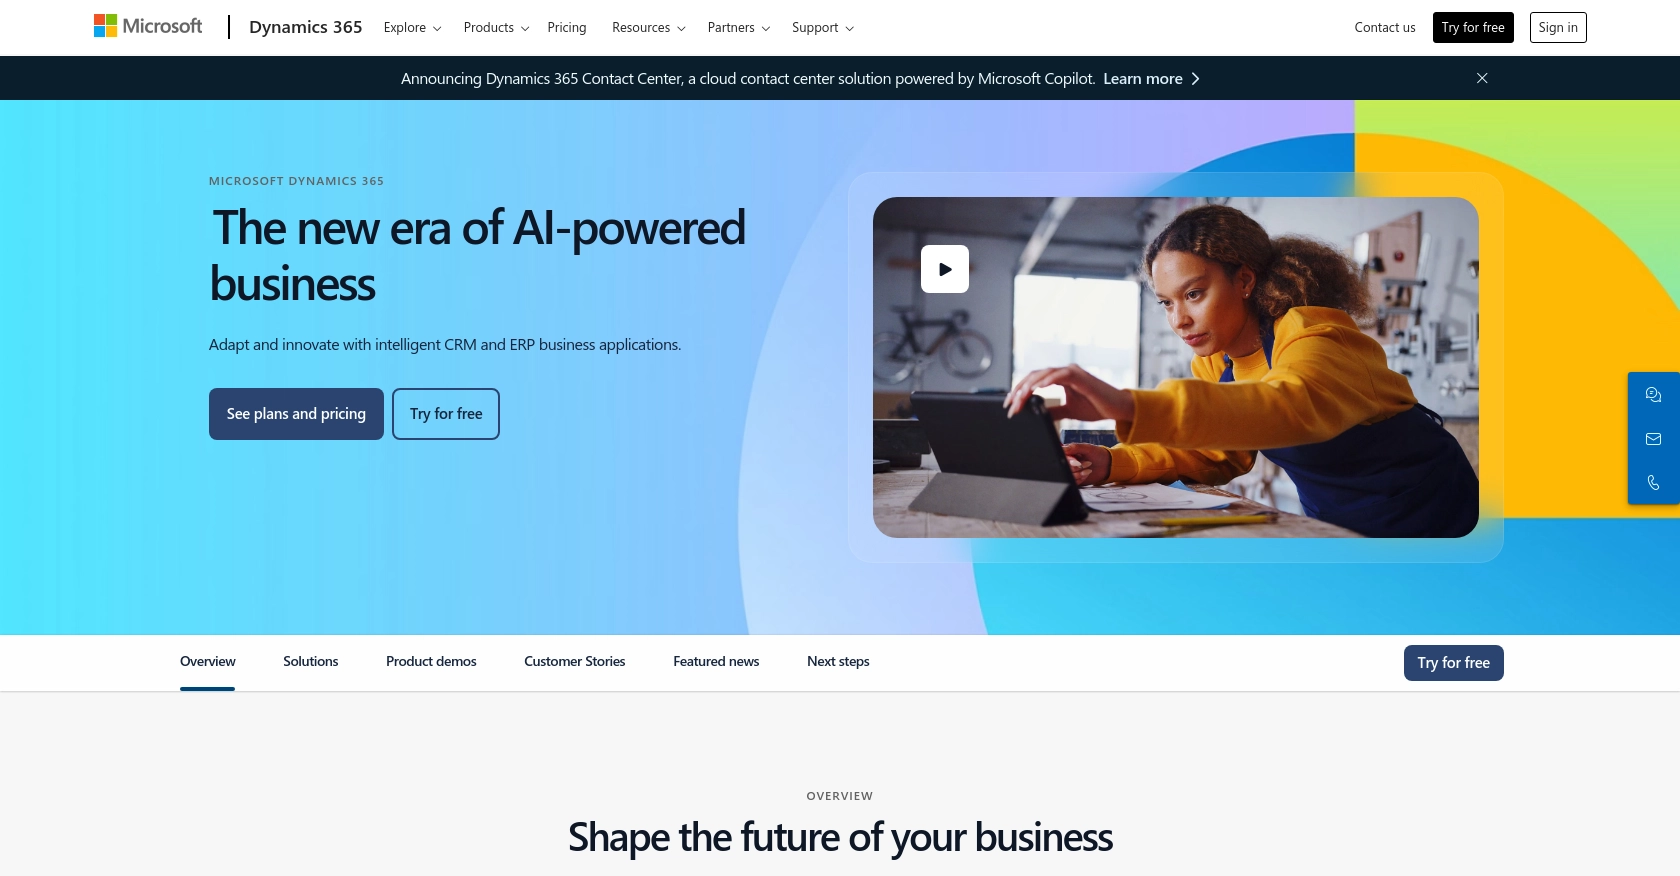
Microsoft Dynamics 365 is a comprehensive suite of business applications that combines CRM and ERP capabilities to streamline business processes and improve customer engagement. It offers a range of tools for sales, customer service, finance, and operations, making it a popular choice for businesses looking to enhance their productivity and customer relationships.
Integrating with the Microsoft Dynamics 365 API allows developers to automate and manage customer data efficiently. For example, you can create or update contact information directly within Dynamics 365 using JavaScript, enabling seamless data synchronization between your application and the CRM system.
This article will guide you through the process of using JavaScript to interact with the Microsoft Dynamics 365 API, focusing on creating or updating contact records. By following this tutorial, developers can leverage the API to enhance their applications and provide a more integrated experience for users.
Setting Up a Microsoft Dynamics 365 Test or Sandbox Account
Before you can start integrating with the Microsoft Dynamics 365 API, you need to set up a test or sandbox account. This environment allows you to safely develop and test your application without affecting live data.
Creating a Microsoft Dynamics 365 Free Trial Account
To begin, you can sign up for a free trial of Microsoft Dynamics 365. This trial provides access to most features and is ideal for testing API integrations.
- Visit the Microsoft Dynamics 365 website and click on the "Free Trial" option.
- Fill out the required information, including your email and company details, to create your account.
- Once registered, you will receive an email with instructions to access your Dynamics 365 environment.
Registering an Application in Microsoft Entra ID for OAuth Authentication
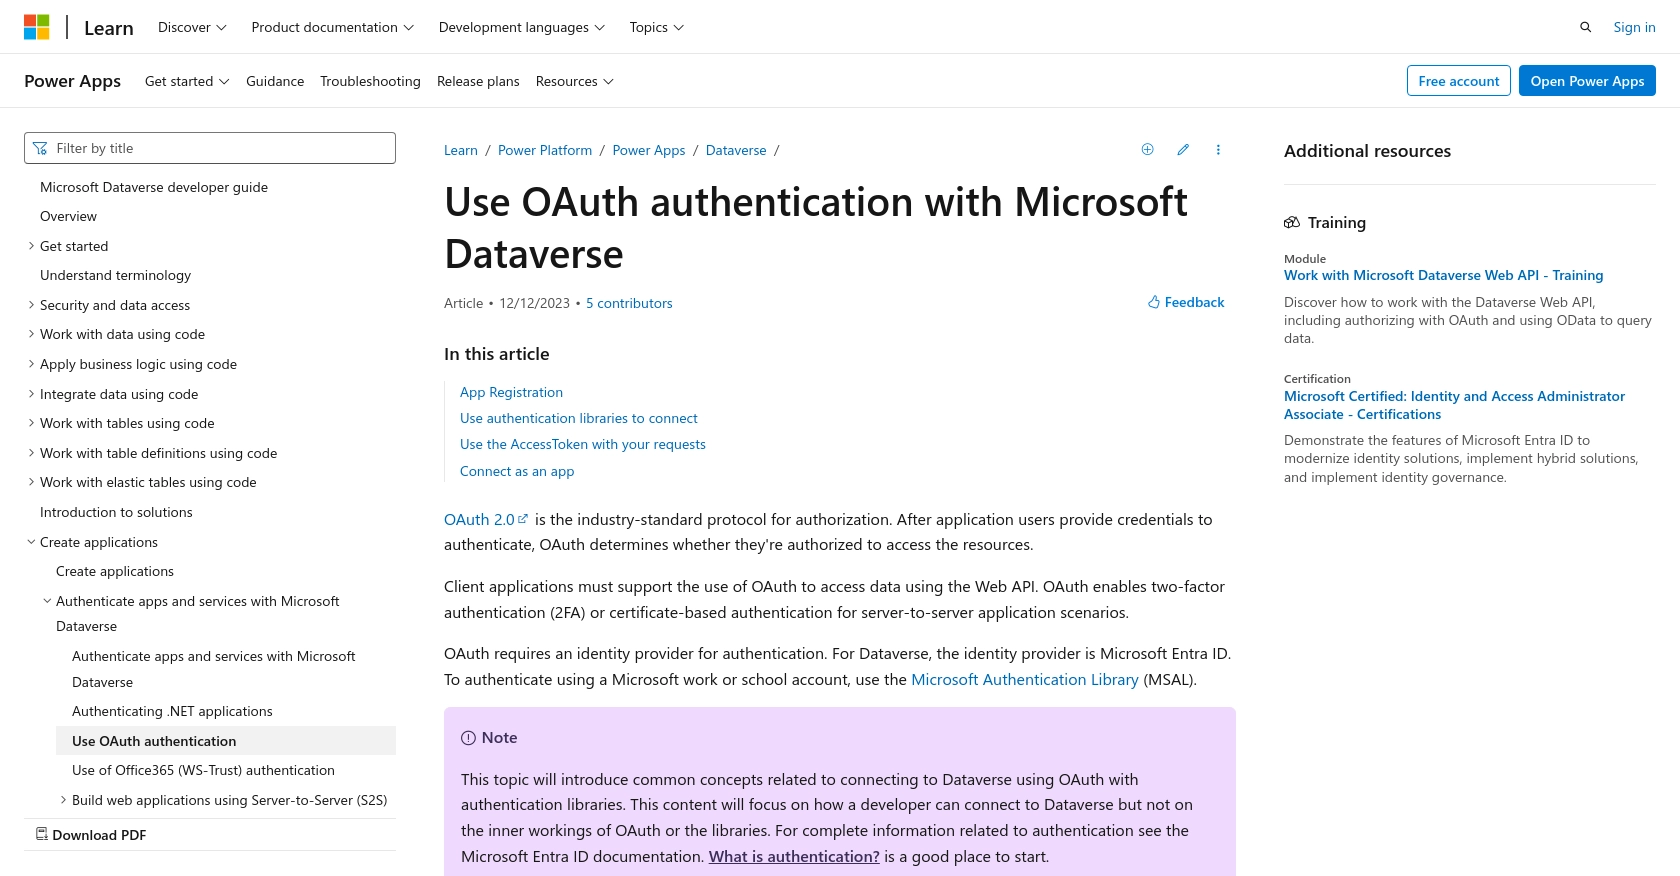
Since the Microsoft Dynamics 365 API uses OAuth for authentication, you need to register your application in Microsoft Entra ID to obtain the necessary credentials.
- Navigate to the Azure Portal and sign in with your Microsoft account.
- Go to "Azure Active Directory" and select "App registrations."
- Click "New registration" and provide a name for your application.
- Set the "Redirect URI" to a valid URL, such as
https://localhost, for local development. - After registration, note down the "Application (client) ID" and "Directory (tenant) ID."
Generating Client Secret for Microsoft Dynamics 365 API Access
To authenticate API requests, you need a client secret. Follow these steps to generate one:
- In your registered application, navigate to "Certificates & secrets."
- Under "Client secrets," click "New client secret."
- Provide a description and set an expiration period for the secret.
- Click "Add" and copy the generated secret value. Store it securely as it will not be displayed again.
Configuring API Permissions for Microsoft Dynamics 365
Ensure your application has the necessary permissions to interact with the Dynamics 365 API:
- In the Azure Portal, go to "API permissions" for your registered app.
- Click "Add a permission" and select "Dynamics CRM."
- Choose the appropriate permissions, such as "user_impersonation," to allow API access on behalf of a user.
- Click "Add permissions" and grant admin consent if required.
With your Microsoft Dynamics 365 test account and application registration complete, you are now ready to start integrating with the API using JavaScript.

sbb-itb-96038d7
Making API Calls to Microsoft Dynamics 365 Using JavaScript
To interact with the Microsoft Dynamics 365 API using JavaScript, you need to make HTTP requests to the appropriate endpoints. This section will guide you through setting up your JavaScript environment, making API calls to create or update contact records, and handling responses and errors effectively.
Setting Up Your JavaScript Environment for Microsoft Dynamics 365 API
Before making API calls, ensure you have the necessary tools and libraries installed:
- Ensure you have Node.js installed on your machine for running JavaScript outside the browser.
- Use a package manager like npm to install the
axioslibrary, which simplifies making HTTP requests:
npm install axiosCreating or Updating Contacts in Microsoft Dynamics 365
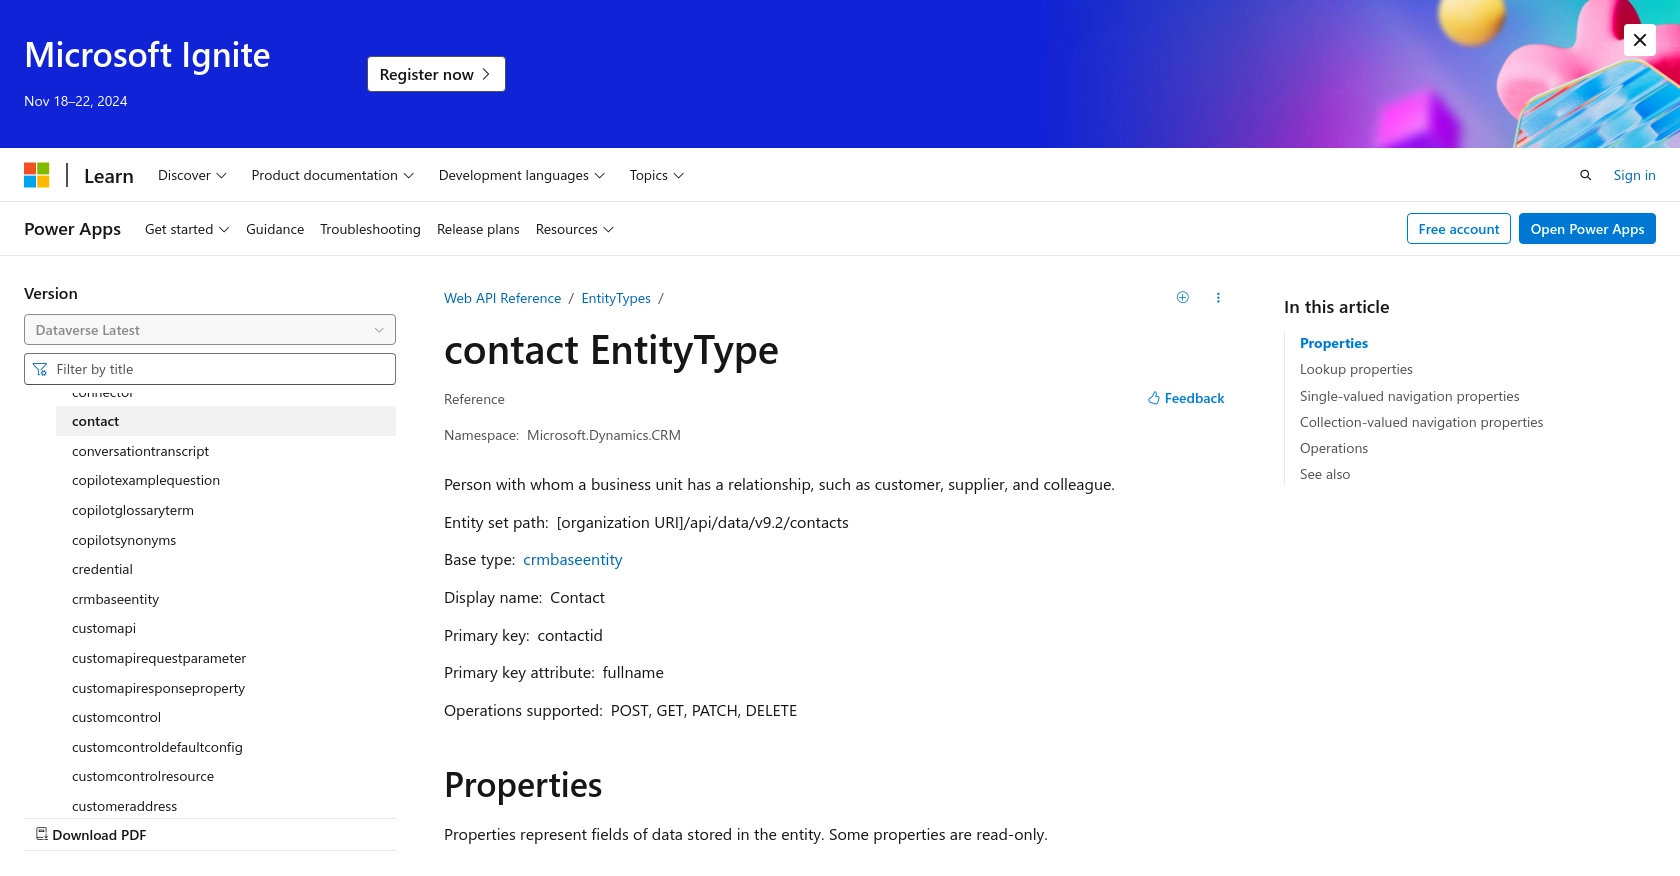
To create or update a contact in Microsoft Dynamics 365, you will use the POST or PATCH HTTP methods. Below is an example of how to perform these operations using JavaScript and the axios library.
const axios = require('axios');

// Define the API endpoint and headers
const endpoint = 'https://yourorg.api.crm.dynamics.com/api/data/v9.2/contacts';
const headers = {
    'Authorization': 'Bearer YOUR_ACCESS_TOKEN',
    'Content-Type': 'application/json',
    'OData-MaxVersion': '4.0',
    'OData-Version': '4.0',
    'Accept': 'application/json'
};

// Function to create a new contact
async function createContact() {
    const contactData = {
        firstname: 'John',
        lastname: 'Doe',
        emailaddress1: 'johndoe@example.com'
    };

    try {
        const response = await axios.post(endpoint, contactData, { headers });
        console.log('Contact Created:', response.data);
    } catch (error) {
        console.error('Error creating contact:', error.response ? error.response.data : error.message);
    }
}

// Function to update an existing contact
async function updateContact(contactId) {
    const updateData = {
        emailaddress1: 'john.doe@newdomain.com'
    };

    try {
        const response = await axios.patch(`${endpoint}(${contactId})`, updateData, { headers });
        console.log('Contact Updated:', response.data);
    } catch (error) {
        console.error('Error updating contact:', error.response ? error.response.data : error.message);
    }
}

// Example usage
createContact();
updateContact('CONTACT_ID_HERE');
Verifying API Call Success in Microsoft Dynamics 365
After executing the API calls, verify the success of the operations by checking the response data. For a successful creation or update, the response should include the contact details. You can also log into your Microsoft Dynamics 365 sandbox account to confirm the changes.
Handling Errors and Common Error Codes
When making API calls, it's crucial to handle potential errors gracefully. Common error codes you might encounter include:
- 400 Bad Request: The request was malformed. Check the data being sent.
- 401 Unauthorized: Authentication failed. Verify your access token.
- 403 Forbidden: The request is not allowed. Check your permissions.
- 404 Not Found: The specified resource could not be found.
- 500 Internal Server Error: An error occurred on the server. Try again later.
For more detailed error information, refer to the Microsoft Dynamics 365 API documentation.

Conclusion and Best Practices for Microsoft Dynamics 365 API Integration
Integrating with the Microsoft Dynamics 365 API using JavaScript offers a powerful way to automate and manage customer data efficiently. By following the steps outlined in this guide, developers can create or update contact records seamlessly, enhancing the functionality of their applications and providing a more integrated user experience.
Best Practices for Storing User Credentials Securely
- Always store user credentials securely using environment variables or secure vaults.
- Avoid hardcoding sensitive information like client secrets or access tokens in your codebase.
- Regularly rotate credentials to minimize security risks.
Handling Microsoft Dynamics 365 API Rate Limiting
Microsoft Dynamics 365 API may impose rate limits on requests. To handle rate limiting effectively:
- Implement exponential backoff strategies to retry requests after a delay.
- Monitor API usage and adjust request frequency to stay within limits.
- Refer to the Microsoft Graph throttling documentation for detailed guidance.
Transforming and Standardizing Data Fields
When integrating with Microsoft Dynamics 365, ensure that data fields are transformed and standardized to match the CRM's schema:
- Map external data fields to Dynamics 365 fields accurately.
- Validate data formats to prevent errors during API calls.
- Use consistent naming conventions for data fields across your application.
Call to Action: Simplify Integrations with Endgrate
Building and maintaining multiple integrations can be complex and time-consuming. With Endgrate, you can streamline this process by leveraging a unified API endpoint that connects to various platforms, including Microsoft Dynamics 365. Focus on your core product while Endgrate handles the intricacies of integration, providing an easy and intuitive experience for your customers.
Visit Endgrate to learn more about how you can save time and resources by outsourcing your integration needs.
Read More
- https://endgrate.com/provider/microsoftdynamics365
- https://learn.microsoft.com/en-us/power-apps/developer/data-platform/authenticate-oauth
- https://learn.microsoft.com/en-us/graph/use-the-api
- https://learn.microsoft.com/en-us/power-apps/developer/data-platform/webapi/reference/contact?view=dataverse-latest
Ready to get started?
