Using the Moneybird API to Create or Update Contacts in PHP

Introduction to Moneybird API Integration
Moneybird is a comprehensive online accounting software designed to simplify financial management for businesses. It offers a range of features including invoicing, expense tracking, and financial reporting, making it an ideal choice for small to medium-sized enterprises looking to streamline their accounting processes.
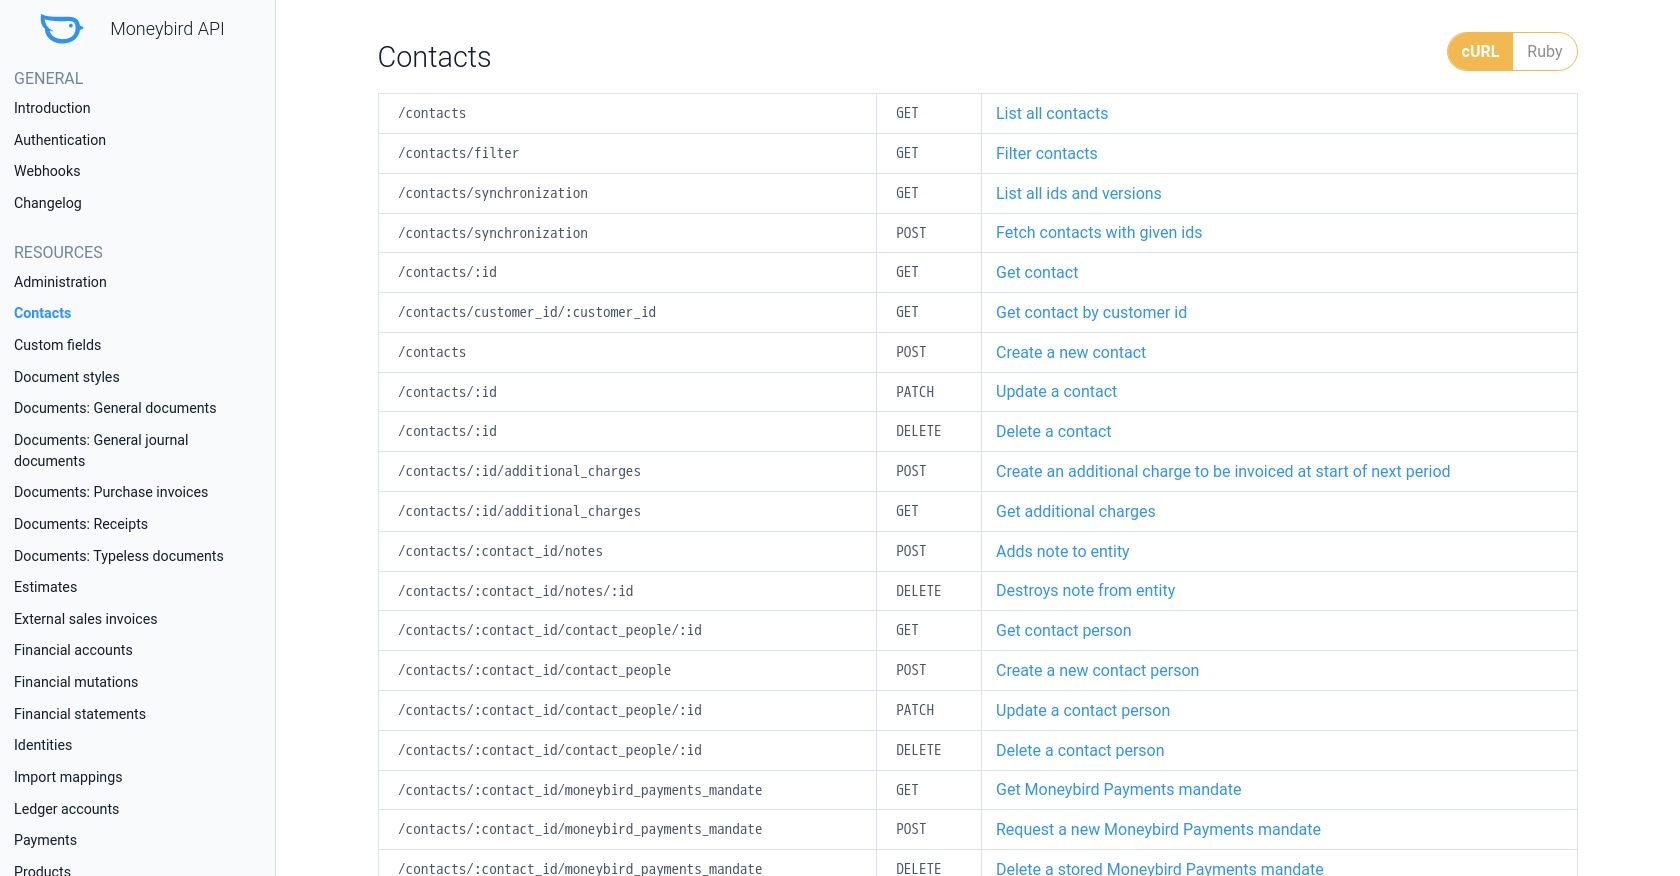
Integrating with the Moneybird API allows developers to automate and enhance business workflows by interacting directly with Moneybird's robust platform. For example, you can automate the process of creating or updating contacts within Moneybird using PHP, ensuring that your customer data is always up-to-date and synchronized across your systems.
This article will guide you through the steps to effectively use the Moneybird API to manage contacts using PHP, providing detailed instructions and code examples to facilitate seamless integration.
Setting Up Your Moneybird Sandbox Account for API Integration
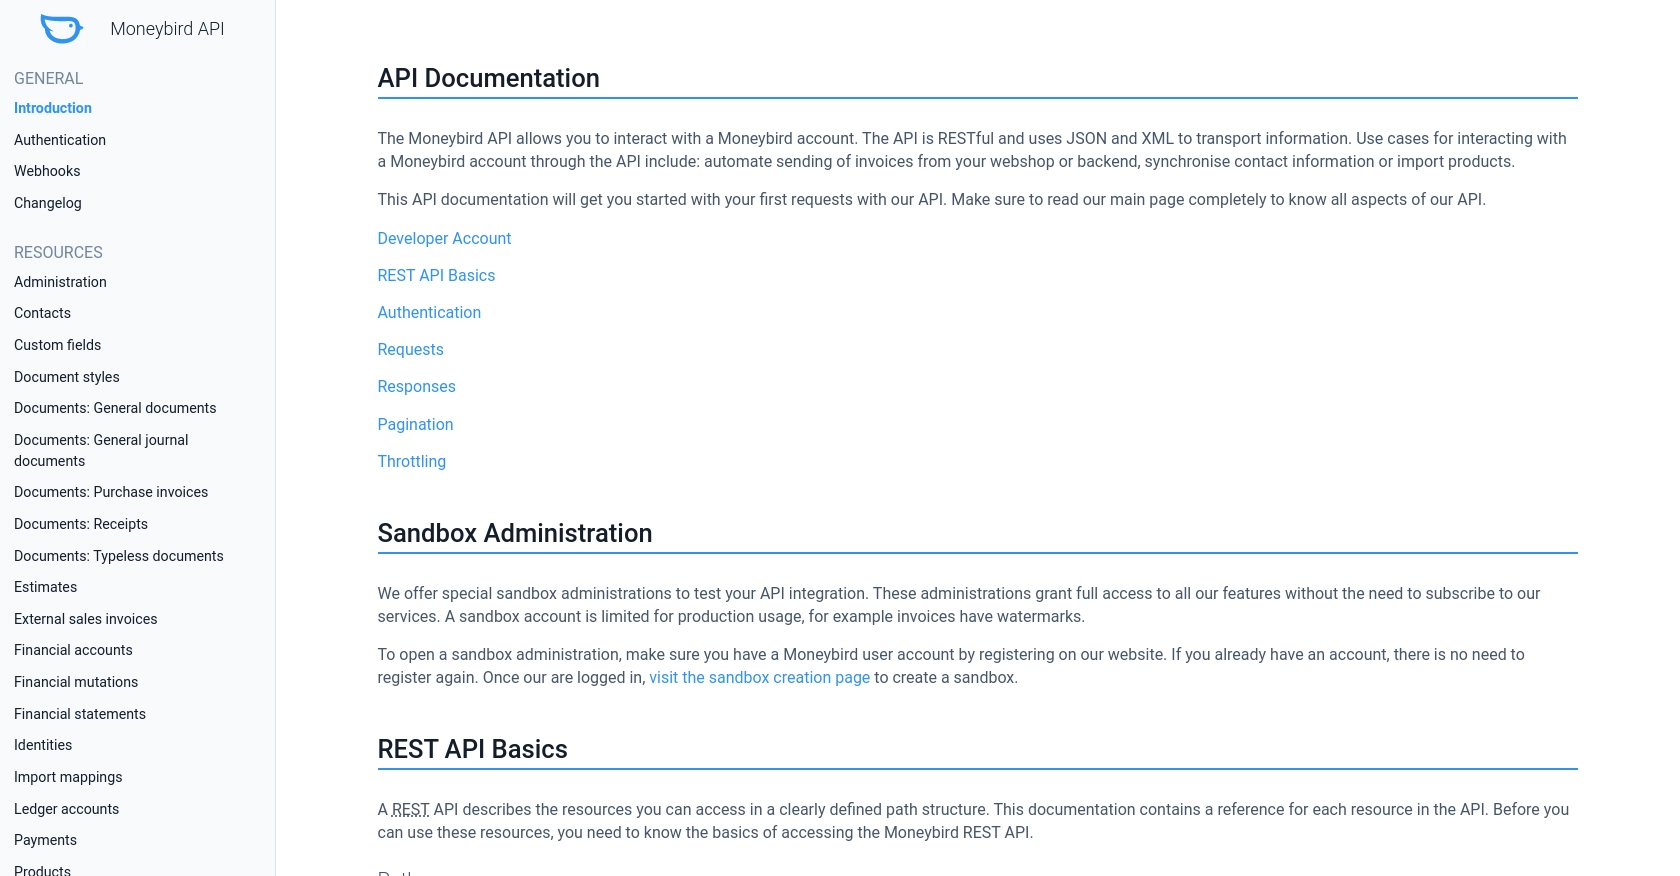
Before you begin integrating with the Moneybird API, it's essential to set up a sandbox account. This allows you to test your API interactions without affecting your live data. Moneybird offers a sandbox environment that provides full access to its features, making it an ideal platform for development and testing.
Creating a Moneybird Sandbox Account
To create a sandbox account, follow these steps:
- Visit the Moneybird website and register for a user account if you don't already have one.
- Once registered, log in to your Moneybird account.
- Navigate to the sandbox creation page by visiting this link.
- Follow the instructions to create a sandbox administration. This will provide you with a separate environment to test your API integration.
Registering Your Application for OAuth Authentication
Moneybird uses OAuth2 for authentication, which requires you to register your application. Here's how to do it:
- Log in to your Moneybird account and visit the application registration page.
- Fill in the required details to register your application. You will receive a Client ID and Client Secret, which are necessary for OAuth authentication.
- Ensure you securely store your Client ID and Client Secret, as they are crucial for accessing the API.
Obtaining OAuth Access Tokens
With your application registered, you can now obtain OAuth access tokens:
- Use the following command to obtain a request token and authorization URL:
- Redirect your user to the authorization URL provided in the response. After authorization, you will receive an authorization code.
- Exchange the authorization code for an access token using this command:
- Store the access token securely for future API requests.
curl -X GET "https://moneybird.com/oauth/authorize?client_id=YOUR_CLIENT_ID&redirect_uri=YOUR_REDIRECT_URI&response_type=code"curl -X POST -d "client_id=YOUR_CLIENT_ID&client_secret=YOUR_CLIENT_SECRET&code=AUTHORIZATION_CODE&redirect_uri=YOUR_REDIRECT_URI&grant_type=authorization_code" https://moneybird.com/oauth/tokenFor more detailed information on authentication, refer to the Moneybird Authentication Documentation.

sbb-itb-96038d7
Making API Calls to Moneybird Using PHP
To interact with the Moneybird API using PHP, you'll need to set up your environment and write code to create or update contacts. This section will guide you through the necessary steps, including setting up your PHP environment, writing the code, and handling responses.
Setting Up Your PHP Environment for Moneybird API Integration
Before making API calls, ensure your PHP environment is ready. You'll need PHP 7.4 or higher and the cURL extension enabled. You can check your PHP version and enabled extensions by running:
php -v
php -m | grep curl
If cURL is not enabled, you can enable it by modifying your php.ini file or consulting your hosting provider's documentation.
Installing Required PHP Libraries for Moneybird API
To simplify HTTP requests, we recommend using the Requests library. Install it via Composer:
composer require rmccue/requestsCreating a New Contact in Moneybird Using PHP
To create a new contact, use the following PHP code:
require 'vendor/autoload.php';

use \Requests;

$accessToken = 'YOUR_ACCESS_TOKEN';
$administrationId = 'YOUR_ADMINISTRATION_ID';
$url = "https://moneybird.com/api/v2/$administrationId/contacts.json";

$headers = [
    'Authorization' => "Bearer $accessToken",
    'Content-Type' => 'application/json'
];

$data = [
    'contact' => [
        'company_name' => 'Example Company',
        'firstname' => 'John',
        'lastname' => 'Doe',
        'email' => 'john.doe@example.com'
    ]
];

$response = Requests::post($url, $headers, json_encode($data));

if ($response->status_code == 201) {
    echo "Contact created successfully.";
} else {
    echo "Failed to create contact: " . $response->body;
}
Replace YOUR_ACCESS_TOKEN and YOUR_ADMINISTRATION_ID with your actual Moneybird access token and administration ID. This code sends a POST request to create a new contact with the specified details.
Updating an Existing Contact in Moneybird Using PHP
To update an existing contact, use the following PHP code:
$contactId = 'CONTACT_ID';
$url = "https://moneybird.com/api/v2/$administrationId/contacts/$contactId.json";

$data = [
    'contact' => [
        'company_name' => 'Updated Company Name'
    ]
];

$response = Requests::patch($url, $headers, json_encode($data));

if ($response->status_code == 200) {
    echo "Contact updated successfully.";
} else {
    echo "Failed to update contact: " . $response->body;
}
Replace CONTACT_ID with the ID of the contact you wish to update. This code sends a PATCH request to update the contact's company name.
Handling API Responses and Errors
It's crucial to handle API responses and errors effectively. The Moneybird API returns various status codes:
- 200 OK: Request was successful.
- 201 Created: Contact was created successfully.
- 400 Bad Request: Missing or malformed parameters.
- 401 Unauthorized: Invalid authorization information.
- 404 Not Found: Contact not found.
- 422 Unprocessable Entity: Validation errors.
- 429 Too Many Requests: Rate limit exceeded.
For more details on error handling, refer to the Moneybird API Documentation.

Conclusion and Best Practices for Moneybird API Integration
Integrating with the Moneybird API using PHP can significantly enhance your business workflows by automating the management of contacts. By following the steps outlined in this article, you can efficiently create and update contacts, ensuring your data remains consistent and up-to-date.
Best Practices for Secure and Efficient Moneybird API Usage
- Secure Storage of Credentials: Always store your OAuth tokens and Client Secret securely. Consider using environment variables or secure vaults to prevent unauthorized access.
- Handle Rate Limiting: The Moneybird API allows 150 requests every 5 minutes. Implement logic to handle the
429 Too Many Requestsstatus by respecting theRetry-Afterheader. - Data Validation: Ensure that all data sent to the API is validated to prevent errors like
422 Unprocessable Entity. This includes checking required fields and data formats. - Error Handling: Implement robust error handling to manage different HTTP status codes effectively. This will help in debugging and maintaining a smooth integration.
Enhance Your Integration Strategy with Endgrate
While integrating with Moneybird is a powerful way to streamline your accounting processes, managing multiple integrations can be complex and time-consuming. Endgrate offers a unified API solution that simplifies integration management across various platforms, including Moneybird.
By leveraging Endgrate, you can:
- Save time and resources by outsourcing integration maintenance.
- Focus on your core product development while ensuring seamless integration experiences for your users.
- Build once for each use case, reducing redundancy and increasing efficiency.
Explore how Endgrate can transform your integration strategy by visiting Endgrate today.
Read More
Ready to get started?
