Using the Quickbooks API to Create or Update Invoices (with Javascript examples)

Introduction to Quickbooks API for Invoice Management
Quickbooks is a widely-used accounting software that helps businesses manage their finances with ease. It offers a robust set of tools for invoicing, expense tracking, payroll, and more, making it a popular choice for small to medium-sized enterprises.
Integrating with the Quickbooks API allows developers to automate financial processes, such as creating or updating invoices directly from their applications. For example, a developer might use the Quickbooks API to automatically generate invoices for completed sales transactions, ensuring that billing is accurate and timely.
This article will guide you through using JavaScript to interact with the Quickbooks API, focusing on creating and updating invoices. By the end of this tutorial, you'll be equipped to streamline your invoicing process and enhance your application's functionality.
Setting Up Your Quickbooks Sandbox Account for API Integration
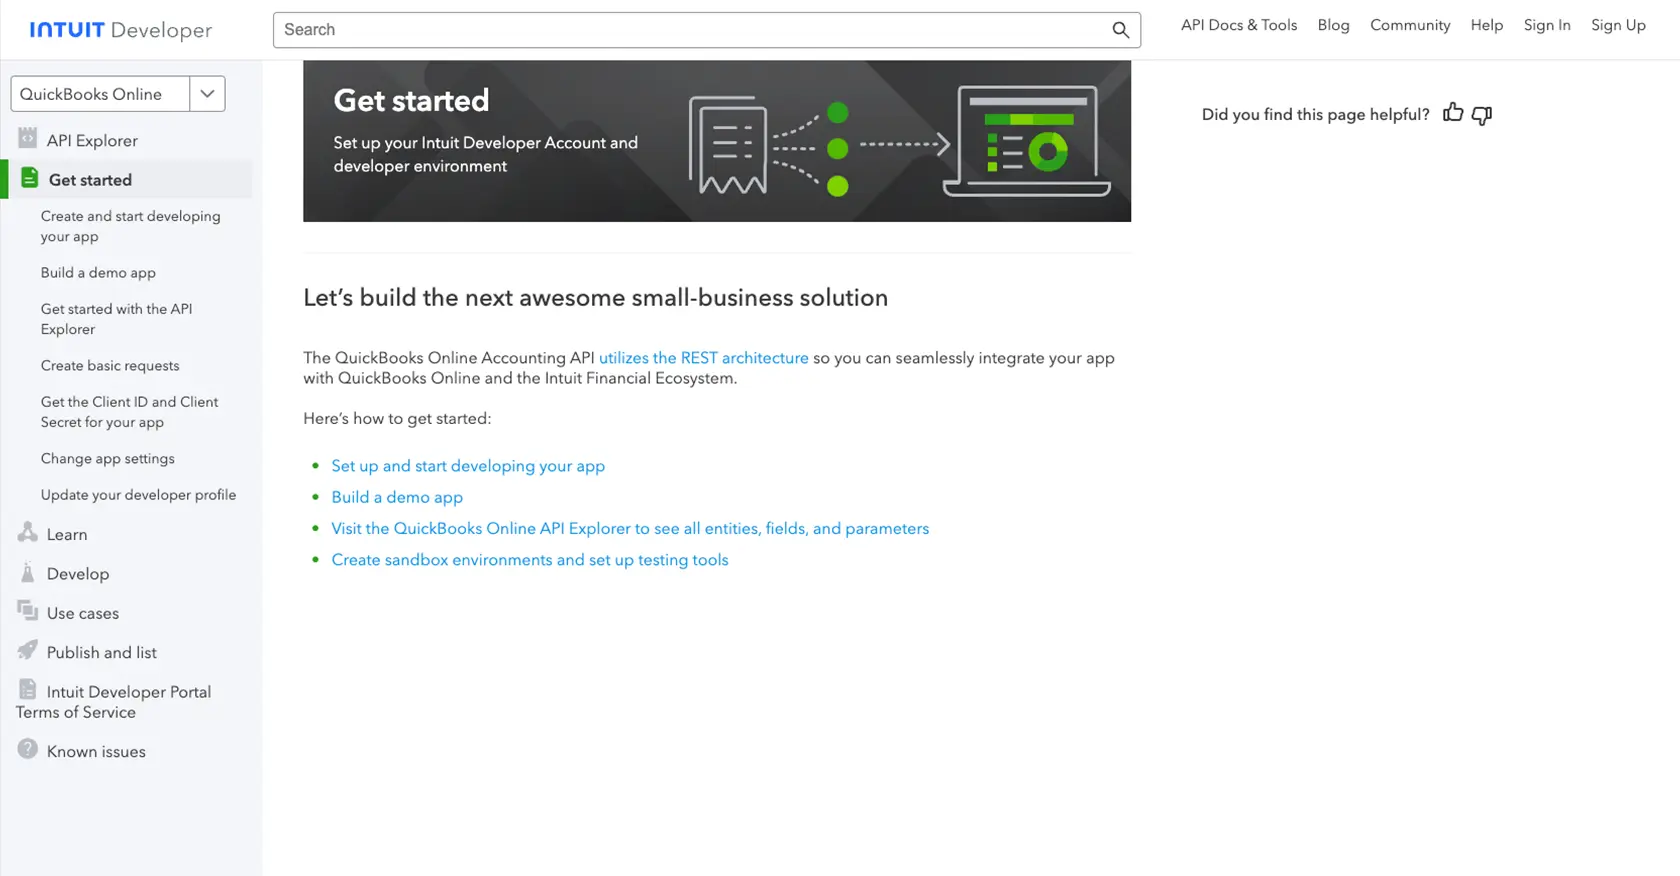
Before you can start creating or updating invoices using the Quickbooks API, you'll need to set up a Quickbooks sandbox account. This environment allows you to test your integration without affecting live data, ensuring a smooth development process.
Step-by-Step Guide to Creating a Quickbooks Sandbox Account
-
Sign Up for a Quickbooks Developer Account:
Visit the Intuit Developer Portal and sign up for a developer account. This account will give you access to the Quickbooks sandbox environment.
-
Create a New App:
Once logged in, navigate to the "My Apps" section and click on "Create an App." Choose "Quickbooks Online and Payments" as your platform.
-
Configure App Settings:
Fill in the required details for your app, such as the app name and description. You can find more information on app settings in the Intuit Developer Documentation.
-
Generate OAuth Credentials:
Quickbooks uses OAuth 2.0 for authentication. Go to the "Keys & OAuth" section of your app and generate your client ID and client secret. These credentials are essential for authorizing API requests.
Refer to the Intuit Developer Guide for detailed instructions on obtaining your client ID and secret.
-
Connect to the Sandbox Company:
In the "Sandbox" tab, connect your app to a sandbox company. This will allow you to test API calls in a controlled environment.
Authenticating API Requests with OAuth 2.0
With your sandbox account and app set up, you can now authenticate API requests using OAuth 2.0. This involves obtaining an access token that authorizes your app to interact with Quickbooks data.
-
Obtain an Authorization Code:
Direct users to the Quickbooks authorization URL, where they can log in and grant your app access. This will return an authorization code.
-
Exchange Authorization Code for Access Token:
Use the authorization code to request an access token from Quickbooks. This token will be used in the header of your API requests.
By following these steps, you'll be ready to start making API calls to create or update invoices in Quickbooks using JavaScript.

sbb-itb-96038d7
Making API Calls to Quickbooks for Invoice Management Using JavaScript
With your Quickbooks sandbox account and OAuth 2.0 authentication set up, you're ready to make API calls to create or update invoices. This section will guide you through the process using JavaScript, ensuring you can efficiently manage invoices within your application.
Prerequisites for Quickbooks API Integration with JavaScript
Before diving into the code, ensure you have the following prerequisites:
- Node.js installed on your machine.
- A package manager like npm or yarn.
- The
axioslibrary for making HTTP requests. Install it usingnpm install axiosoryarn add axios.
Creating an Invoice with Quickbooks API Using JavaScript
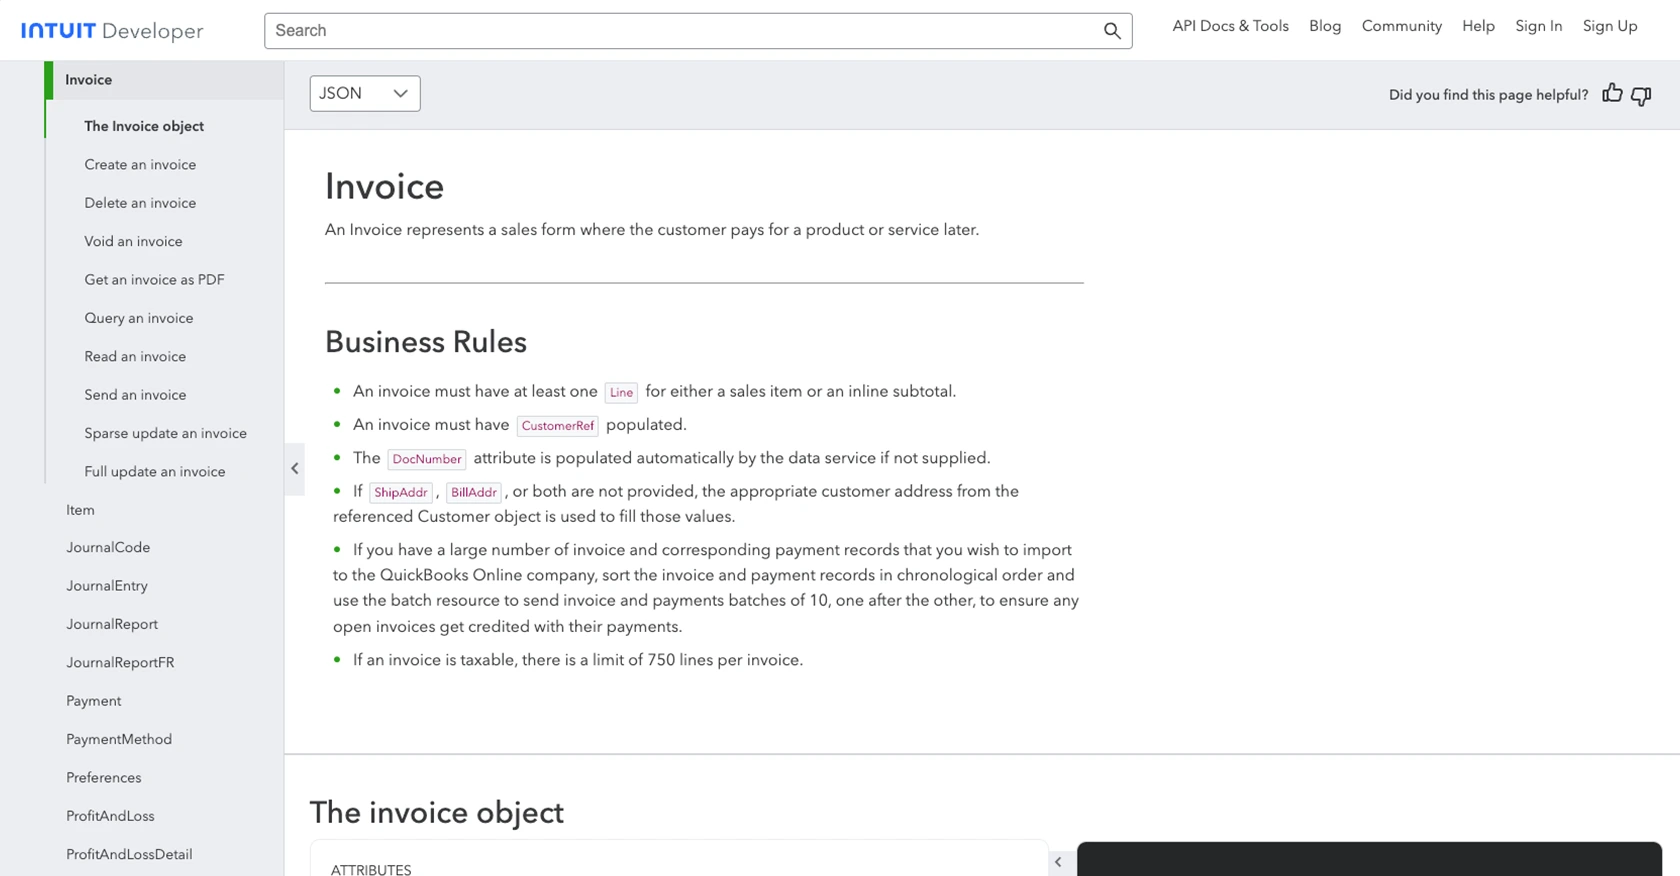
To create an invoice, you'll need to make a POST request to the Quickbooks API endpoint. Here's a step-by-step guide:
const axios = require('axios');

// Set the API endpoint and headers
const endpoint = 'https://sandbox-quickbooks.api.intuit.com/v3/company/YOUR_COMPANY_ID/invoice';
const headers = {
    'Authorization': 'Bearer YOUR_ACCESS_TOKEN',
    'Content-Type': 'application/json',
    'Accept': 'application/json'
};

// Define the invoice data
const invoiceData = {
    "Line": [
        {
            "Amount": 100.00,
            "DetailType": "SalesItemLineDetail",
            "SalesItemLineDetail": {
                "ItemRef": {
                    "value": "1",
                    "name": "Services"
                }
            }
        }
    ],
    "CustomerRef": {
        "value": "1"
    }
};

// Make the POST request to create an invoice
axios.post(endpoint, invoiceData, { headers })
    .then(response => {
        console.log('Invoice Created:', response.data);
    })
    .catch(error => {
        console.error('Error Creating Invoice:', error.response.data);
    });
Replace YOUR_COMPANY_ID and YOUR_ACCESS_TOKEN with your actual company ID and access token. The invoiceData object contains the details of the invoice you want to create.
Updating an Invoice with Quickbooks API Using JavaScript
To update an existing invoice, you'll need to make a POST request to the same endpoint with the updated invoice data. Here's how:
const updateInvoiceData = {
    "Id": "INVOICE_ID",
    "SyncToken": "SYNC_TOKEN",
    "Line": [
        {
            "Amount": 150.00,
            "DetailType": "SalesItemLineDetail",
            "SalesItemLineDetail": {
                "ItemRef": {
                    "value": "1",
                    "name": "Services"
                }
            }
        }
    ],
    "CustomerRef": {
        "value": "1"
    }
};

// Make the POST request to update the invoice
axios.post(endpoint, updateInvoiceData, { headers })
    .then(response => {
        console.log('Invoice Updated:', response.data);
    })
    .catch(error => {
        console.error('Error Updating Invoice:', error.response.data);
    });
Replace INVOICE_ID and SYNC_TOKEN with the ID and sync token of the invoice you want to update. The sync token is required to ensure the invoice is updated correctly.
Handling Errors and Verifying API Requests
When making API calls, it's crucial to handle potential errors and verify the success of your requests. The Quickbooks API returns various error codes that you should be aware of. For example, a 401 error indicates an authentication issue, while a 400 error suggests a bad request.
Always check the response status and data to ensure your requests are successful. You can verify the creation or update of invoices by checking the Quickbooks sandbox environment for the changes.
For more detailed information on error codes, refer to the Intuit Developer Documentation.

Conclusion and Best Practices for Quickbooks API Integration
Integrating with the Quickbooks API to create or update invoices using JavaScript can significantly enhance your application's financial management capabilities. By automating these processes, you can ensure accuracy and efficiency in billing, ultimately improving your business operations.
Best Practices for Secure and Efficient Quickbooks API Usage
- Securely Store Credentials: Always store your client ID, client secret, and access tokens securely. Consider using environment variables or a secure vault to protect sensitive information.
- Handle Rate Limiting: Quickbooks API has rate limits to prevent abuse. Ensure your application handles these limits gracefully by implementing retry logic and monitoring API usage. For more details, refer to the Intuit Developer Documentation.
- Standardize Data Fields: Consistently format and validate data before sending it to the API. This practice minimizes errors and ensures data integrity.
- Monitor API Responses: Regularly check API responses for errors and handle them appropriately. Logging errors can help in diagnosing issues and improving your integration.
Streamlining Integrations with Endgrate
While integrating with Quickbooks API can be straightforward, managing multiple integrations can become complex. Endgrate simplifies this process by providing a unified API endpoint that connects to various platforms, including Quickbooks. This allows you to build once for each use case, saving time and resources.
By leveraging Endgrate, you can focus on your core product while offering an intuitive integration experience for your customers. Explore how Endgrate can streamline your integration efforts by visiting Endgrate.
Read More
- https://endgrate.com/provider/quickbooks
- https://developer.intuit.com/app/developer/qbo/docs/get-started/start-developing-your-app
- https://developer.intuit.com/app/developer/qbo/docs/get-started/get-client-id-and-client-secret
- https://developer.intuit.com/app/developer/qbo/docs/get-started/app-settings
- https://developer.intuit.com/app/developer/qbo/docs/api/accounting/all-entities/invoice
Ready to get started?
