Using the Moneybird API to Get Contacts in Javascript
Introduction to Moneybird API Integration
Moneybird is a comprehensive online accounting software designed to simplify financial management for businesses. It offers a range of features including invoicing, expense tracking, and financial reporting, making it a popular choice for small to medium-sized enterprises.
Integrating with the Moneybird API allows developers to automate and streamline various accounting tasks. For example, you can use the API to retrieve contact information, enabling seamless synchronization of customer data between Moneybird and other business applications. This integration can enhance efficiency by reducing manual data entry and ensuring data consistency across platforms.
Setting Up Your Moneybird Sandbox Account for API Integration
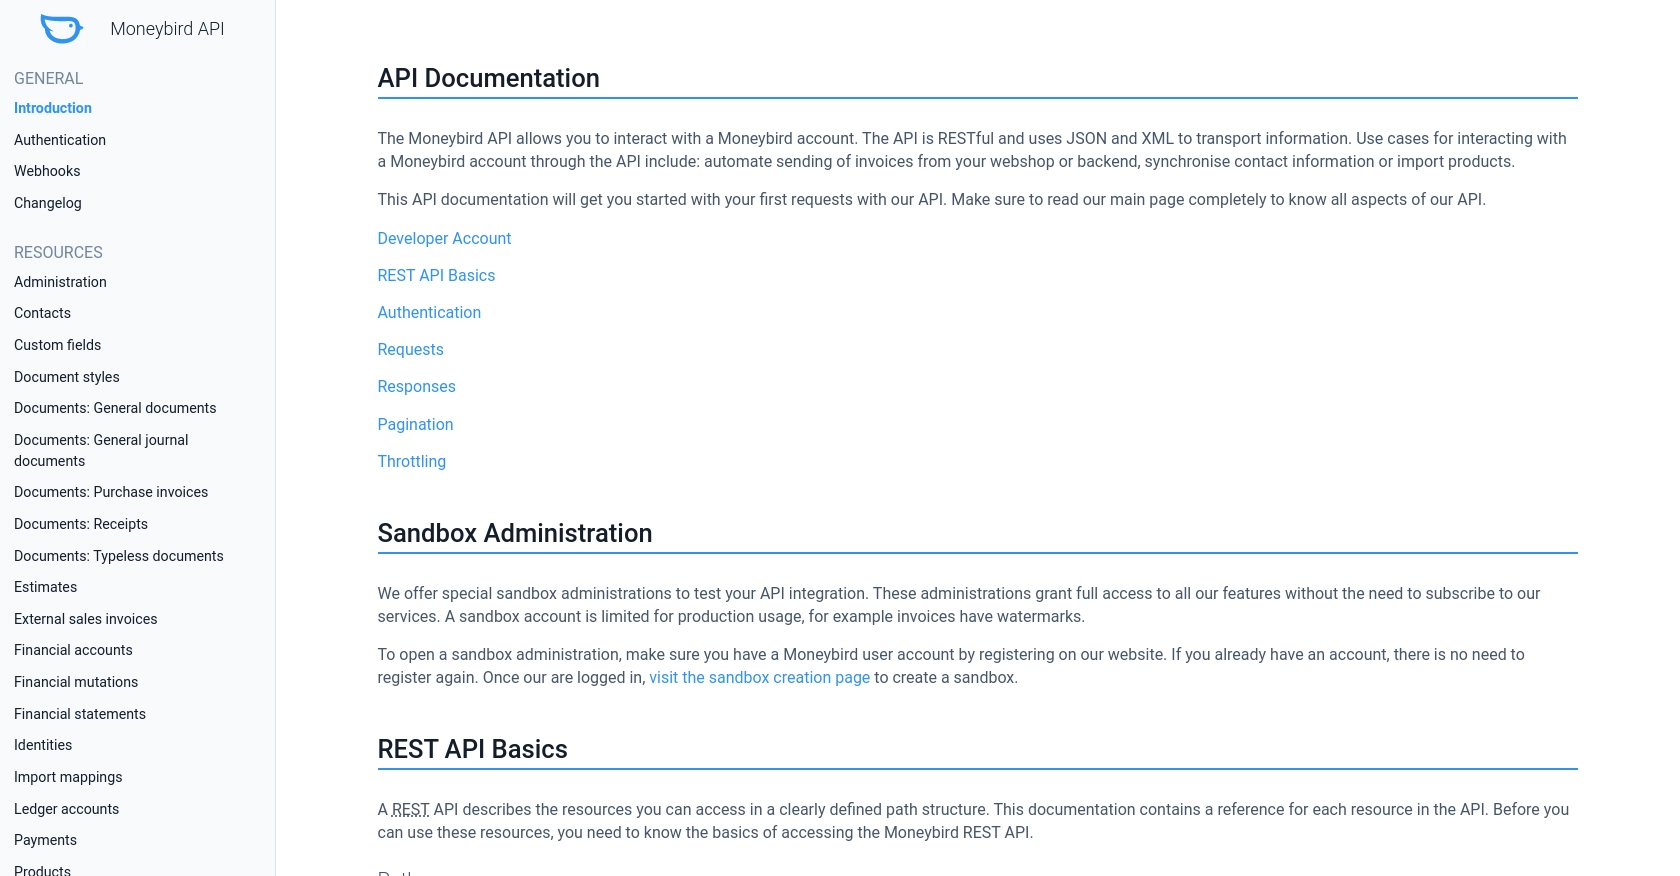
Before you can start interacting with the Moneybird API, you'll need to set up a sandbox account. This allows you to test your integration without affecting real data. Moneybird provides a sandbox environment that replicates the live system, enabling you to experiment with API calls safely.
Creating a Moneybird Sandbox Account
To create a sandbox account, follow these steps:
- Visit the Moneybird website and register for a user account if you don't already have one.
- Once logged in, navigate to the sandbox creation page.
- Follow the instructions to set up your sandbox administration. This will give you access to all Moneybird features in a test environment.
Registering Your Application for OAuth Authentication
Moneybird uses OAuth2 for authentication, which requires you to register your application. Here's how to do it:
- Log in to your Moneybird account and go to the application registration page.
- Choose to register an external OAuth application.
- Fill in the required details to receive a Client ID and Client Secret.
- Ensure you securely store these credentials as they are essential for API access.
Obtaining Access Tokens for API Requests
After registering your application, you need to obtain an access token to authenticate API requests:
- Use the following curl command to obtain a request token and authorization URL:
curl -vv 'https://moneybird.com/oauth/authorize?client_id=YOUR_CLIENT_ID&redirect_uri=urn:ietf:wg:oauth:2.0:oob&response_type=code'- Redirect the user to the authorization URL provided in the response.
- Once the user authorizes your application, use the following command to exchange the request token for an access token:
curl -vv -X POST -d "client_id=YOUR_CLIENT_ID&client_secret=YOUR_CLIENT_SECRET&code=YOUR_CODE&redirect_uri=urn:ietf:wg:oauth:2.0:oob&grant_type=authorization_code" https://moneybird.com/oauth/tokenReplace YOUR_CLIENT_ID, YOUR_CLIENT_SECRET, and YOUR_CODE with the actual values obtained during the process.
With the access token, you can now authenticate your API requests to interact with Moneybird's resources.
sbb-itb-96038d7
Making API Calls to Retrieve Contacts from Moneybird Using JavaScript
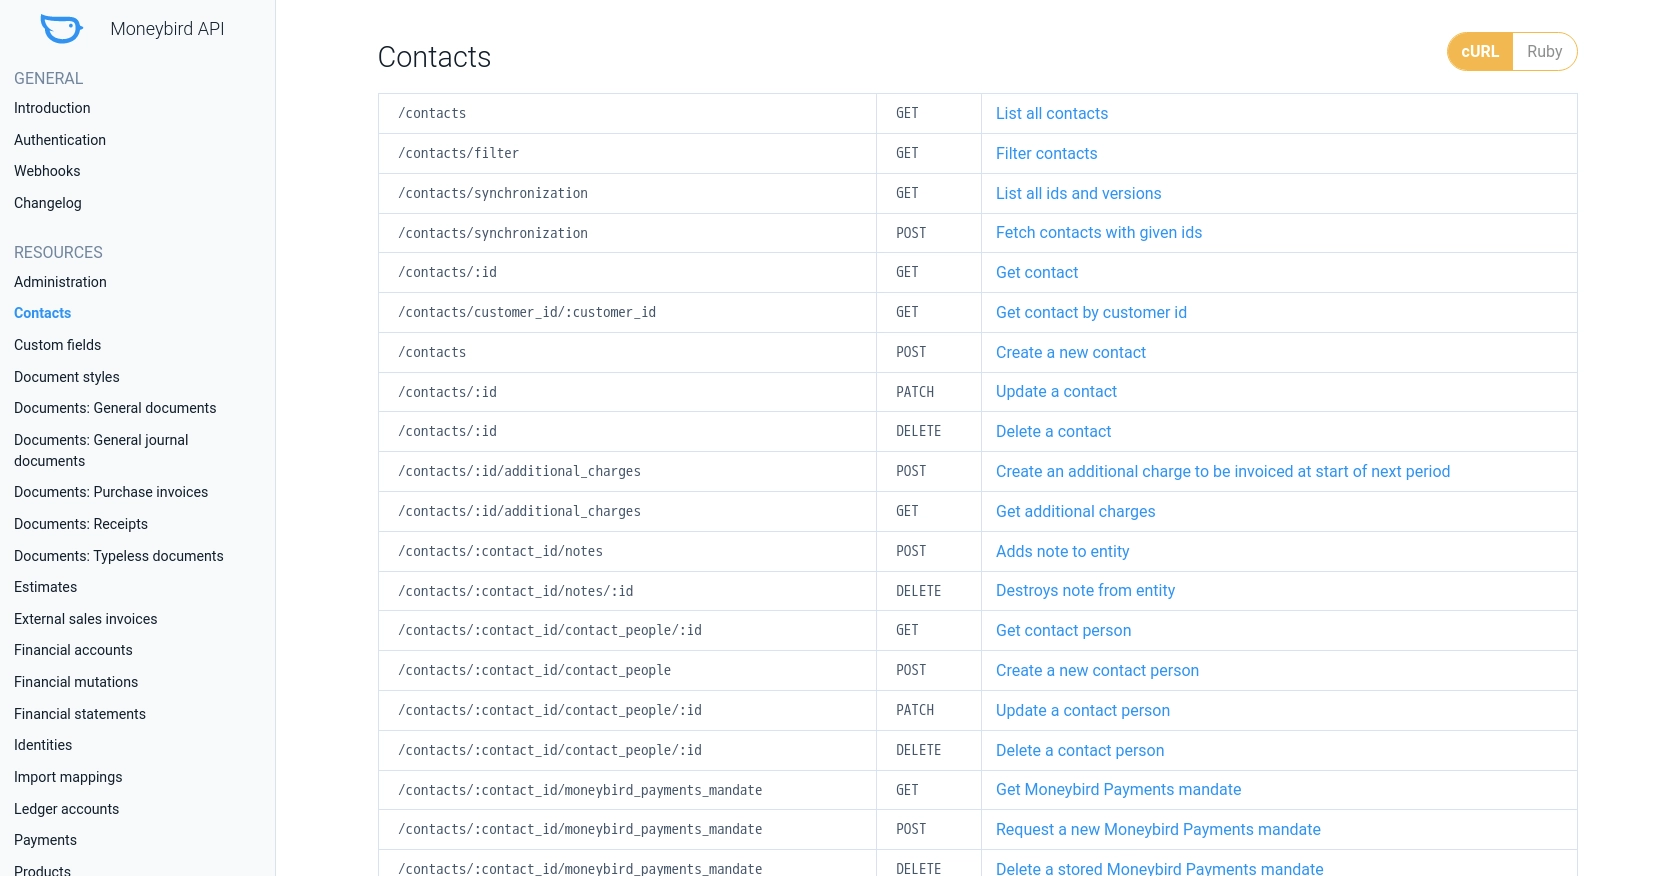
To interact with the Moneybird API and retrieve contact information, you'll need to make HTTP requests using JavaScript. This section will guide you through the process of setting up your environment, writing the code, and handling responses.
Setting Up Your JavaScript Environment for Moneybird API Integration
Before making API calls, ensure you have the following prerequisites:
- Node.js installed on your machine.
- A package manager like npm or yarn.
Install the Axios library for making HTTP requests by running the following command:
npm install axiosWriting JavaScript Code to Fetch Contacts from Moneybird
Create a file named getContacts.js and add the following code to it:
const axios = require('axios');

// Set your Moneybird API endpoint and access token
const endpoint = 'https://moneybird.com/api/v2/YOUR_ADMINISTRATION_ID/contacts.json';
const accessToken = 'YOUR_ACCESS_TOKEN';

// Configure the request headers
const headers = {
    'Content-Type': 'application/json',
    'Authorization': `Bearer ${accessToken}`
};

// Function to fetch contacts
async function fetchContacts() {
    try {
        const response = await axios.get(endpoint, { headers });
        const contacts = response.data;
        console.log('Contacts retrieved:', contacts);
    } catch (error) {
        console.error('Error fetching contacts:', error.response ? error.response.data : error.message);
    }
}

// Execute the function
fetchContacts();
Replace YOUR_ADMINISTRATION_ID and YOUR_ACCESS_TOKEN with your actual administration ID and access token.
Running the JavaScript Code to Retrieve Moneybird Contacts
Execute the script using Node.js:
node getContacts.jsYou should see the list of contacts printed in the console if the request is successful. If there are any errors, they will be logged in the console.
Handling Moneybird API Responses and Errors
When making API calls, it's crucial to handle responses and errors appropriately:
- Check the HTTP status code to determine if the request was successful. A status code of
200indicates success. - Handle errors by checking the error response and logging the error message for debugging purposes.
For more information on error codes, refer to the Moneybird API documentation.
Verifying API Call Success in Moneybird Sandbox
After running the script, verify the contacts retrieved by checking your Moneybird sandbox account. Ensure the data matches the expected output, confirming the API call's success.
Conclusion and Best Practices for Moneybird API Integration
Integrating with the Moneybird API using JavaScript can significantly enhance your business's efficiency by automating contact management and ensuring seamless data synchronization. By following the steps outlined in this guide, you can effectively retrieve and manage contacts within your Moneybird account.
Best Practices for Secure and Efficient Moneybird API Usage
- Secure Storage of Credentials: Always store your API credentials, such as the Client ID, Client Secret, and access tokens, securely. Consider using environment variables or secure vaults to protect sensitive information.
- Handle Rate Limiting: Moneybird's API allows 150 requests every 5 minutes. Implement logic to handle rate limiting by checking the
RateLimit-RemainingandRetry-Afterheaders to avoid exceeding the limit. For more details, refer to the Moneybird API documentation. - Error Handling: Implement robust error handling to manage different HTTP status codes. Log errors for debugging and ensure your application can gracefully handle unexpected issues.
- Data Transformation: Consider transforming and standardizing data fields to match your application's requirements. This ensures consistency and compatibility across different systems.
Streamline Your Integrations with Endgrate
While integrating with Moneybird's API can be straightforward, managing multiple integrations can become complex. Endgrate simplifies this process by providing a unified API endpoint for various platforms, including Moneybird. By using Endgrate, you can:
- Save time and resources by outsourcing integrations and focusing on your core product.
- Build once for each use case instead of multiple times for different integrations.
- Offer an easy, intuitive integration experience for your customers.
Explore how Endgrate can enhance your integration strategy by visiting Endgrate.
Read More

Ready to get started?
