Using the Outlook API to Get Messages in Javascript
Introduction to Outlook API Integration
Outlook, a core component of Microsoft 365, is a powerful email and calendar service used by millions of individuals and businesses worldwide. It offers a robust platform for managing emails, scheduling meetings, and organizing tasks, making it an essential tool for productivity and communication.
Developers might want to integrate with the Outlook API to enhance their applications by accessing and managing email data. For example, using the Outlook API, a developer can retrieve messages to analyze email patterns or automate responses, thereby improving user engagement and efficiency.
This article will guide you through the process of using JavaScript to interact with the Outlook API, specifically focusing on retrieving messages. By following this tutorial, you will learn how to set up authentication, make API calls, and handle the data effectively.
Setting Up Your Outlook API Test Account
Before you can start interacting with the Outlook API using JavaScript, you need to set up a test or sandbox account. This involves registering an application with Microsoft Entra ID to obtain the necessary credentials for OAuth-based authentication. Follow these steps to get started:
Step 1: Create a Microsoft Account
If you don't already have a Microsoft account, you'll need to create one. Visit the Microsoft account sign-up page and follow the instructions to create your account. This account will be used to access Microsoft Entra ID and register your application.
Step 2: Register Your Application in Microsoft Entra ID
To interact with the Outlook API, you must register your application in Microsoft Entra ID. This process will provide you with the client ID and client secret required for authentication.
- Sign in to the Microsoft Entra admin center using your Microsoft account.
- Navigate to Identity > Applications > App registrations and select New registration.
- Enter a display name for your application.
- Choose the supported account types. For most cases, select Accounts in any organizational directory and personal Microsoft accounts.
- Click Register to complete the registration process.
Step 3: Configure Platform Settings
After registering your application, you need to configure the platform settings to specify redirect URIs and authentication settings.
- Under Manage, select Authentication.
- Click Add a platform and choose Single-page application.
- Enter your redirect URI, which is the location where the Microsoft identity platform will send security tokens after authentication. For local development, you can use
http://localhost. - Select Configure to save your settings.
Step 4: Obtain Client Secret
To authenticate your application, you need a client secret. Follow these steps to generate one:
- Go to Certificates & secrets under Manage.
- Select New client secret.
- Add a description and set an expiration period for the secret.
- Click Add and copy the client secret value. Store it securely as it will not be displayed again.
Step 5: Set API Permissions
To access Outlook messages, you need to configure the appropriate API permissions for your application.
- Navigate to API permissions under Manage.
- Click Add a permission and choose Microsoft Graph.
- Select Delegated permissions and search for Mail.Read. Check the box to add this permission.
- Click Add permissions to apply the changes.
With your test account and application registration complete, you are now ready to authenticate and make API calls to retrieve messages from Outlook using JavaScript.
sbb-itb-96038d7
Making API Calls to Retrieve Outlook Messages Using JavaScript
With your Outlook API test account set up, you can now proceed to make API calls to retrieve messages. This section will guide you through the process of using JavaScript to interact with the Outlook API, focusing on retrieving email messages efficiently.
Prerequisites for JavaScript Integration with Outlook API
Before making API calls, ensure you have the following prerequisites:
- Node.js installed on your machine.
- A code editor like Visual Studio Code.
- Basic understanding of JavaScript and RESTful APIs.
Installing Required Dependencies for Outlook API Integration
To interact with the Outlook API, you need to install the necessary dependencies. Open your terminal and run the following command to install the axios library, which will help in making HTTP requests:
npm install axiosWriting JavaScript Code to Fetch Outlook Messages
Now, let's write the JavaScript code to fetch messages from Outlook using the Microsoft Graph API. Create a new file named getOutlookMessages.js and add the following code:
const axios = require('axios');
// Set the API endpoint and headers
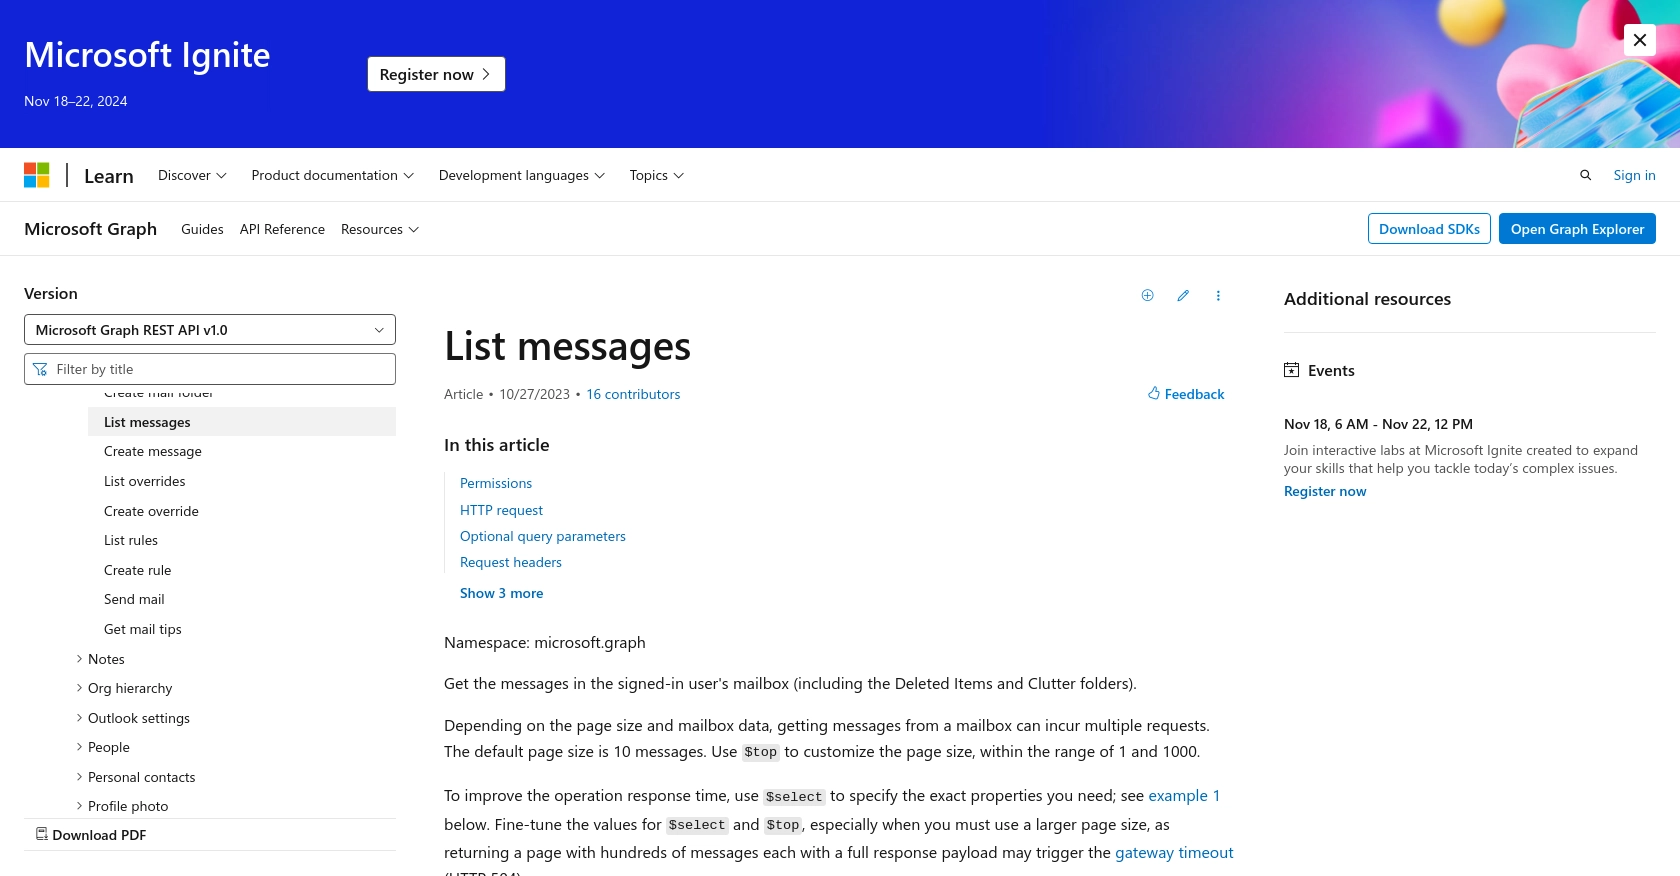
const endpoint = 'https://graph.microsoft.com/v1.0/me/messages';
const headers = {
'Authorization': 'Bearer YOUR_ACCESS_TOKEN',
'Content-Type': 'application/json'
};
// Function to get messages
async function getMessages() {
try {
const response = await axios.get(endpoint, { headers });
const messages = response.data.value;
// Display the messages
messages.forEach(message => {
console.log(`Subject: ${message.subject}`);
console.log(`From: ${message.sender.emailAddress.name}`);
});
} catch (error) {
console.error('Error fetching messages:', error.response ? error.response.data : error.message);
}
}
// Call the function
getMessages();
Replace YOUR_ACCESS_TOKEN with the access token obtained during the authentication process. This token is crucial for authorizing your API requests.
Executing the JavaScript Code to Retrieve Messages
To run the code, execute the following command in your terminal:
node getOutlookMessages.jsUpon successful execution, you should see a list of email subjects and senders printed in the console. This confirms that your API call to retrieve messages from Outlook was successful.
Handling Errors and Verifying API Call Success
It's important to handle potential errors when making API calls. The code above includes a try-catch block to catch and log any errors that occur during the request. Common error codes include:
- 401 Unauthorized: Indicates an issue with the access token. Ensure it's valid and has the necessary permissions.
- 403 Forbidden: The application does not have permission to access the requested resource.
- 404 Not Found: The requested endpoint or resource does not exist.
Verify the success of your API call by checking the response data and ensuring it matches the messages in your Outlook account.
Conclusion and Best Practices for Using Outlook API with JavaScript
Integrating with the Outlook API using JavaScript allows developers to enhance their applications by accessing and managing email data efficiently. By following the steps outlined in this guide, you can set up authentication, make API calls, and handle data effectively to retrieve messages from Outlook.
Best Practices for Secure and Efficient Outlook API Integration
- Securely Store Credentials: Always store your client secret and access tokens securely. Consider using environment variables or secure vaults to prevent unauthorized access.
- Handle Rate Limiting: Be mindful of the API rate limits to avoid throttling. Implement retry logic with exponential backoff to handle rate limit errors gracefully.
- Optimize Data Retrieval: Use query parameters like
$selectand$topto limit the data returned by the API, improving response times and reducing bandwidth usage. - Regularly Refresh Tokens: Access tokens are short-lived. Implement logic to refresh tokens using the refresh token to maintain seamless access to the API.
Enhance Your Integration Experience with Endgrate
For developers looking to streamline their integration processes, consider using Endgrate. With Endgrate, you can save time and resources by outsourcing integrations, allowing you to focus on your core product. Build once for each use case instead of multiple times for different integrations, and provide an easy, intuitive integration experience for your customers.
Visit Endgrate to learn more about how you can simplify your integration efforts and enhance your application's capabilities.
Read More
- https://endgrate.com/provider/outlook
- https://docs.microsoft.com/en-us/graph/overview
- https://learn.microsoft.com/en-us/graph/auth/auth-concepts
- https://learn.microsoft.com/en-us/graph/auth-register-app-v2
- https://learn.microsoft.com/en-us/graph/auth-v2-user?tabs=http
- https://learn.microsoft.com/en-us/graph/api/user-list-messages?view=graph-rest-1.0&tabs=http

Ready to get started?
